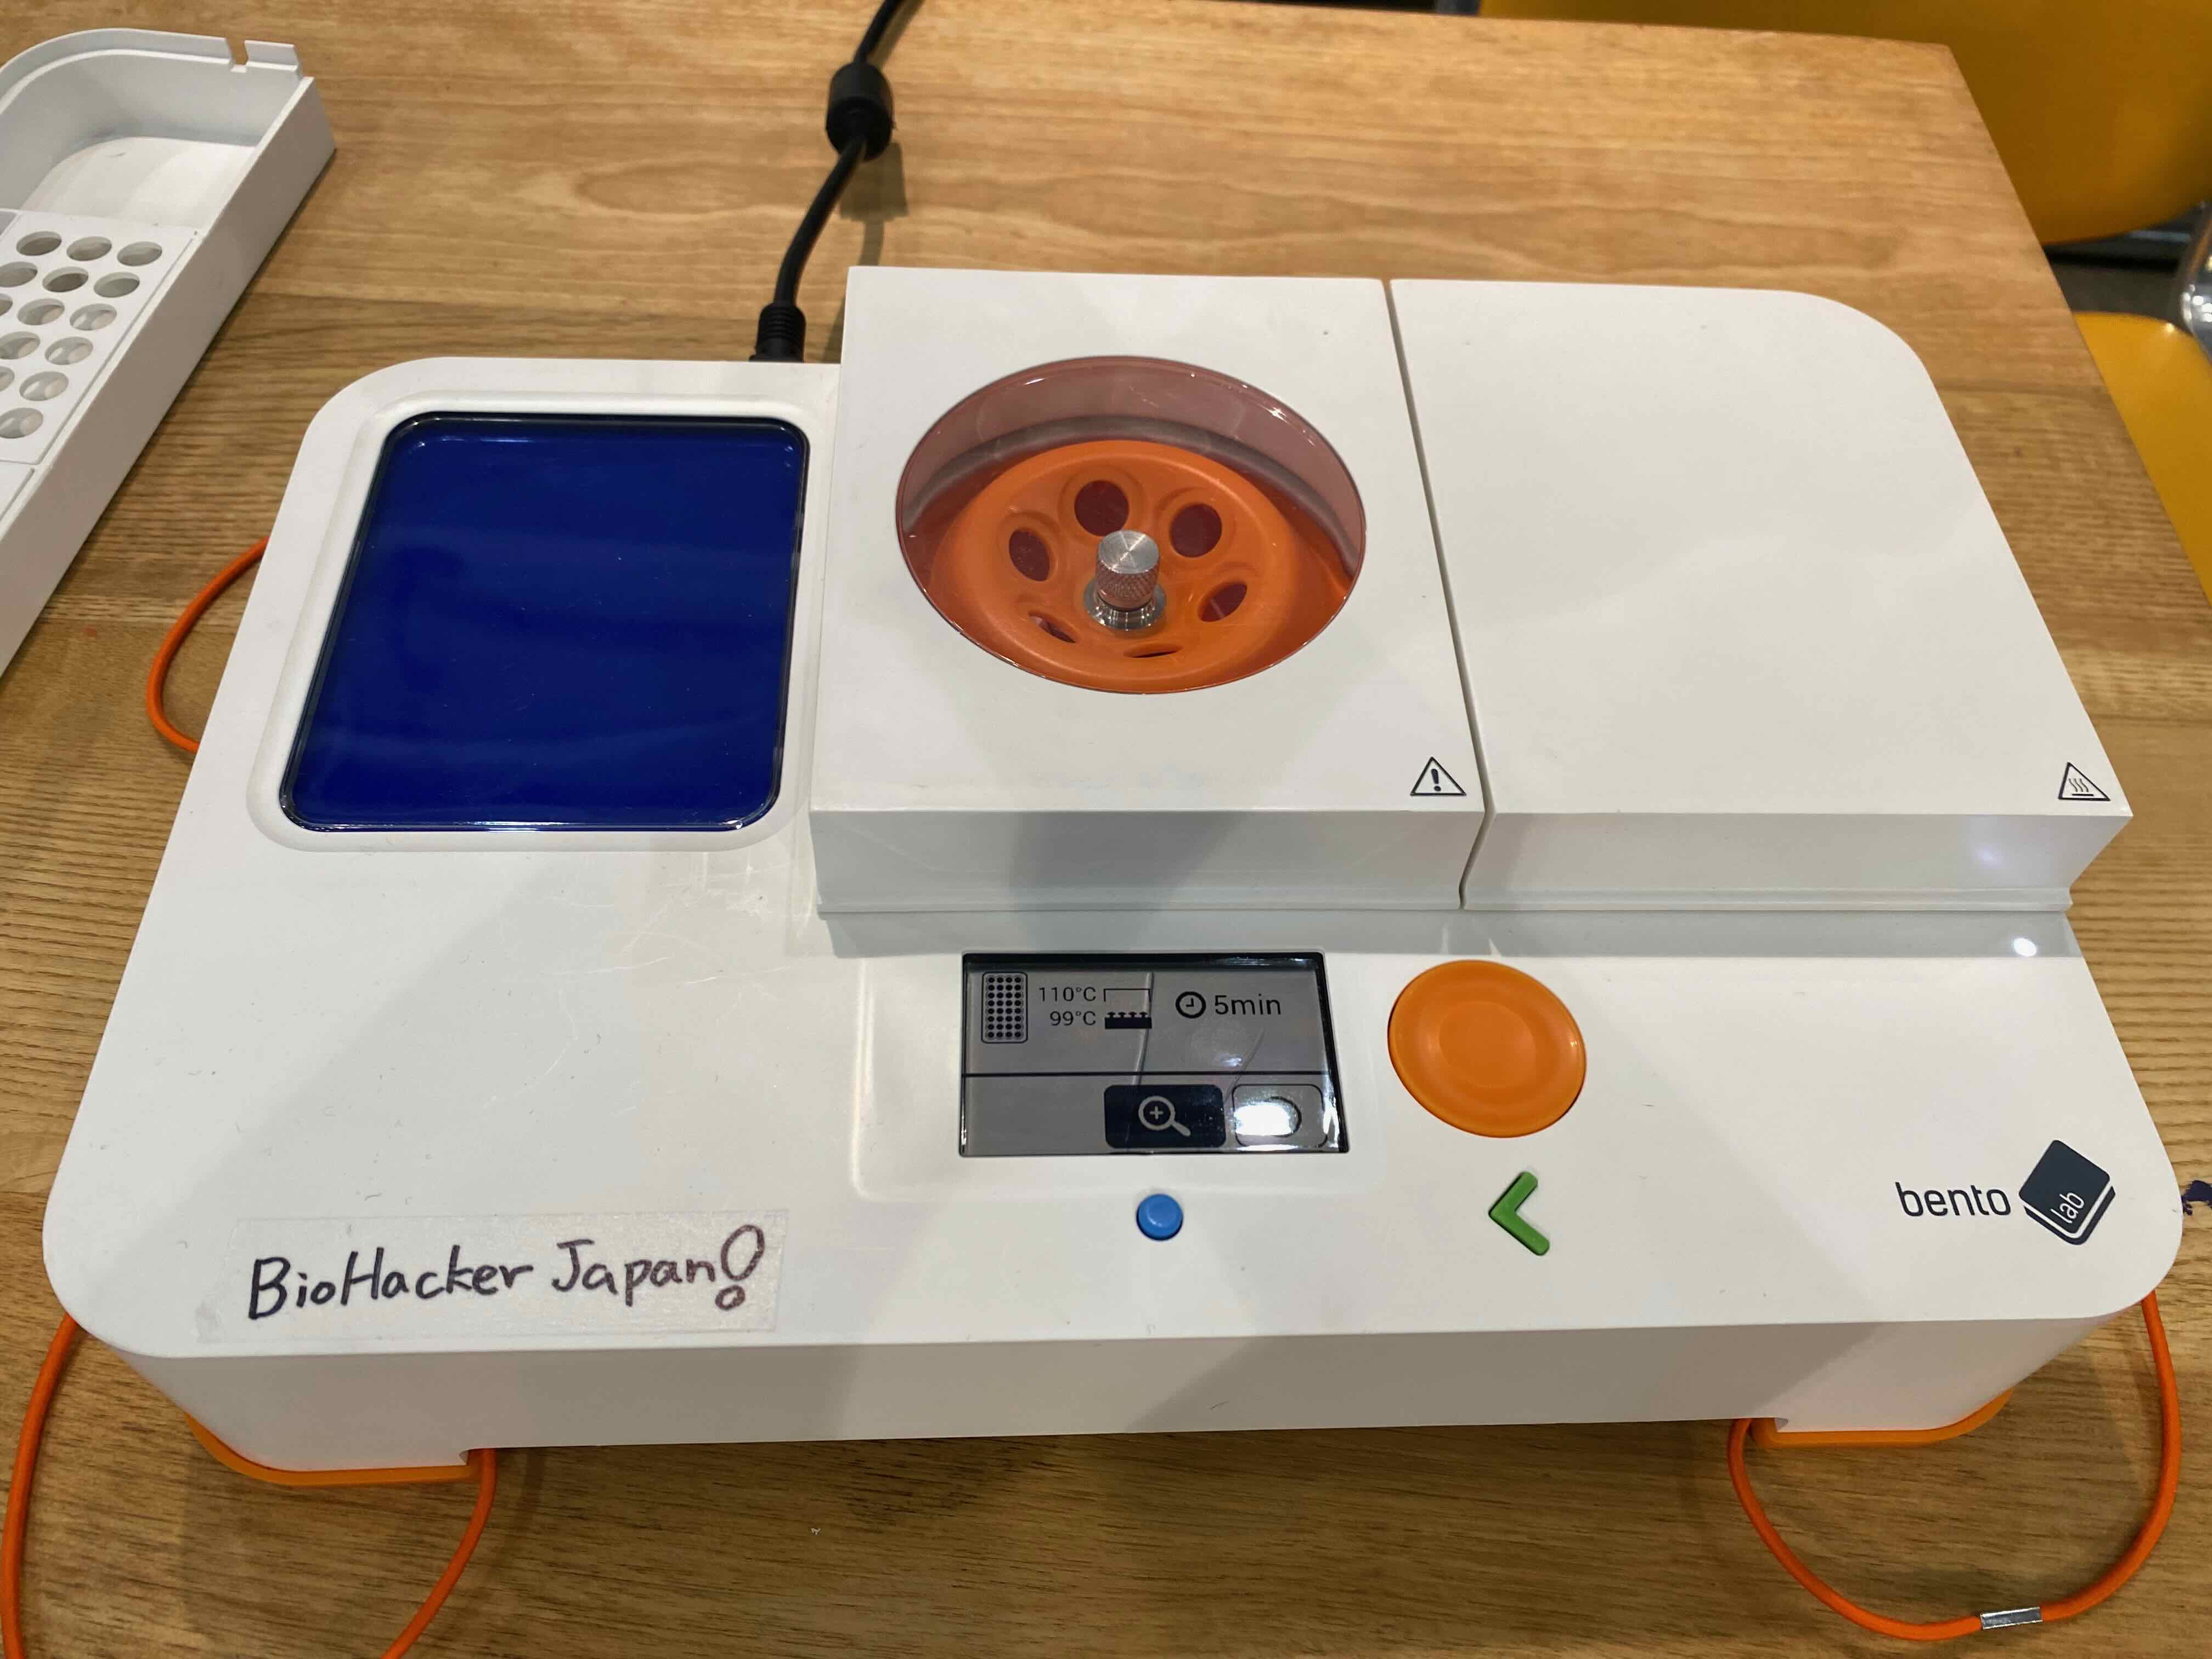
PCR by Bento Lab.
We tried PCR experiment by Bento Lab.
This time, we tried PCR Extraction from Saliva. The instruction of this experiment by Bento Lab is here.
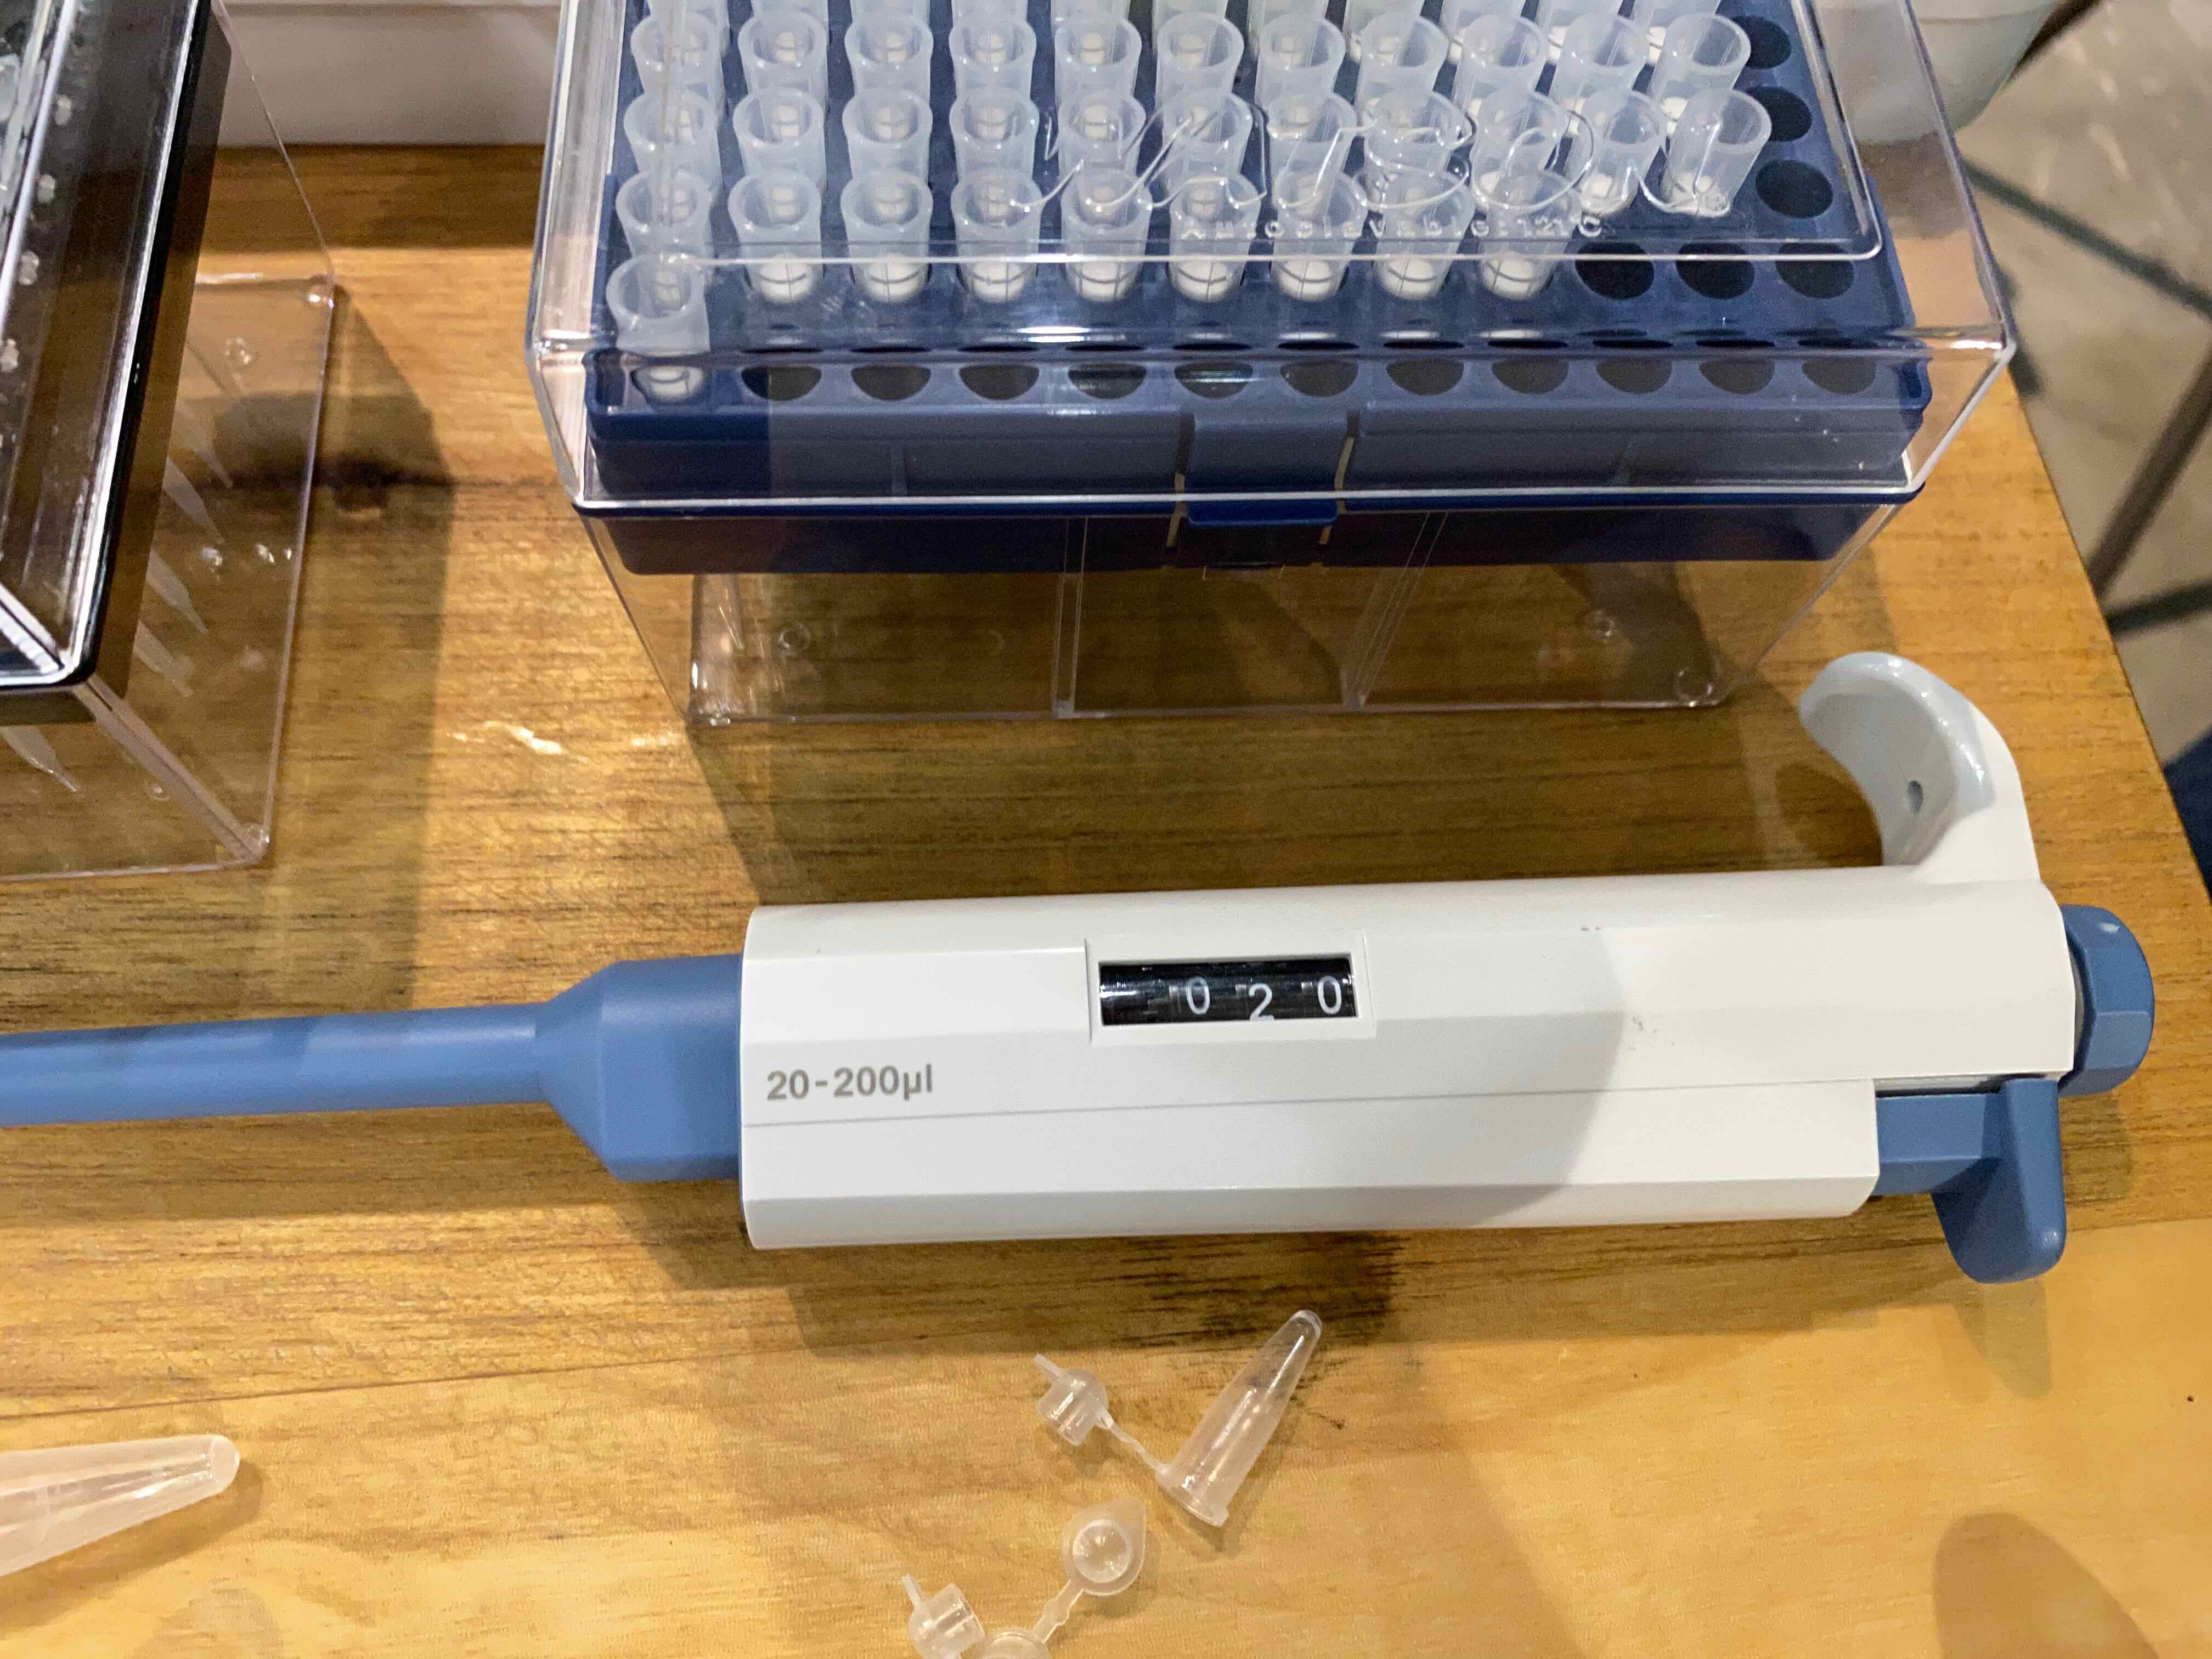
Micro-pipette Excersize
First, we excisize the use of micro-pipette. Micro-pipette is very useful to take so little amount of liquid materials. The features of micro-pipette are:
- set dials for decide how much (maximum) liquid materials to take
- Button have two stages to completely push out the liquid materials.
In our lab, there are two types of micro-pipettes. This is for 20-200 ul.
Also, this is for 2-20ul.
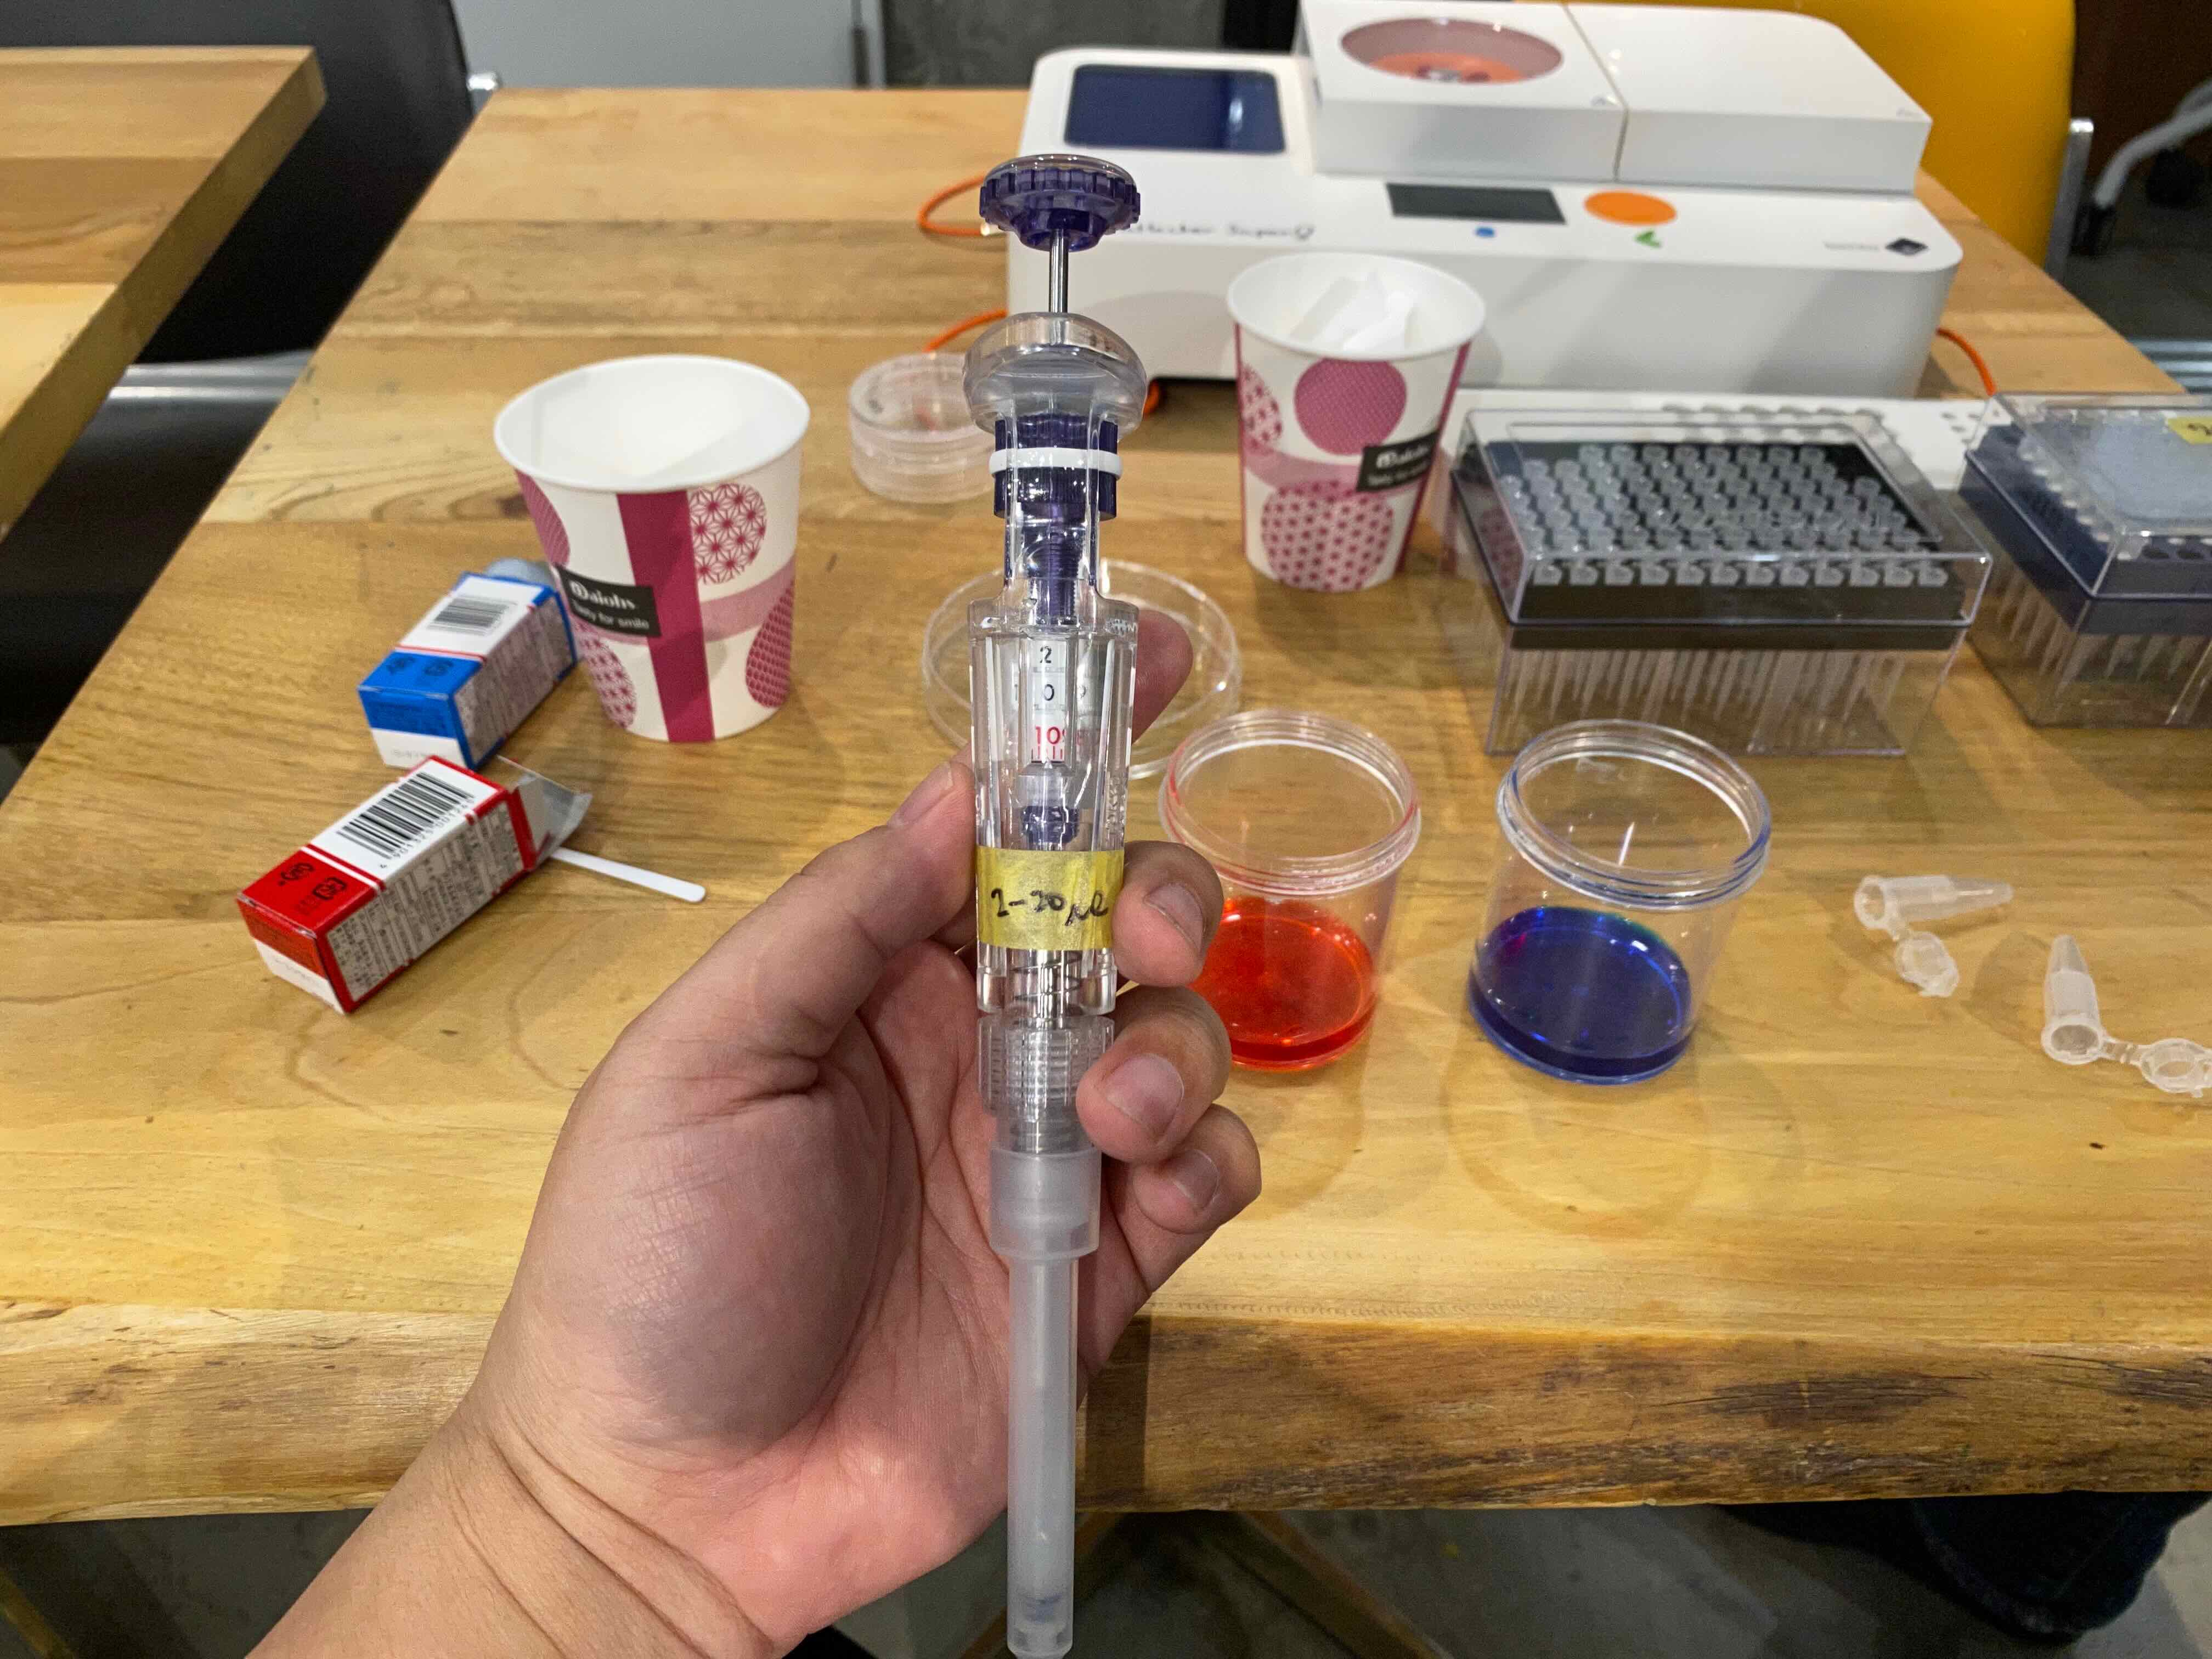
This is a practices of how to use micro-pipette.
Gathering Saliva
To gather the saliva, I used salt water as a mouthwash to collect my cheek cells. Pour the salt water into my mouth, then I rinses my inner cheeks vigorously for 30 - 60 seconds. After that, I spitted the saline solution into a new glass.
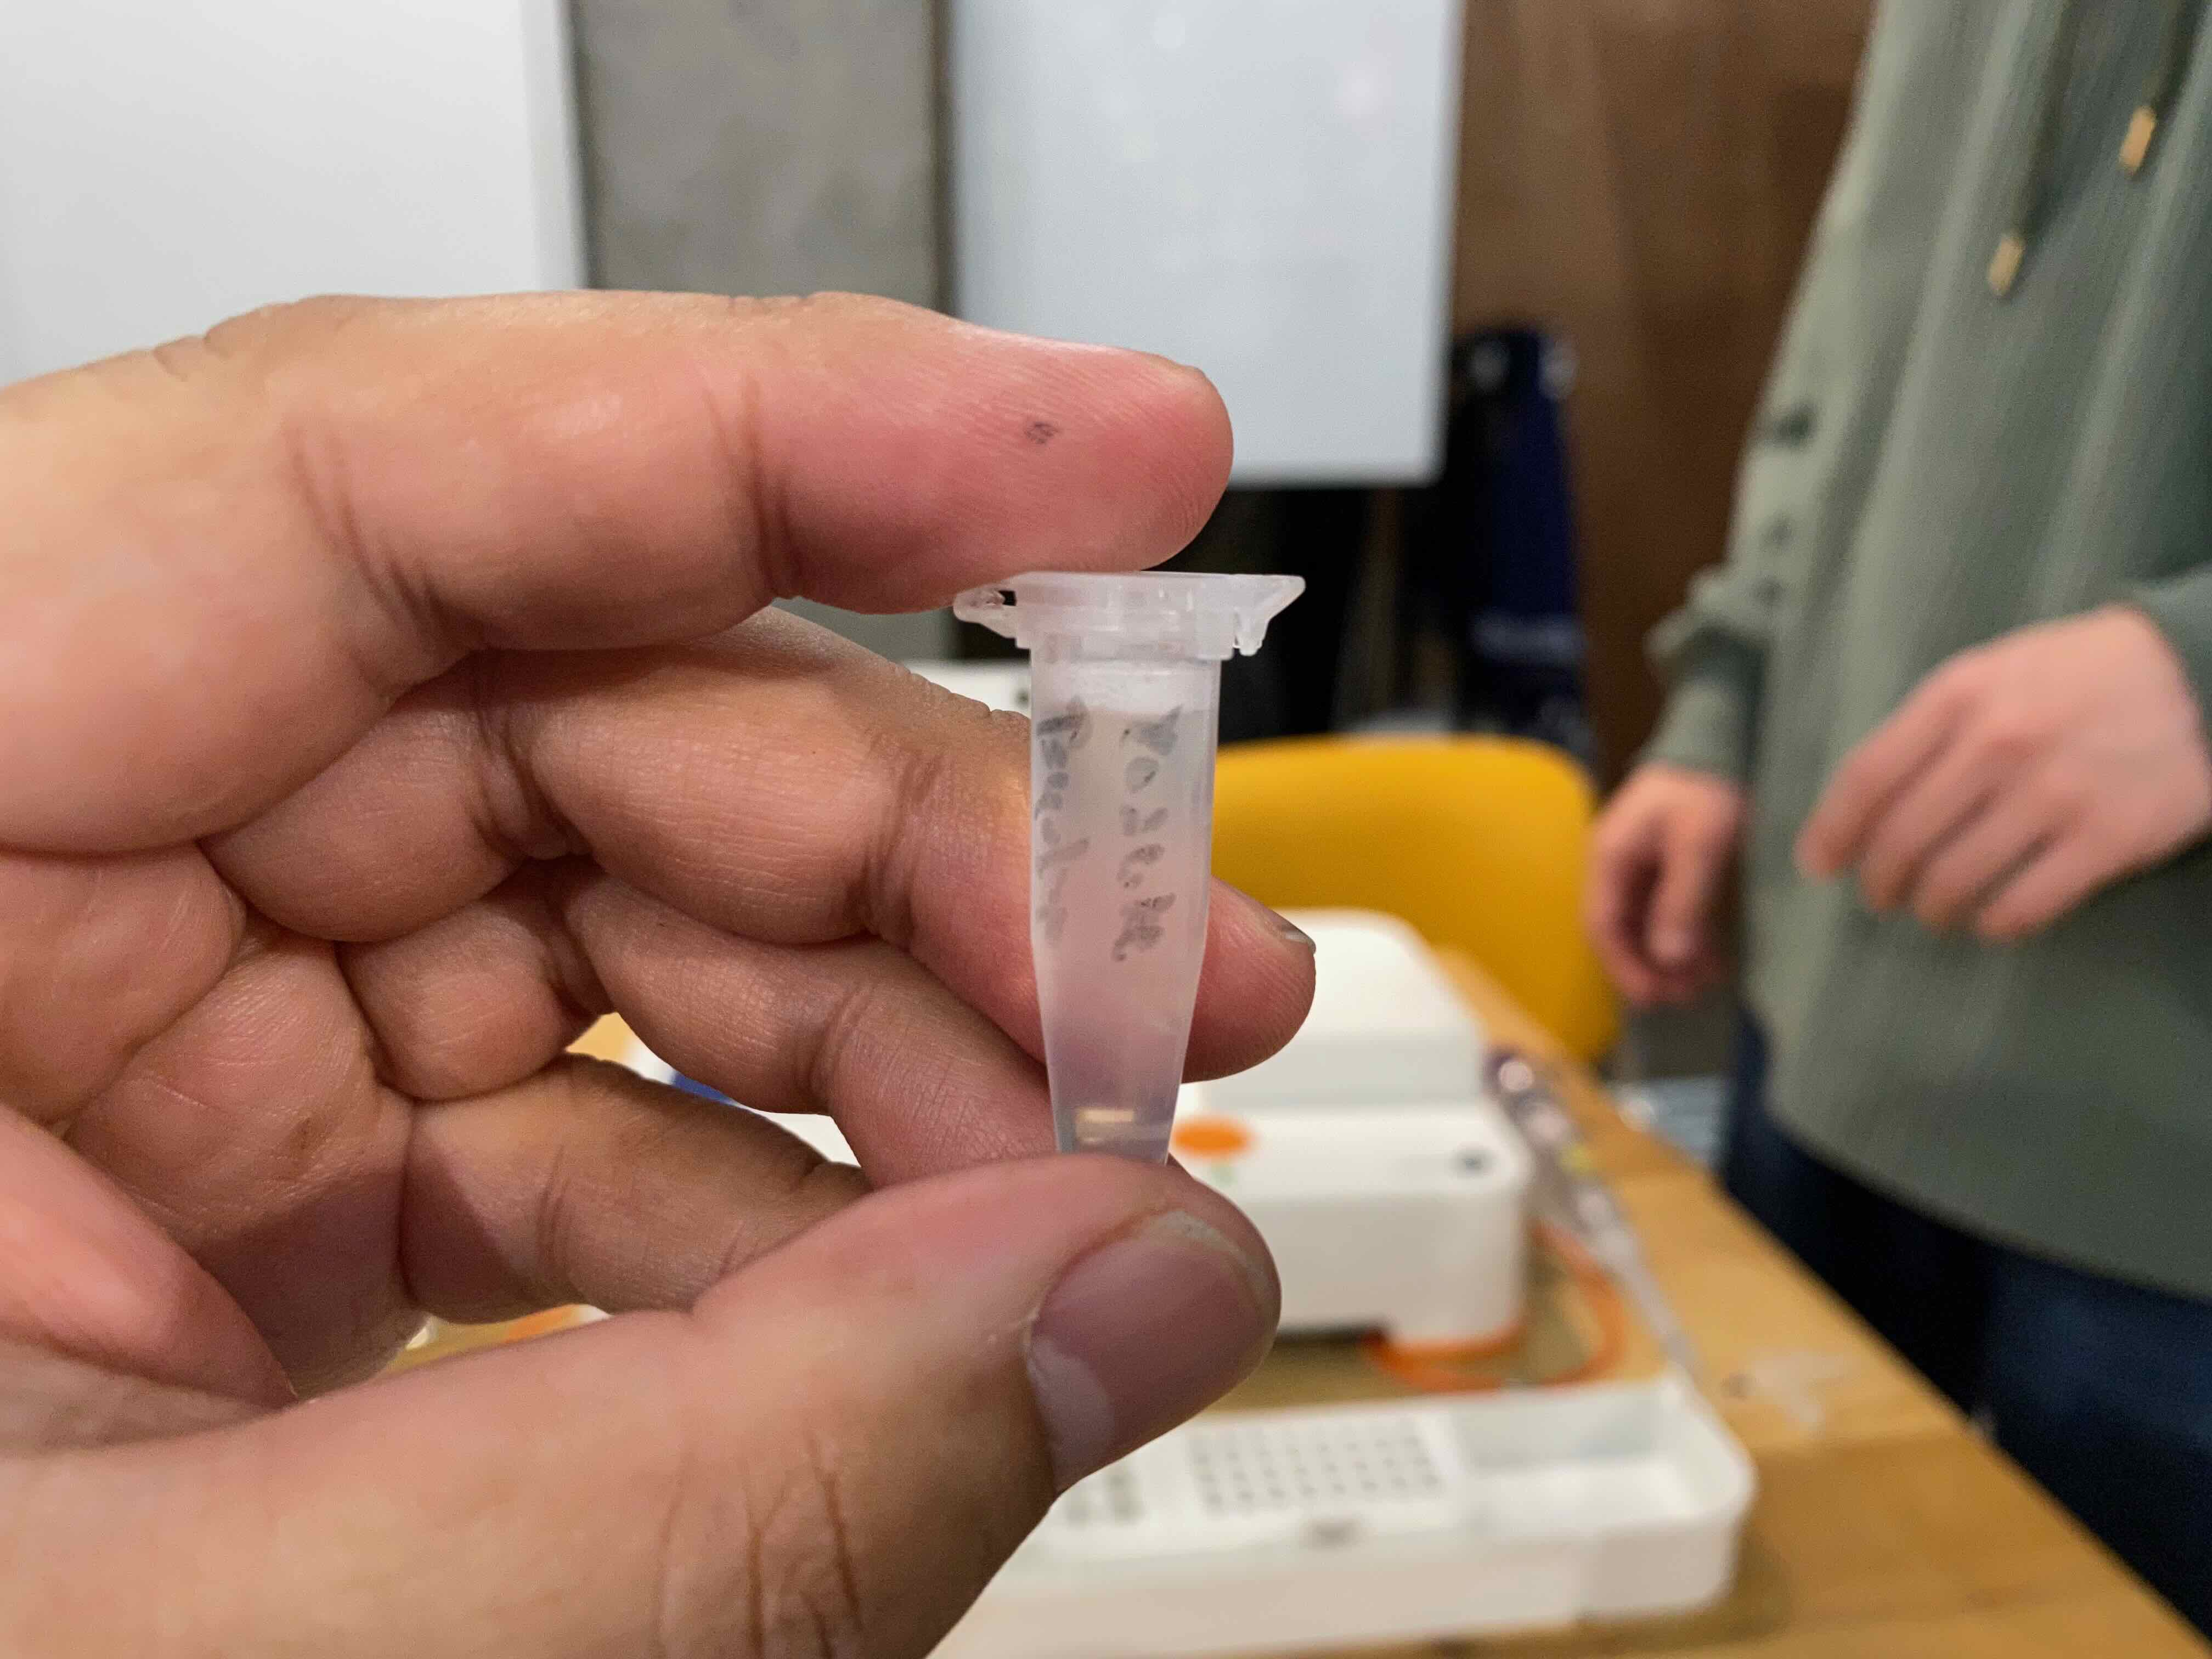
After gathering saliva (cheek cells), I moved it into the microcengrifuge tubes.
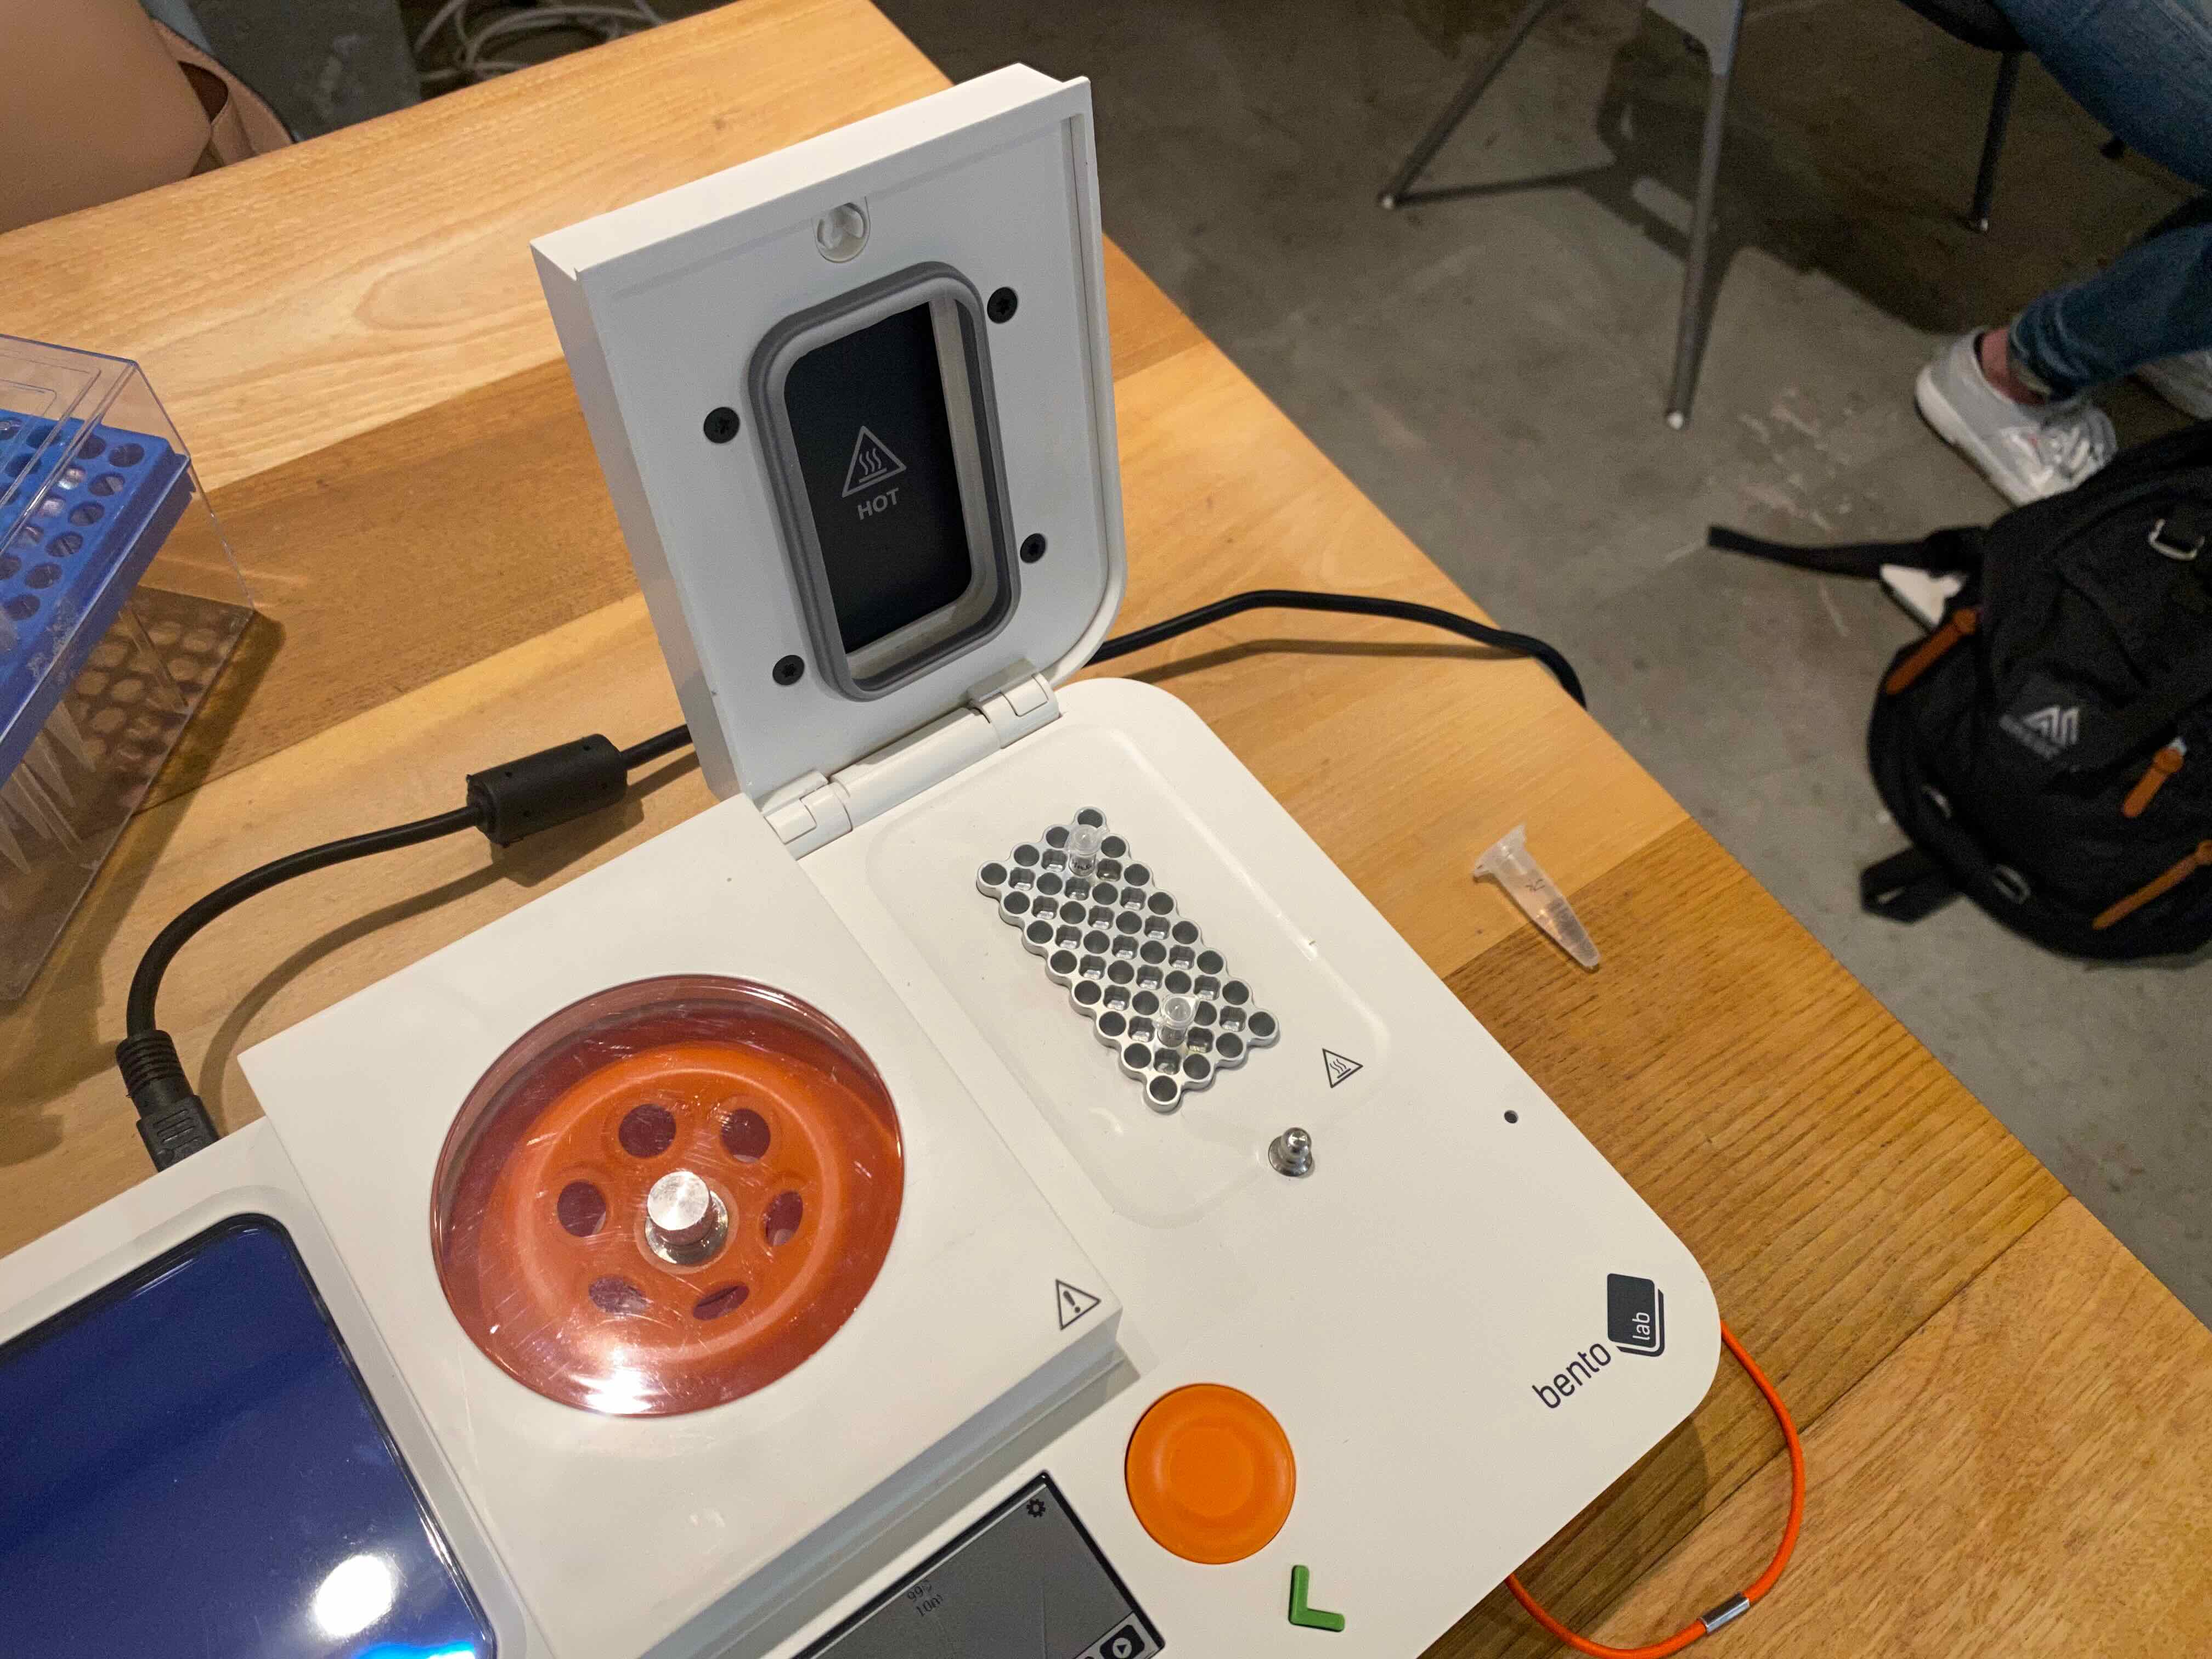
Centrifuge
Now, I will try to use centrifuge of Bento Lab. It use gravitational force to concentrate the sample.
I set the micro-tube into the centrefuge. The important point is to balance the centrifuge with another sample or with another counter weight. If we set only two micro-tubes, we shold put them with keeping the balances on the centrifuge.
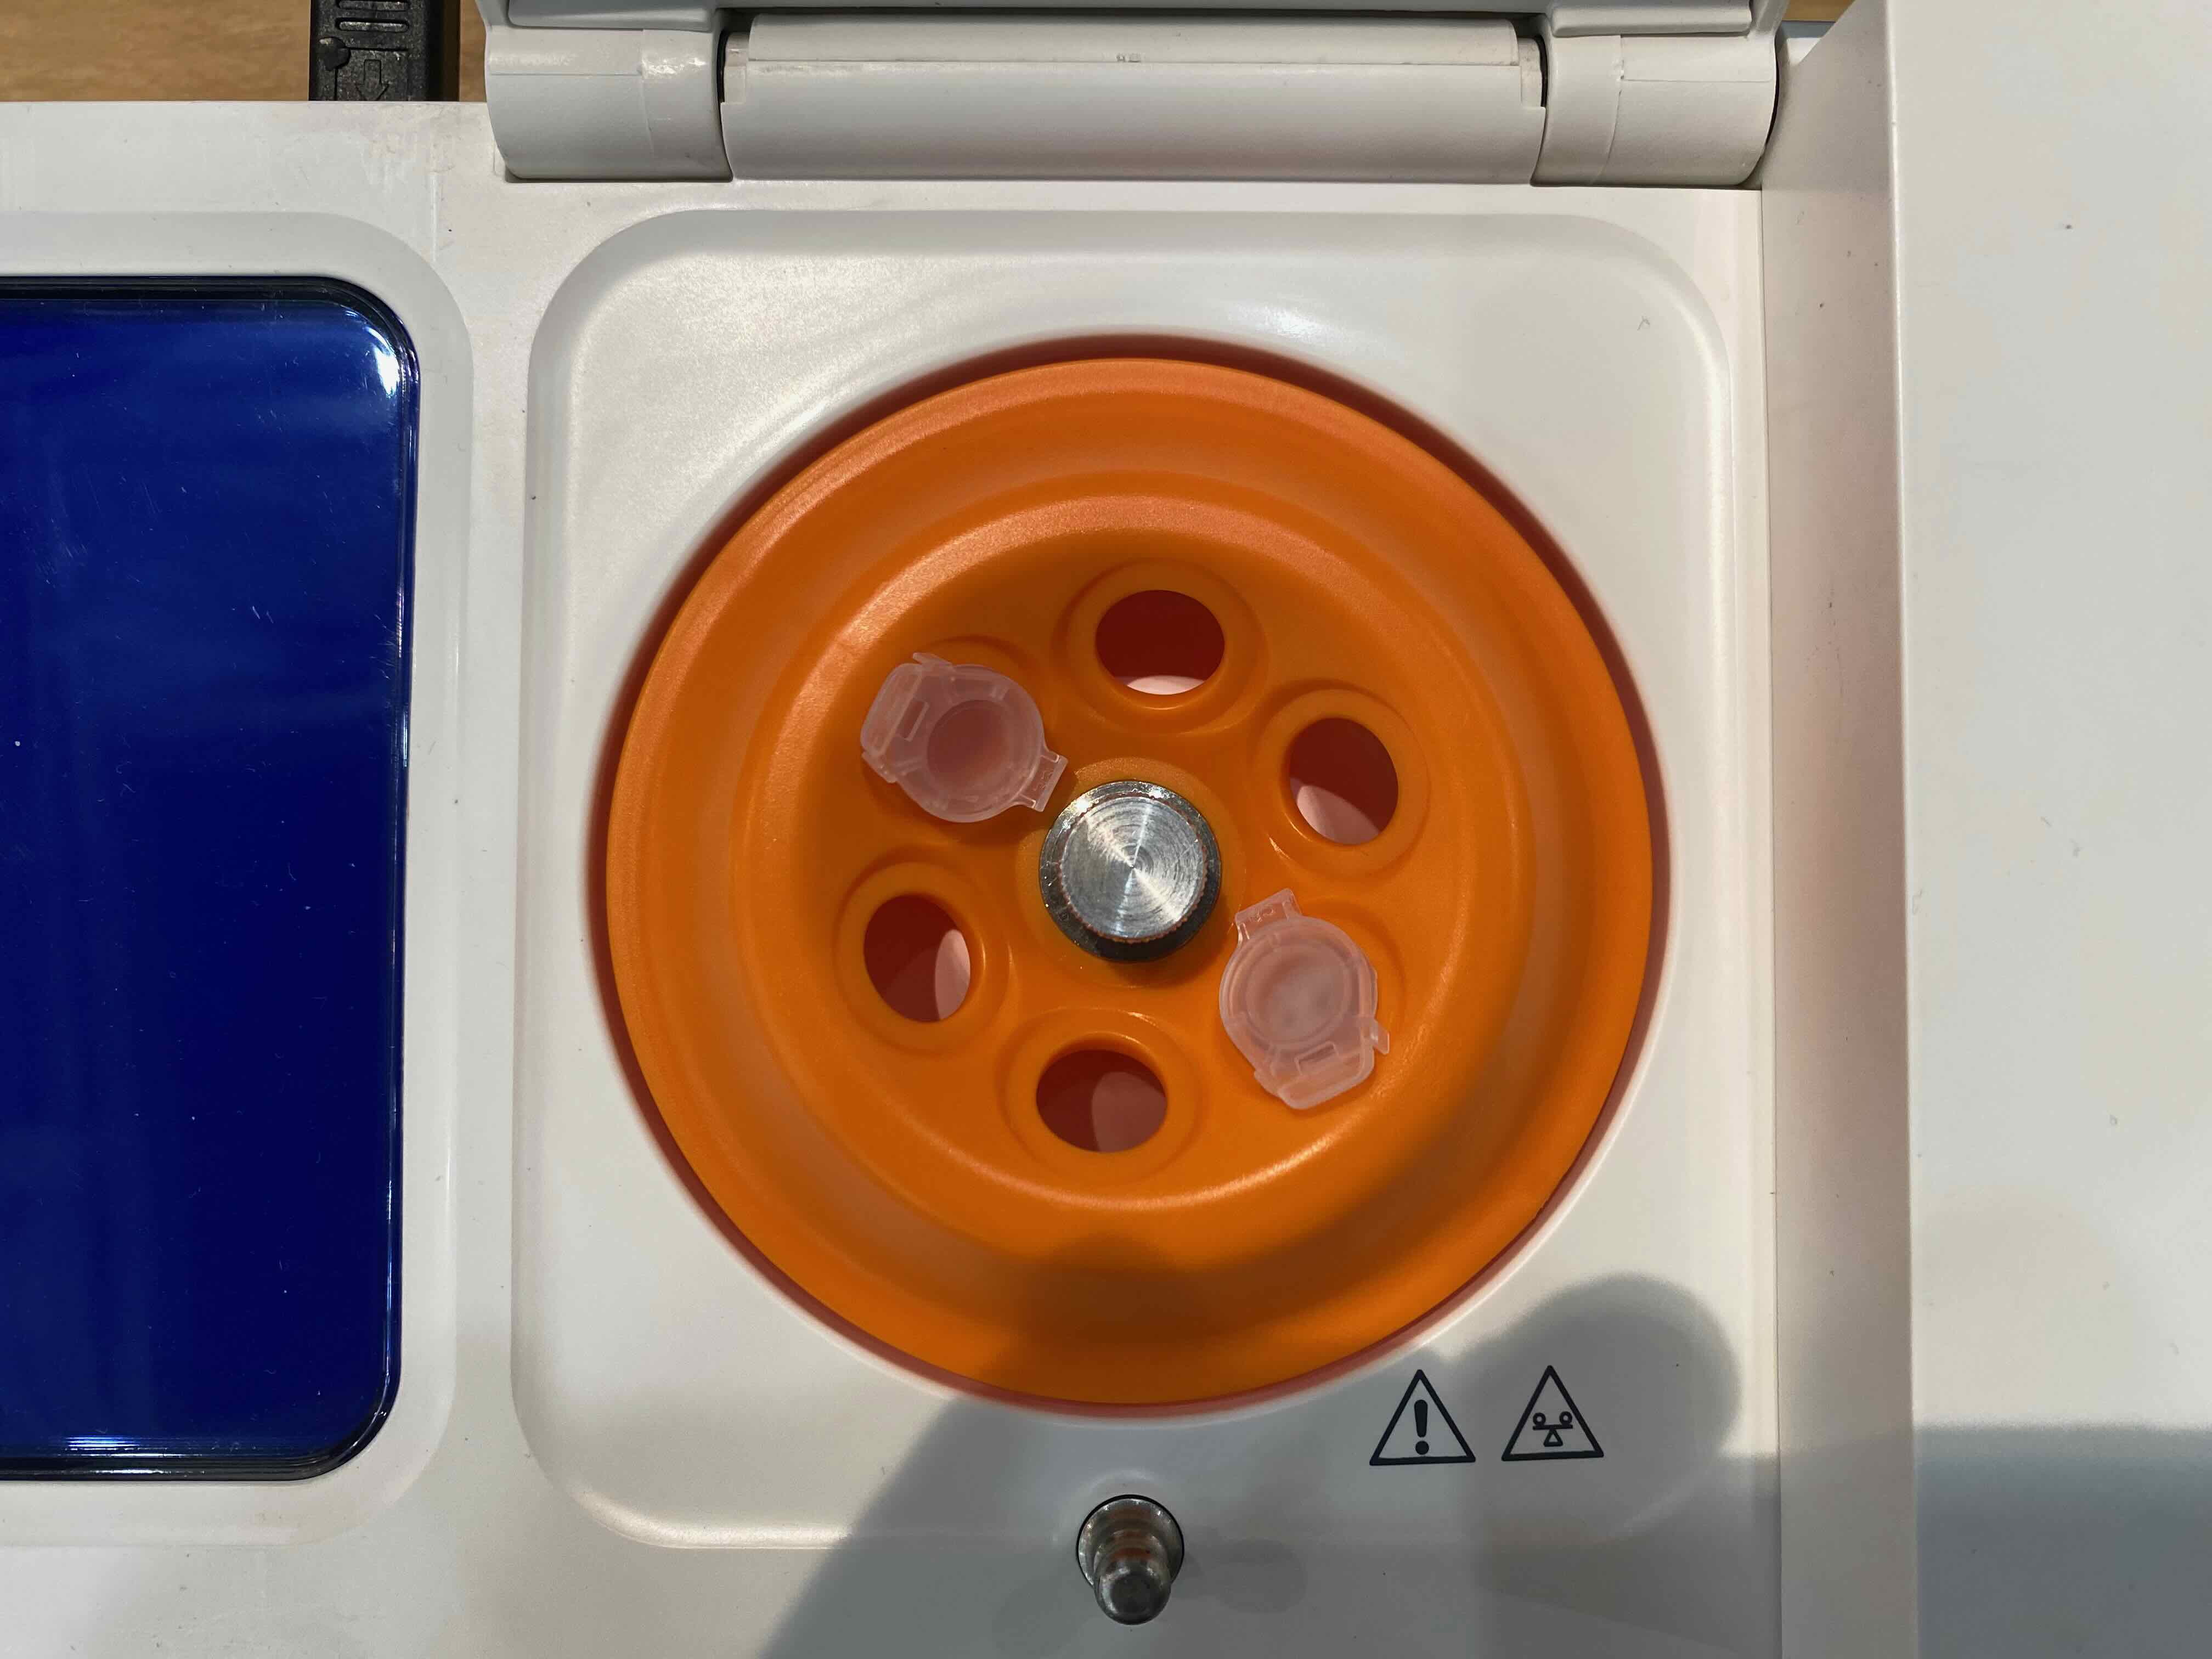
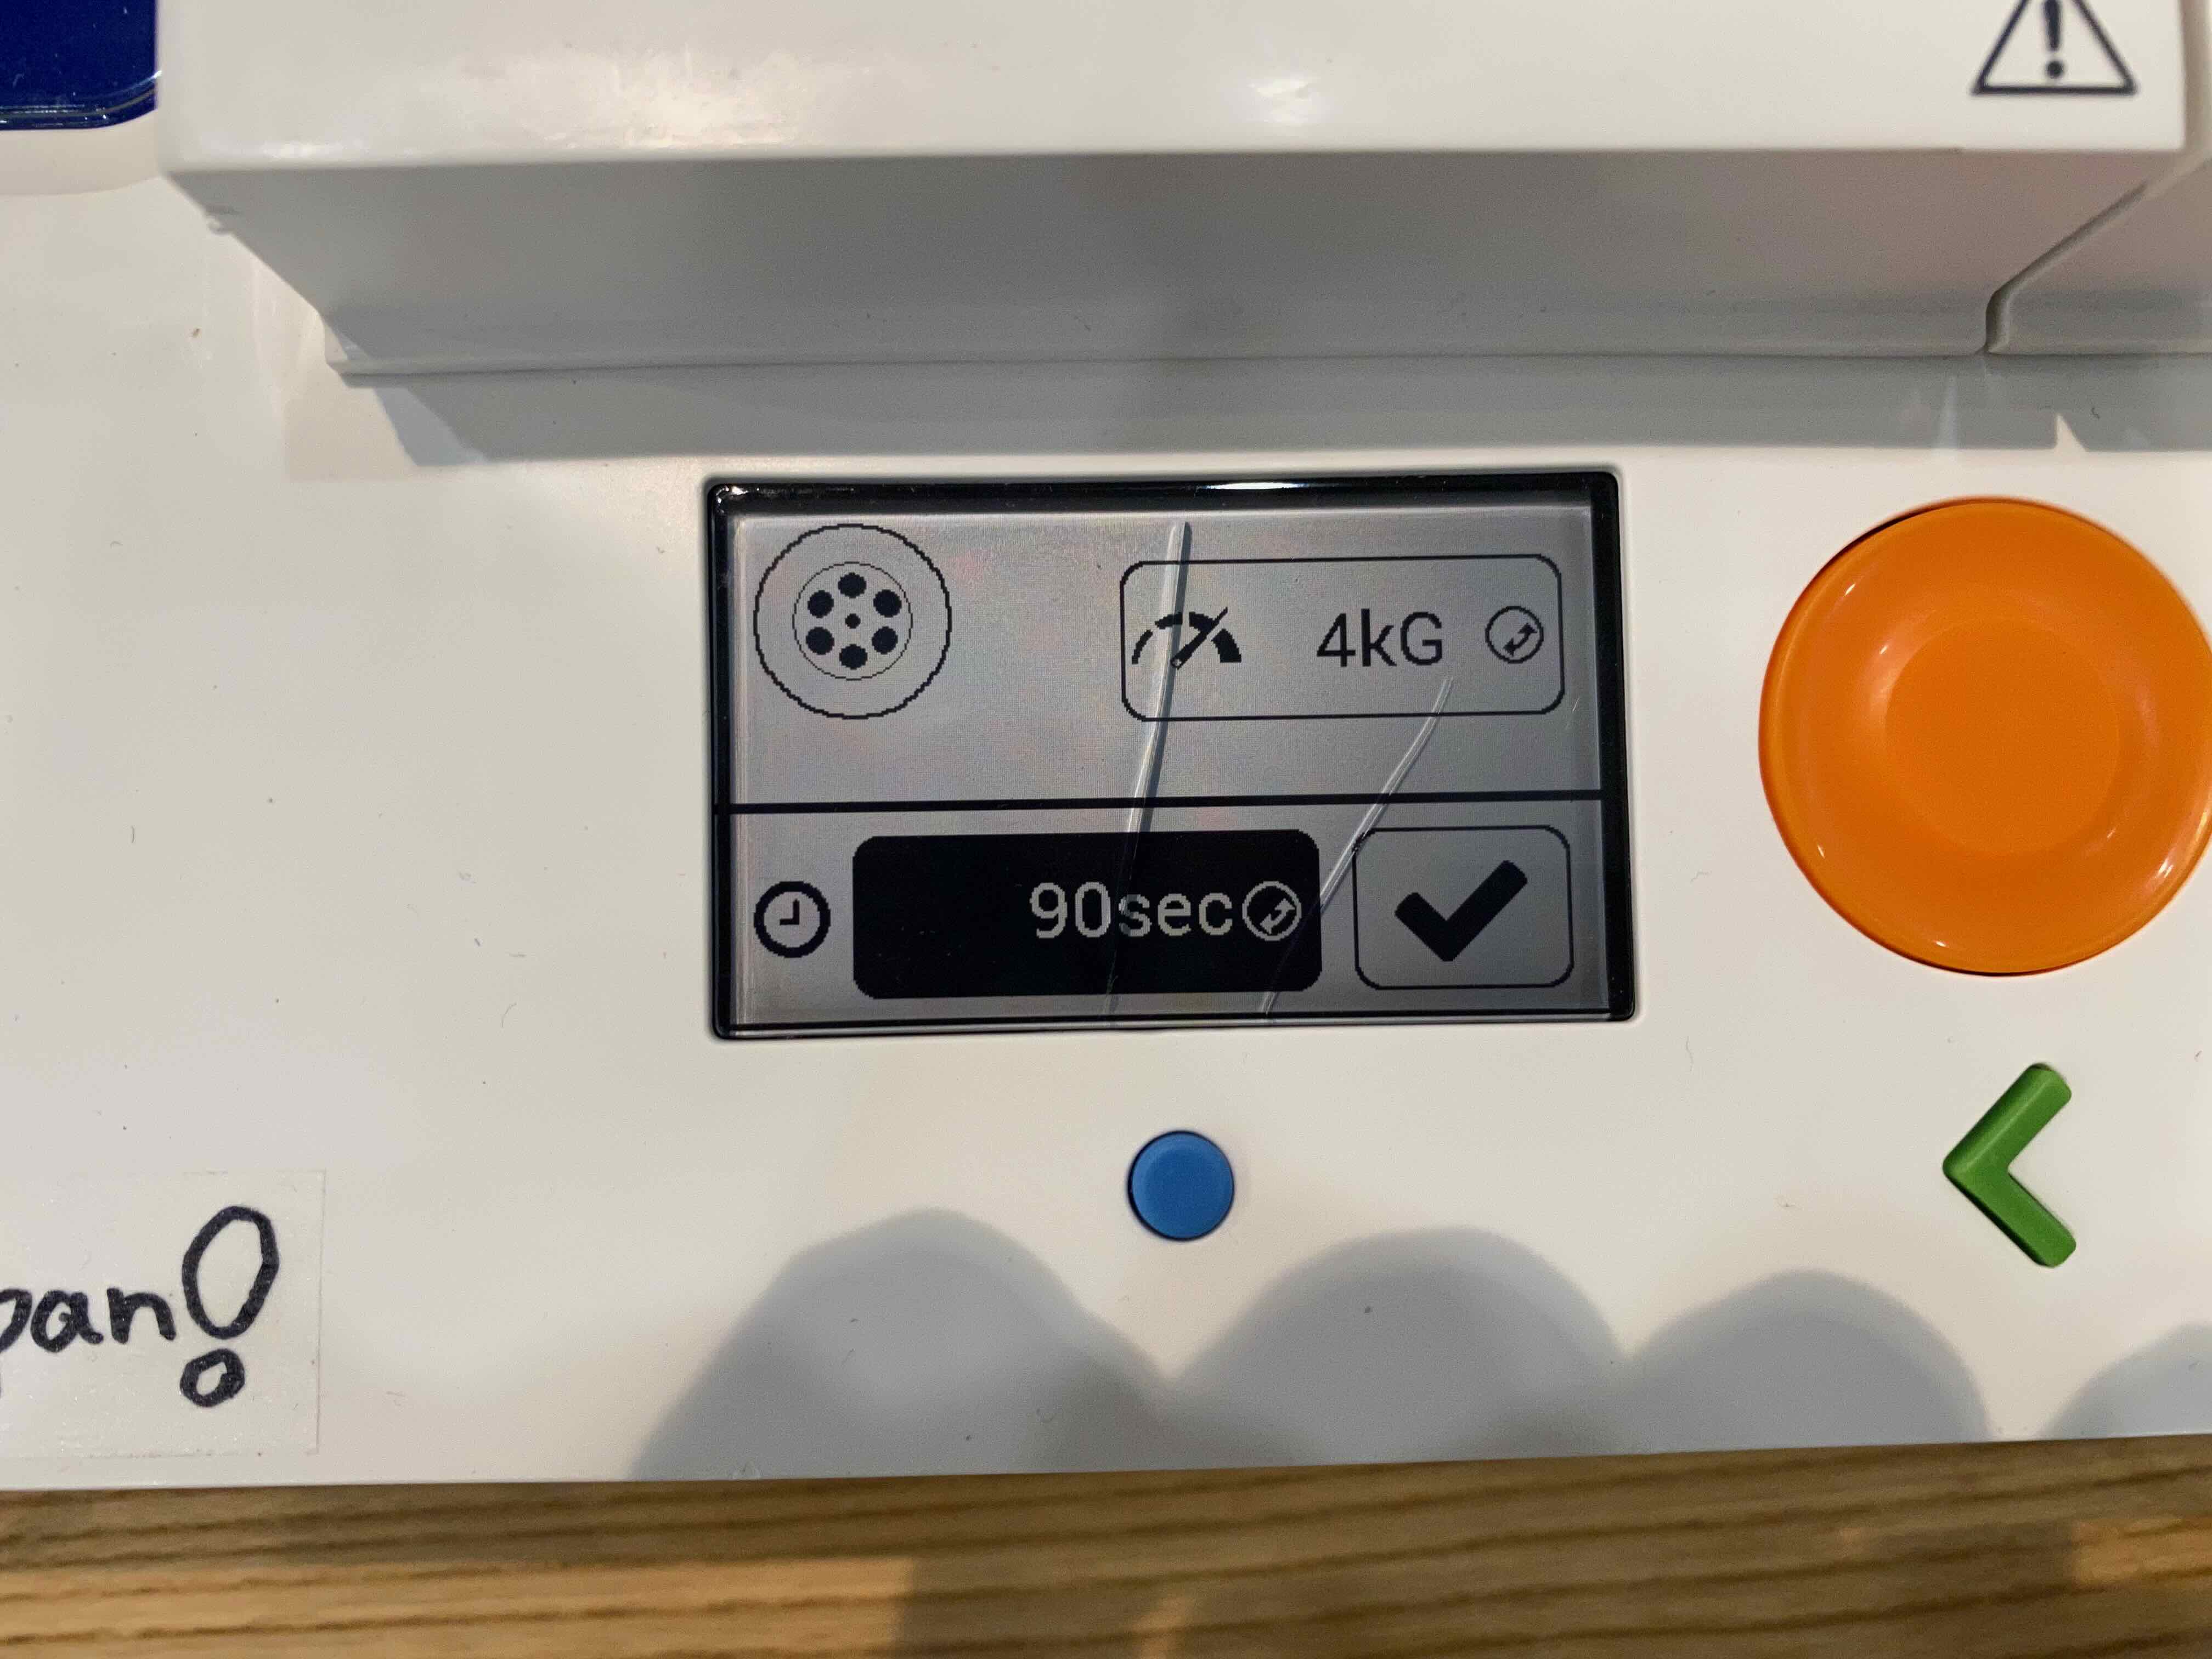
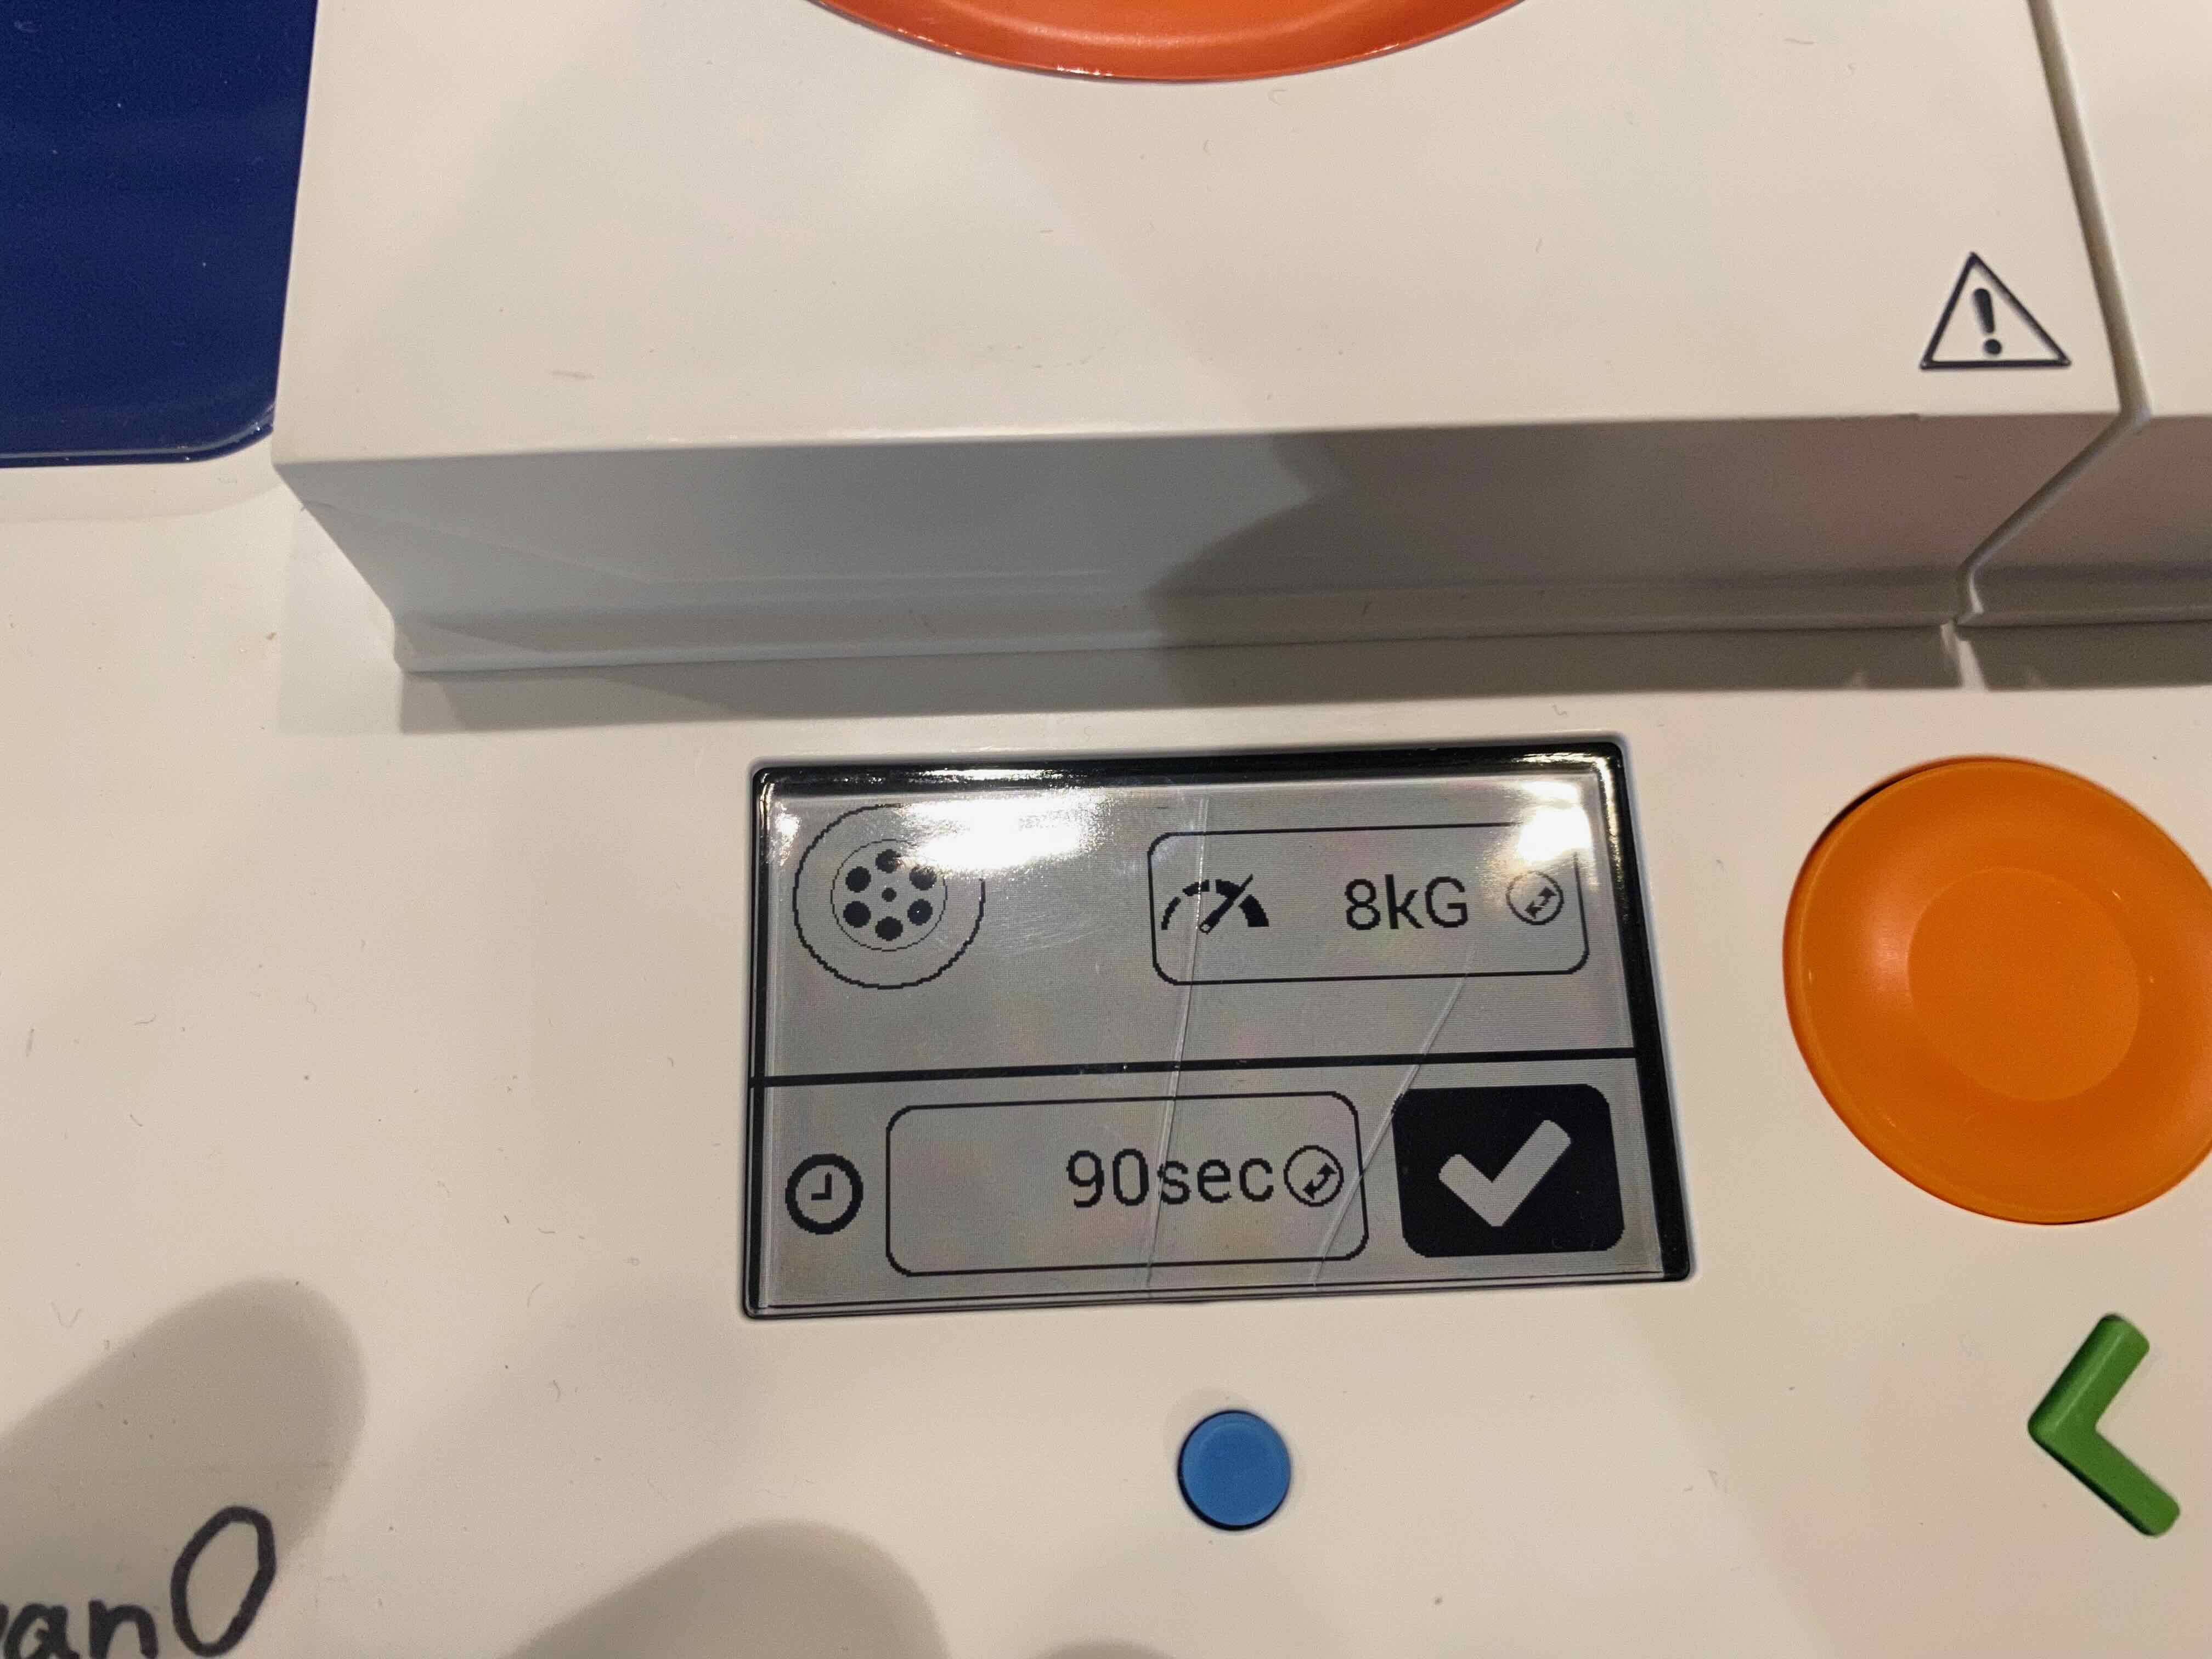
Once the micro-tubes is set with balance in the centrifuge roter, close the lid and activate the centrifuge module. Then, set the following…
- Speed: 4,000G
- spin for 90 seconds.
Then, start the centrifuge roter. The demonstration is here:
Recovering and Transfer the Pellet
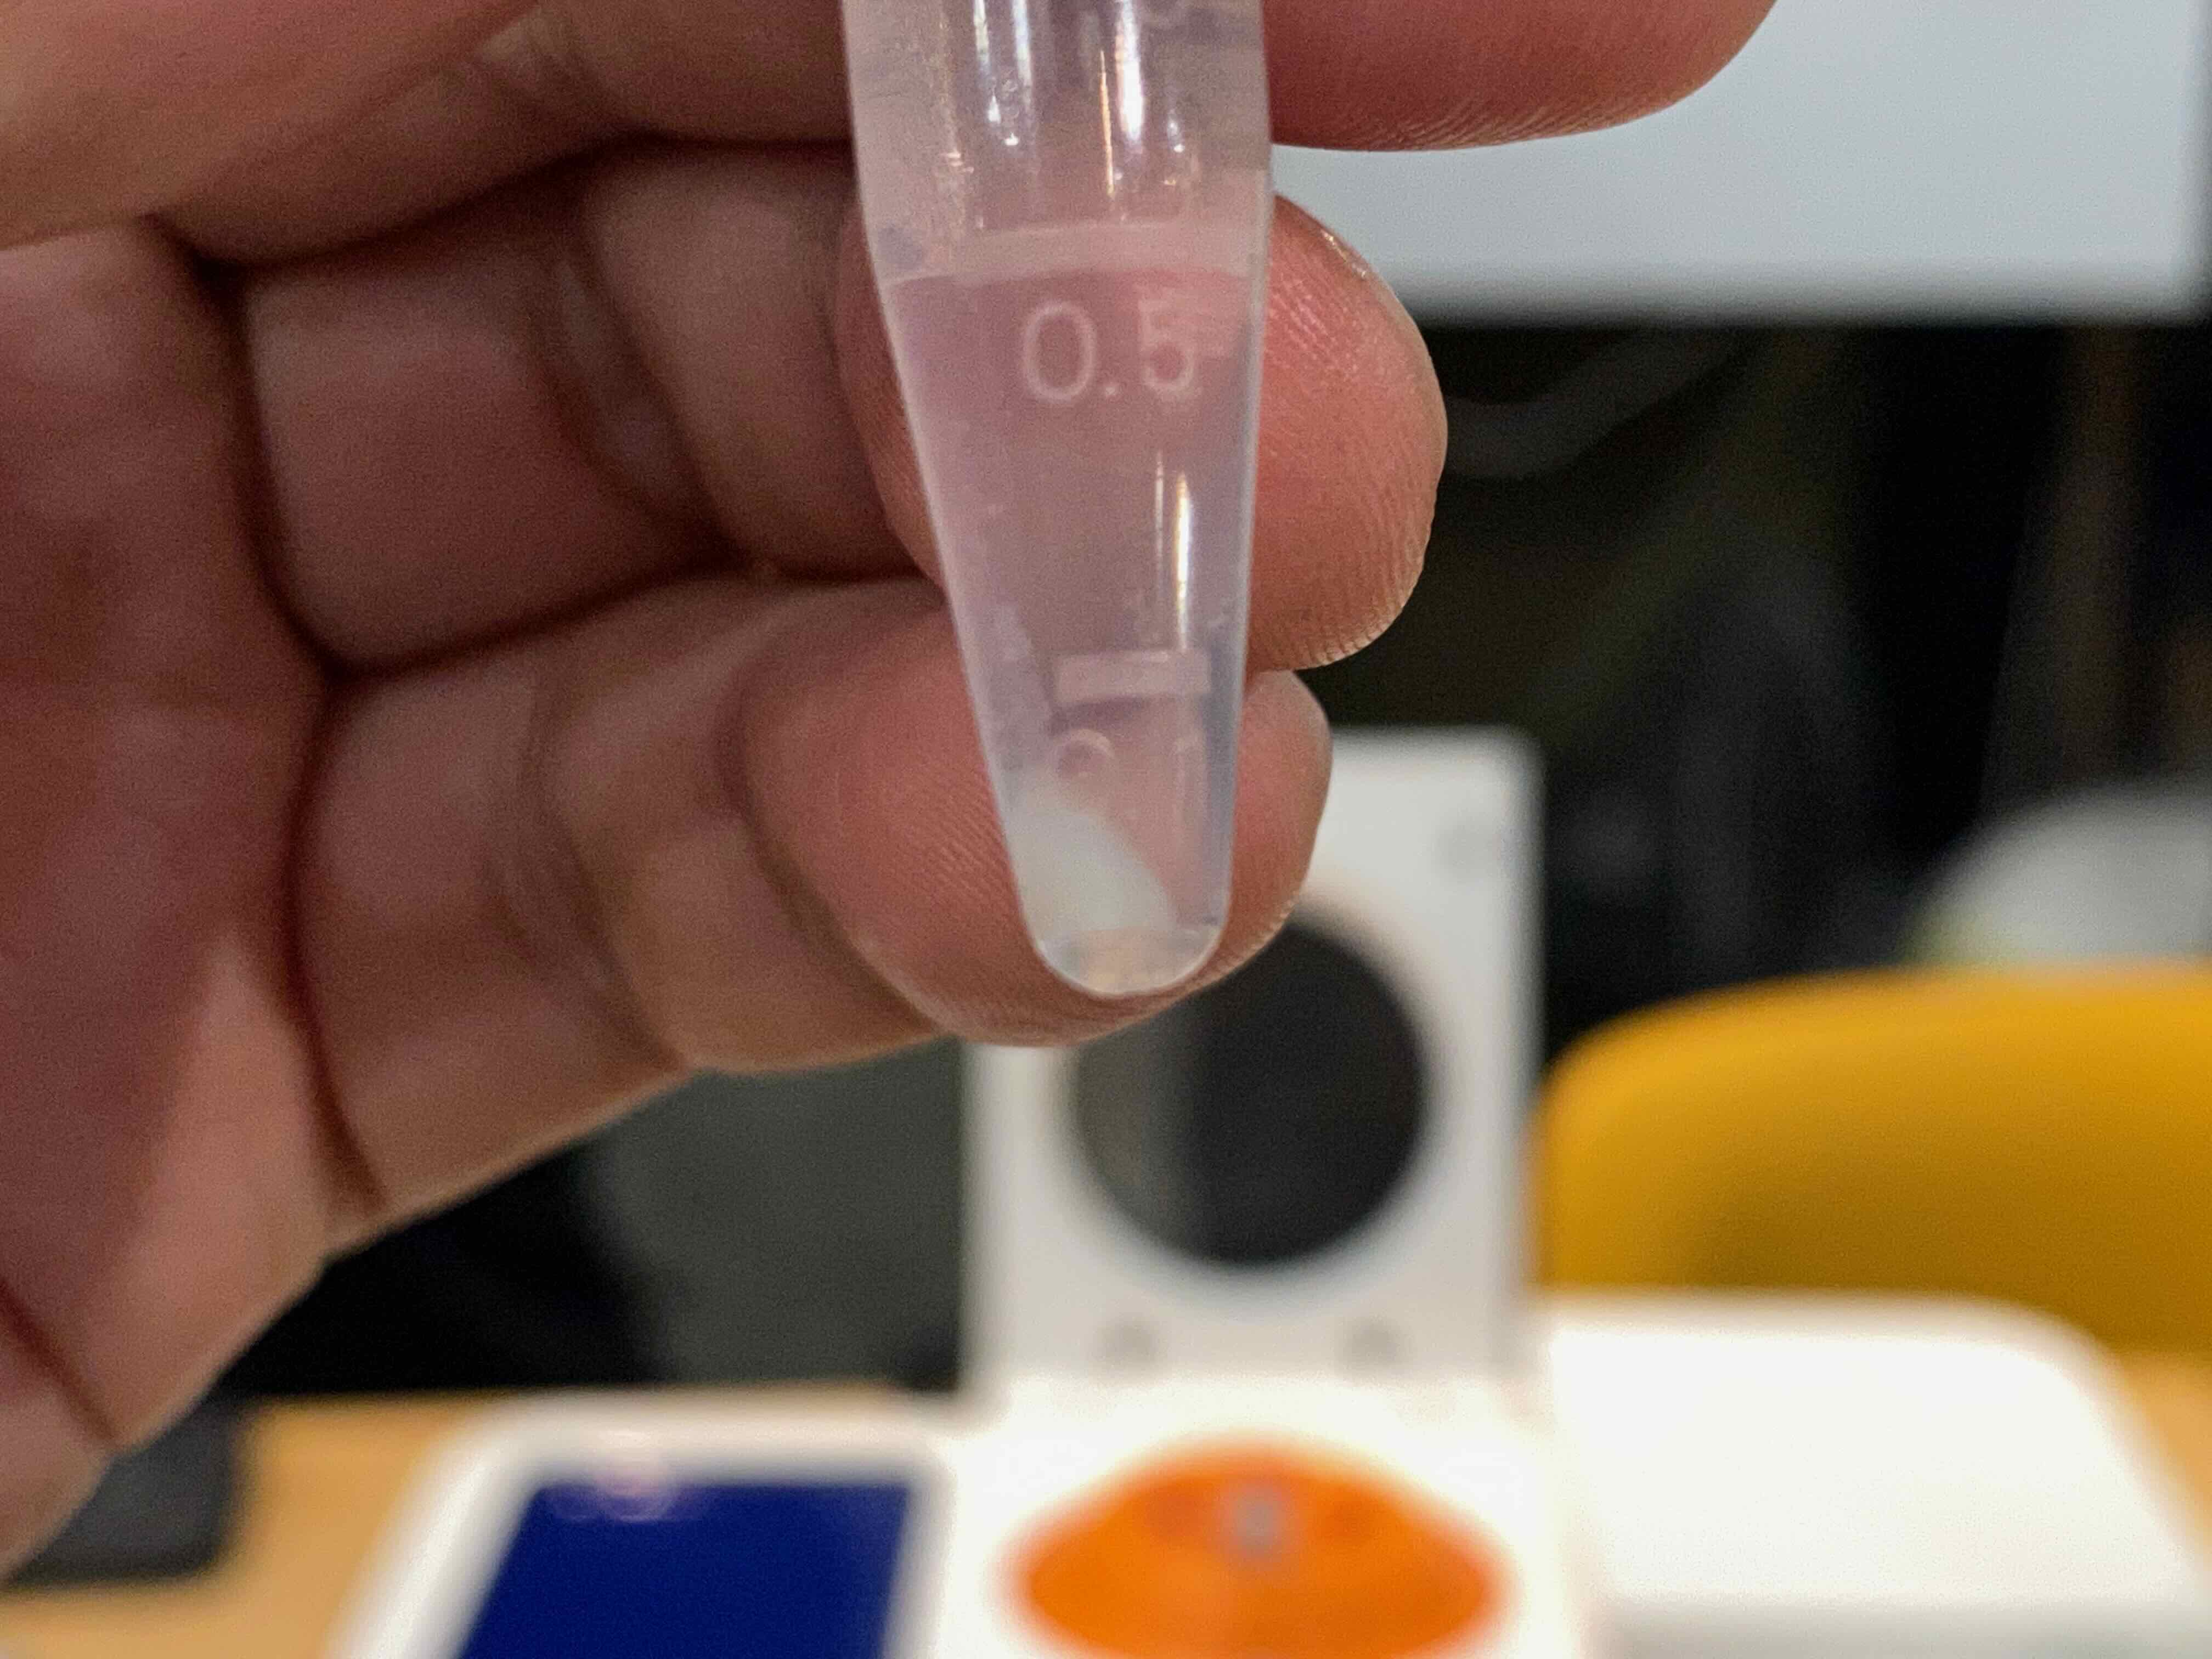
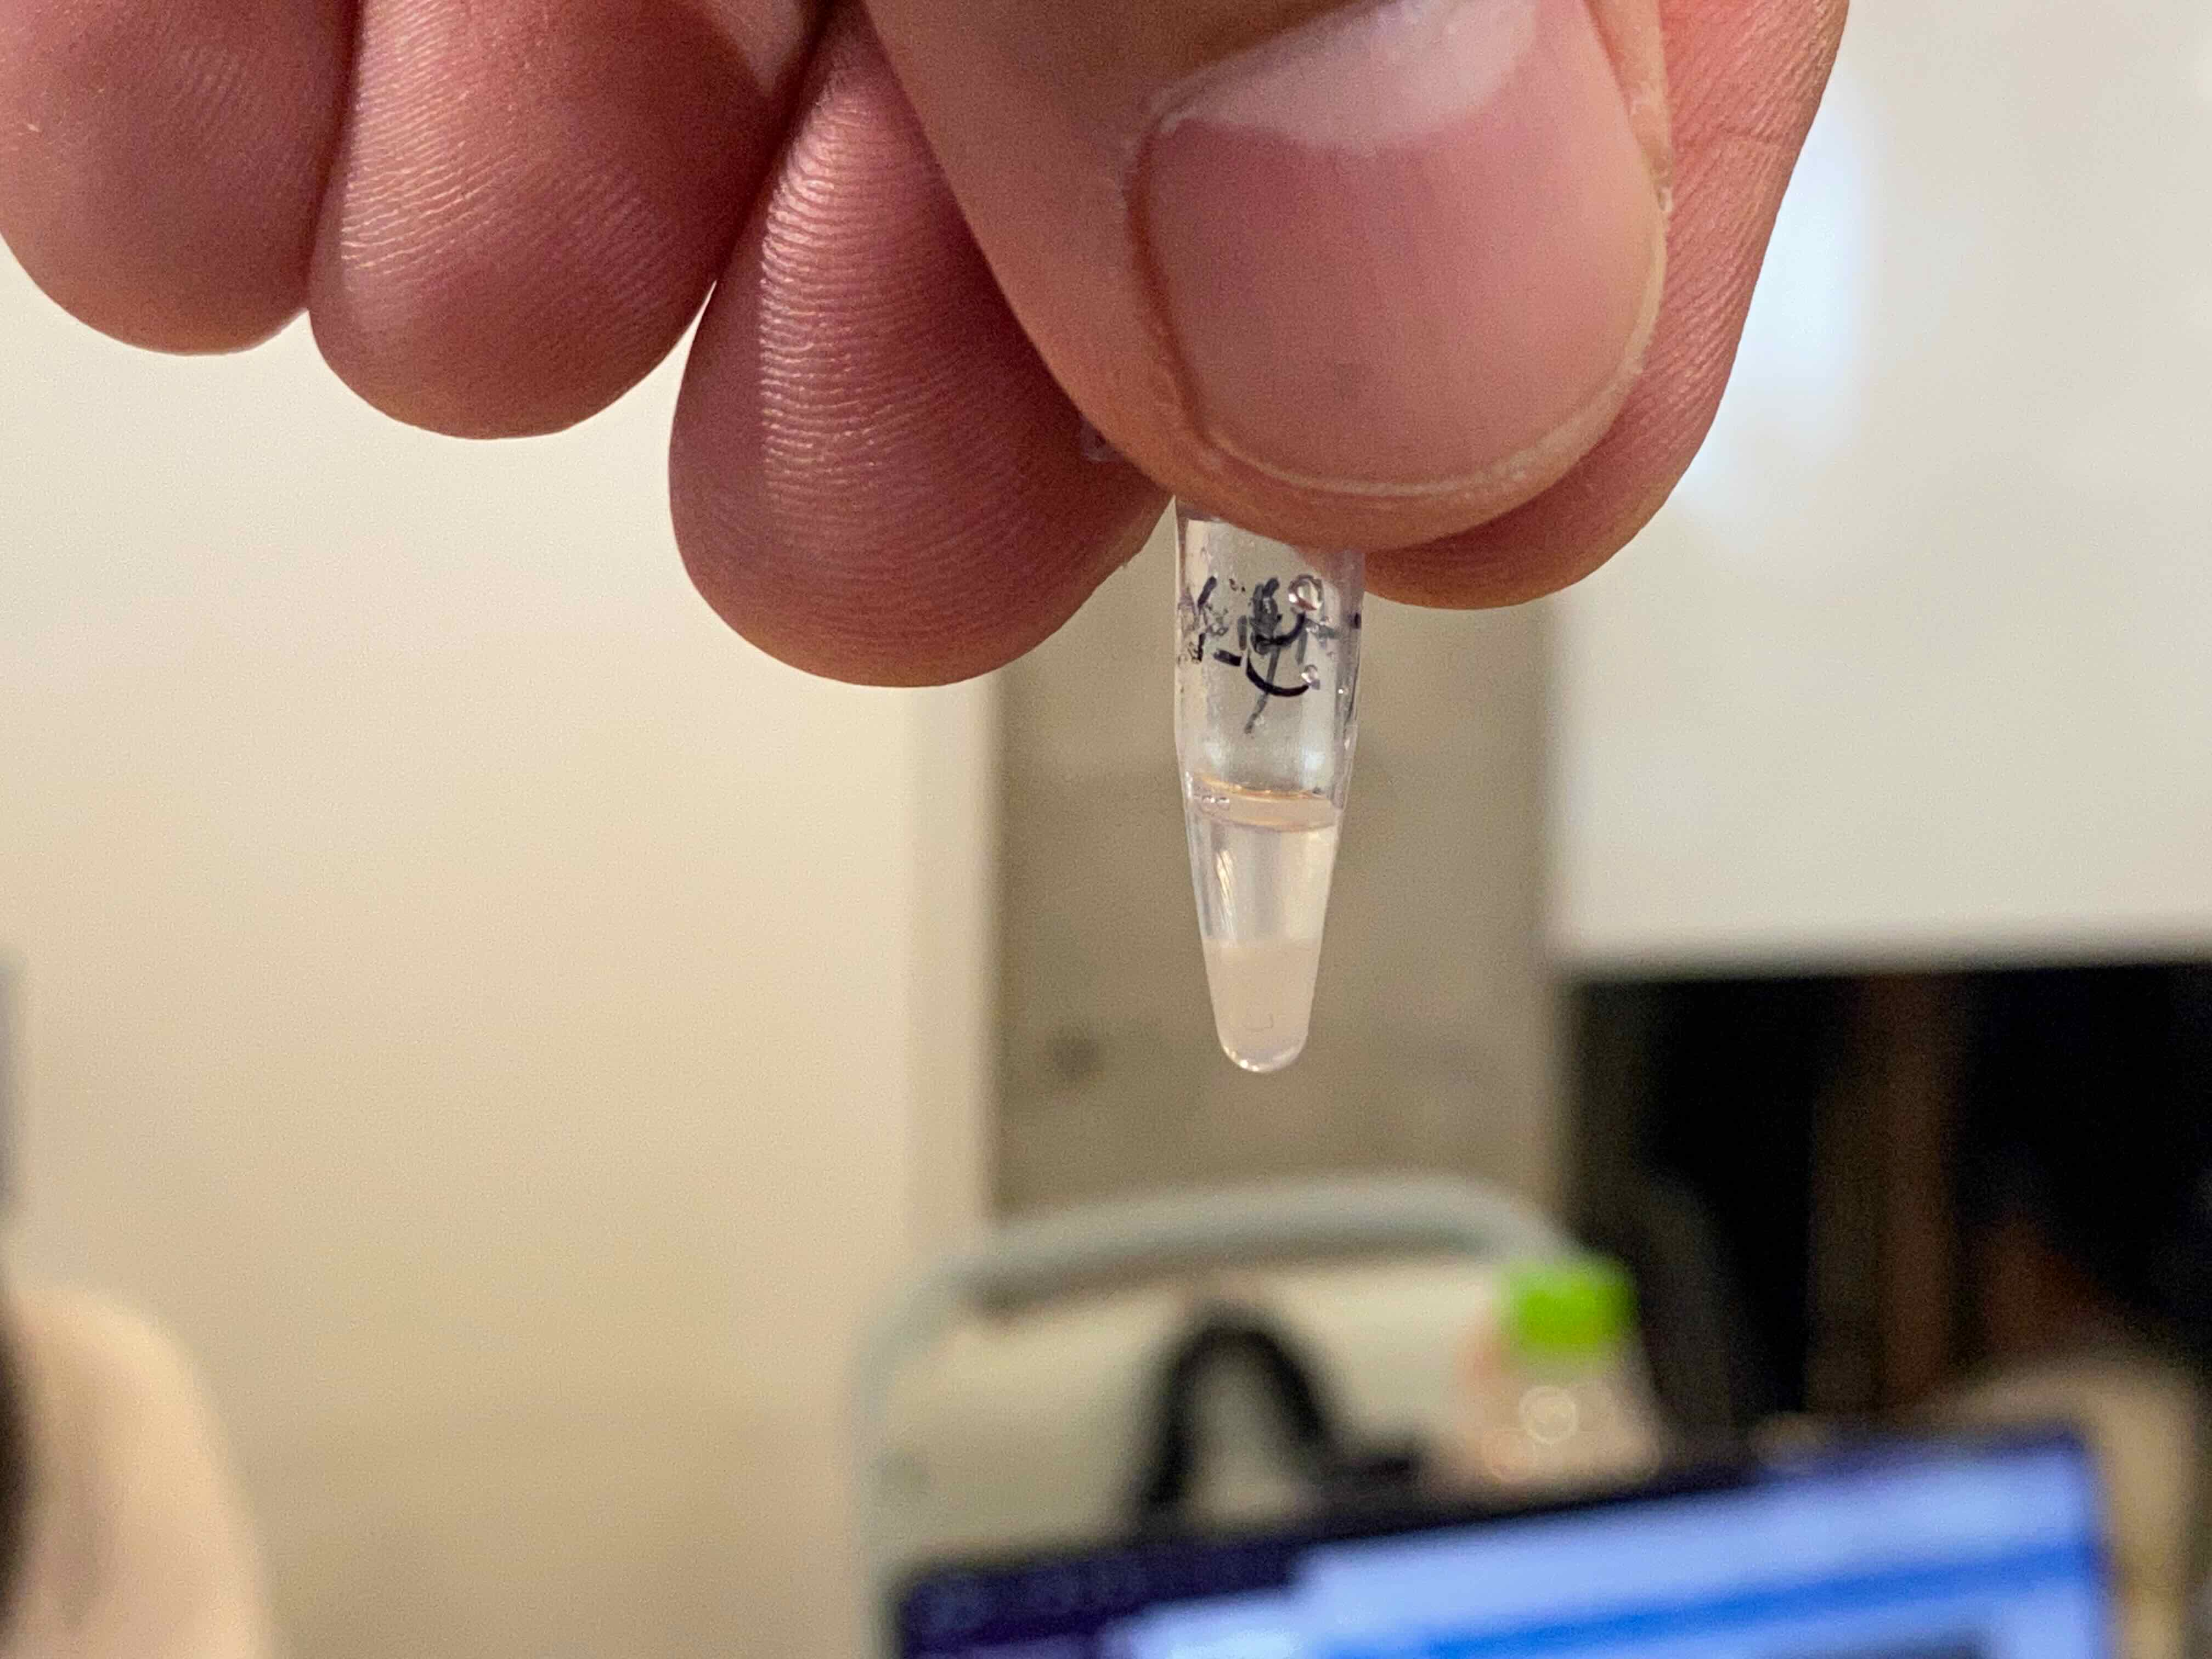
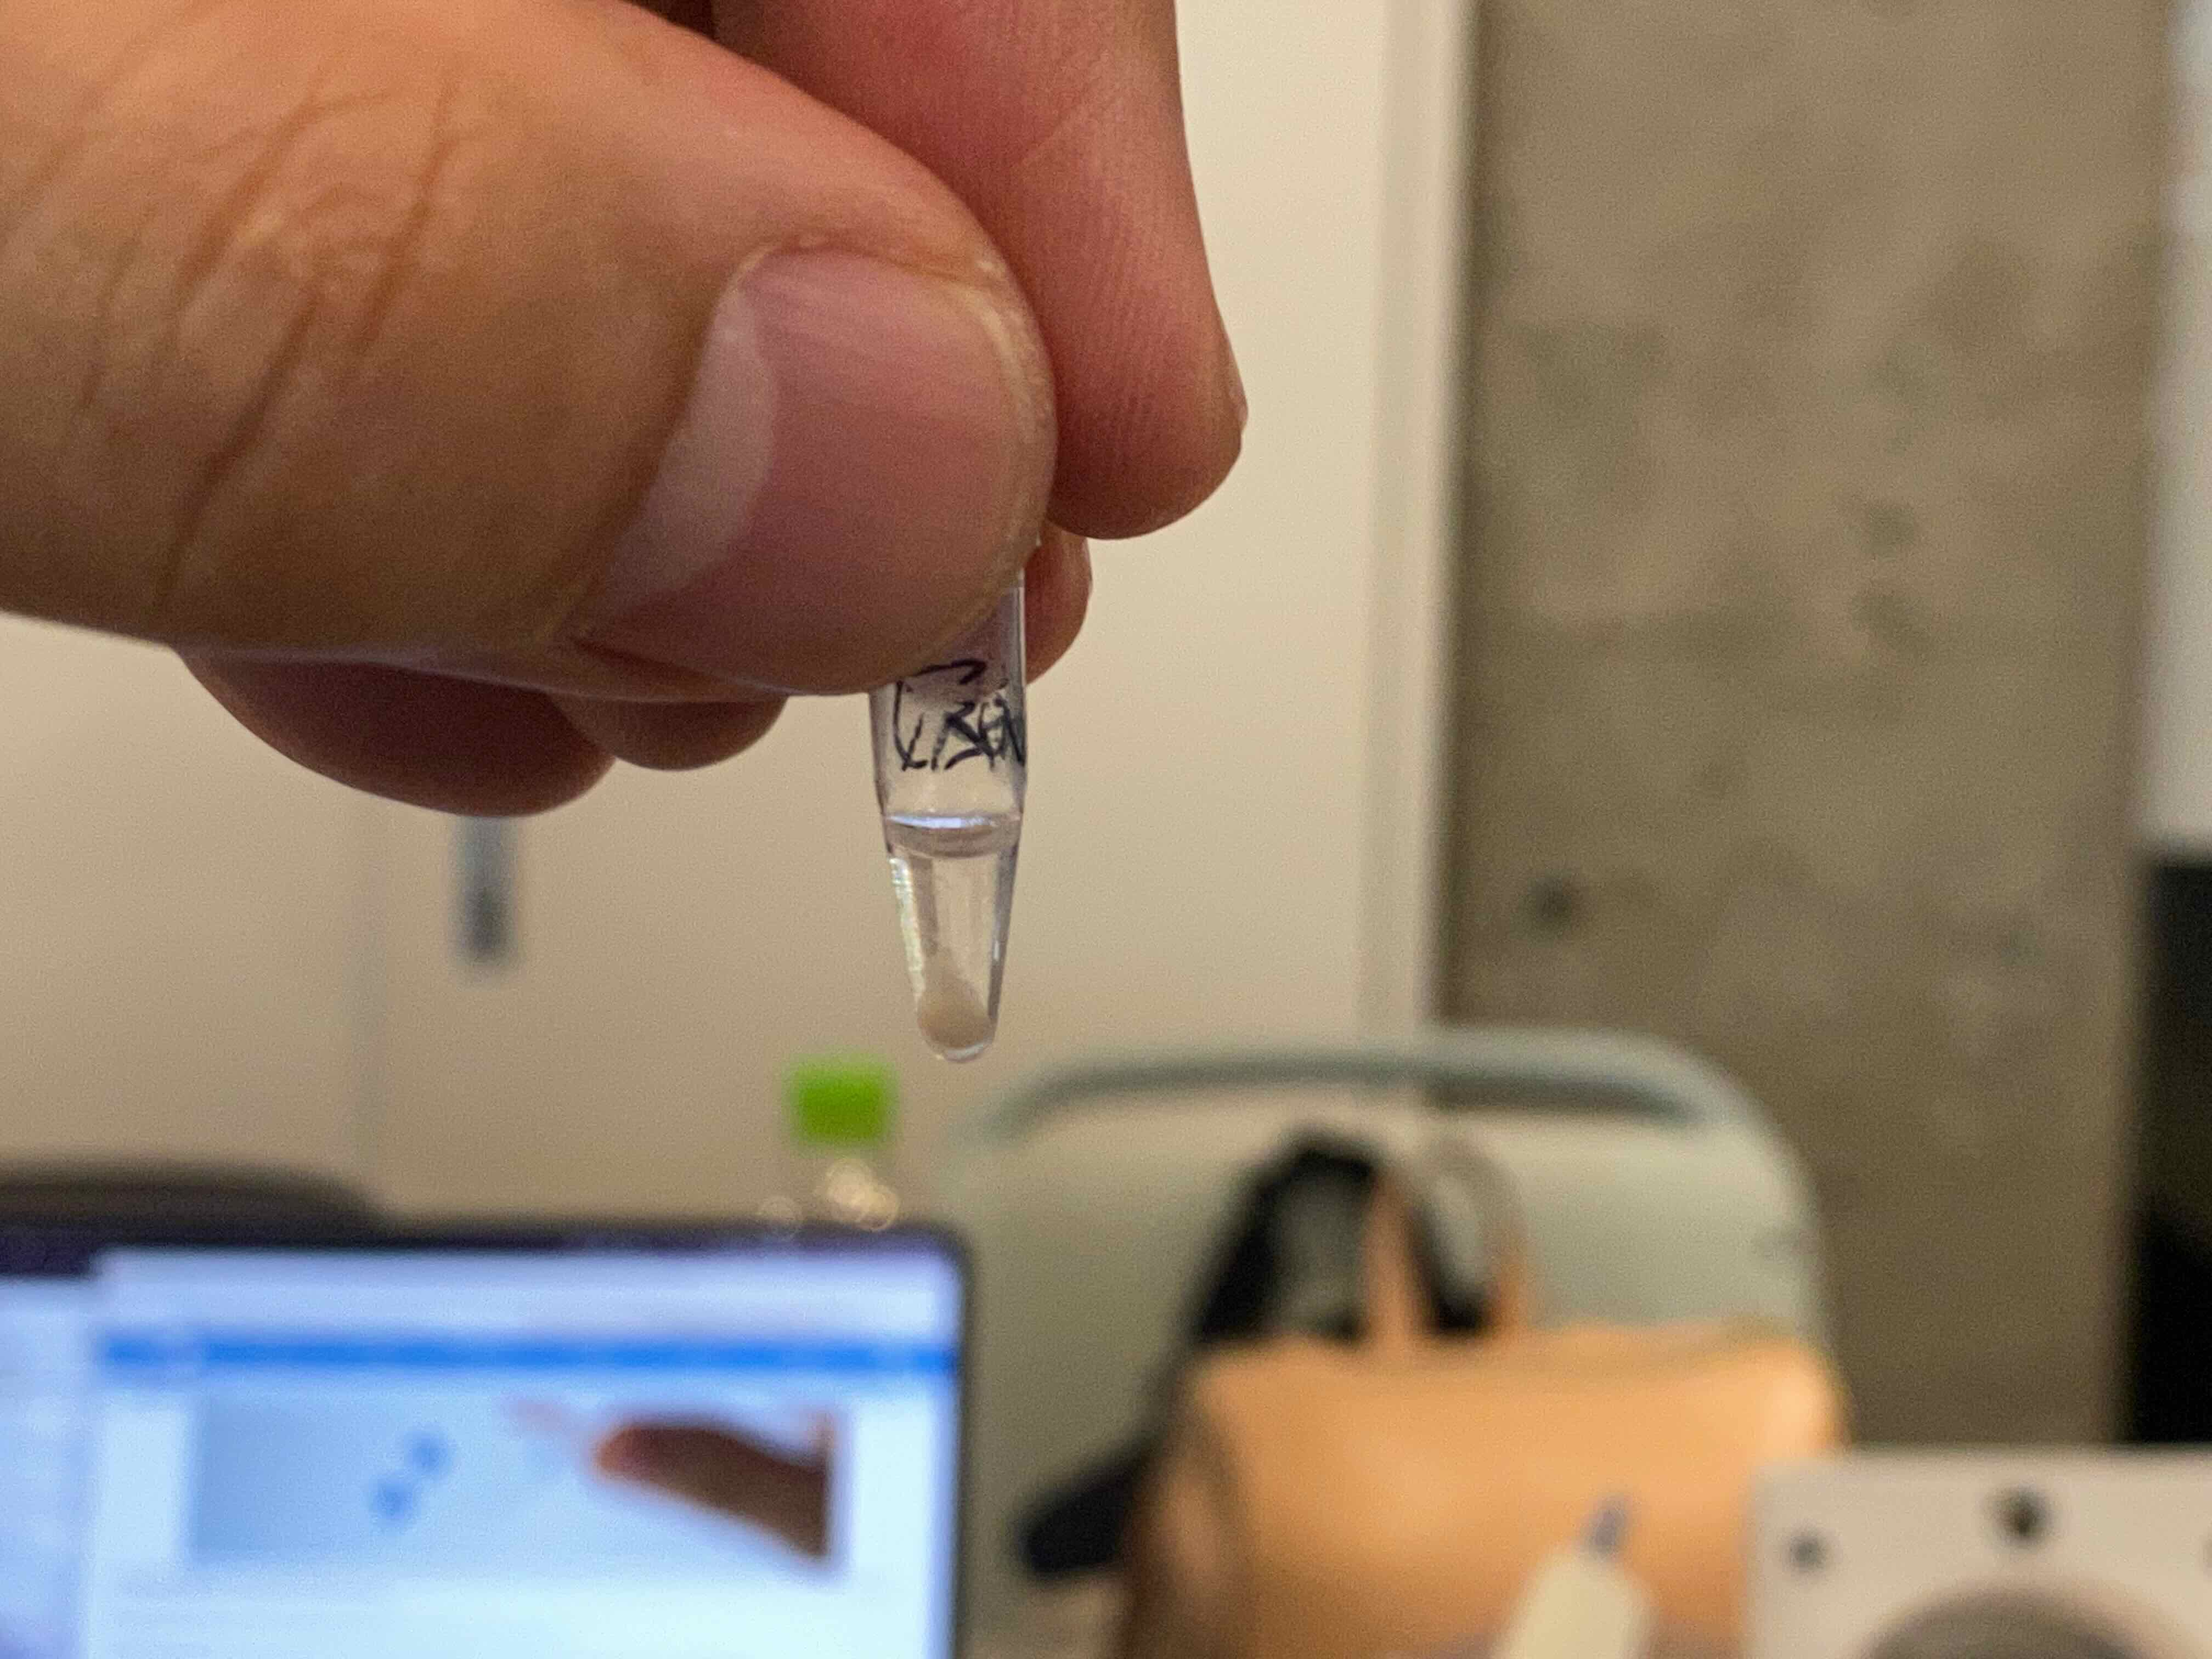
After finishing centrifugation, we can see a pellet at the bottom of the micro-tube. This is the cheek cells concentrated in a small white ball. (Remaining liquid is called the supernatant.).
Then, we use to transfer the resuspended sample into a 0.2 mL PCR tube so that we can heat it in the thermocycler.
Thermocycler for heating the sample
Now, we will use thermocycler as a heat block to boil the cells and burst them open, to release the DNA into the solution.
I placed my PCR tube with my sample cell in the themocycler block.
Then, setup the thermocycler to heat at 99C for 10 minutes.
Well, it’s time to start thermocycler. let’s do it.
Centrifuge again
After heating the sample, I will use centrifuge again to separate the supernatant from the cell debris. Here require one technick. Because micro-tube is too small to assemble into the centrifuge, I put micro-tube into the centrifuge tube.
Then, set the sample into the centrifuge.
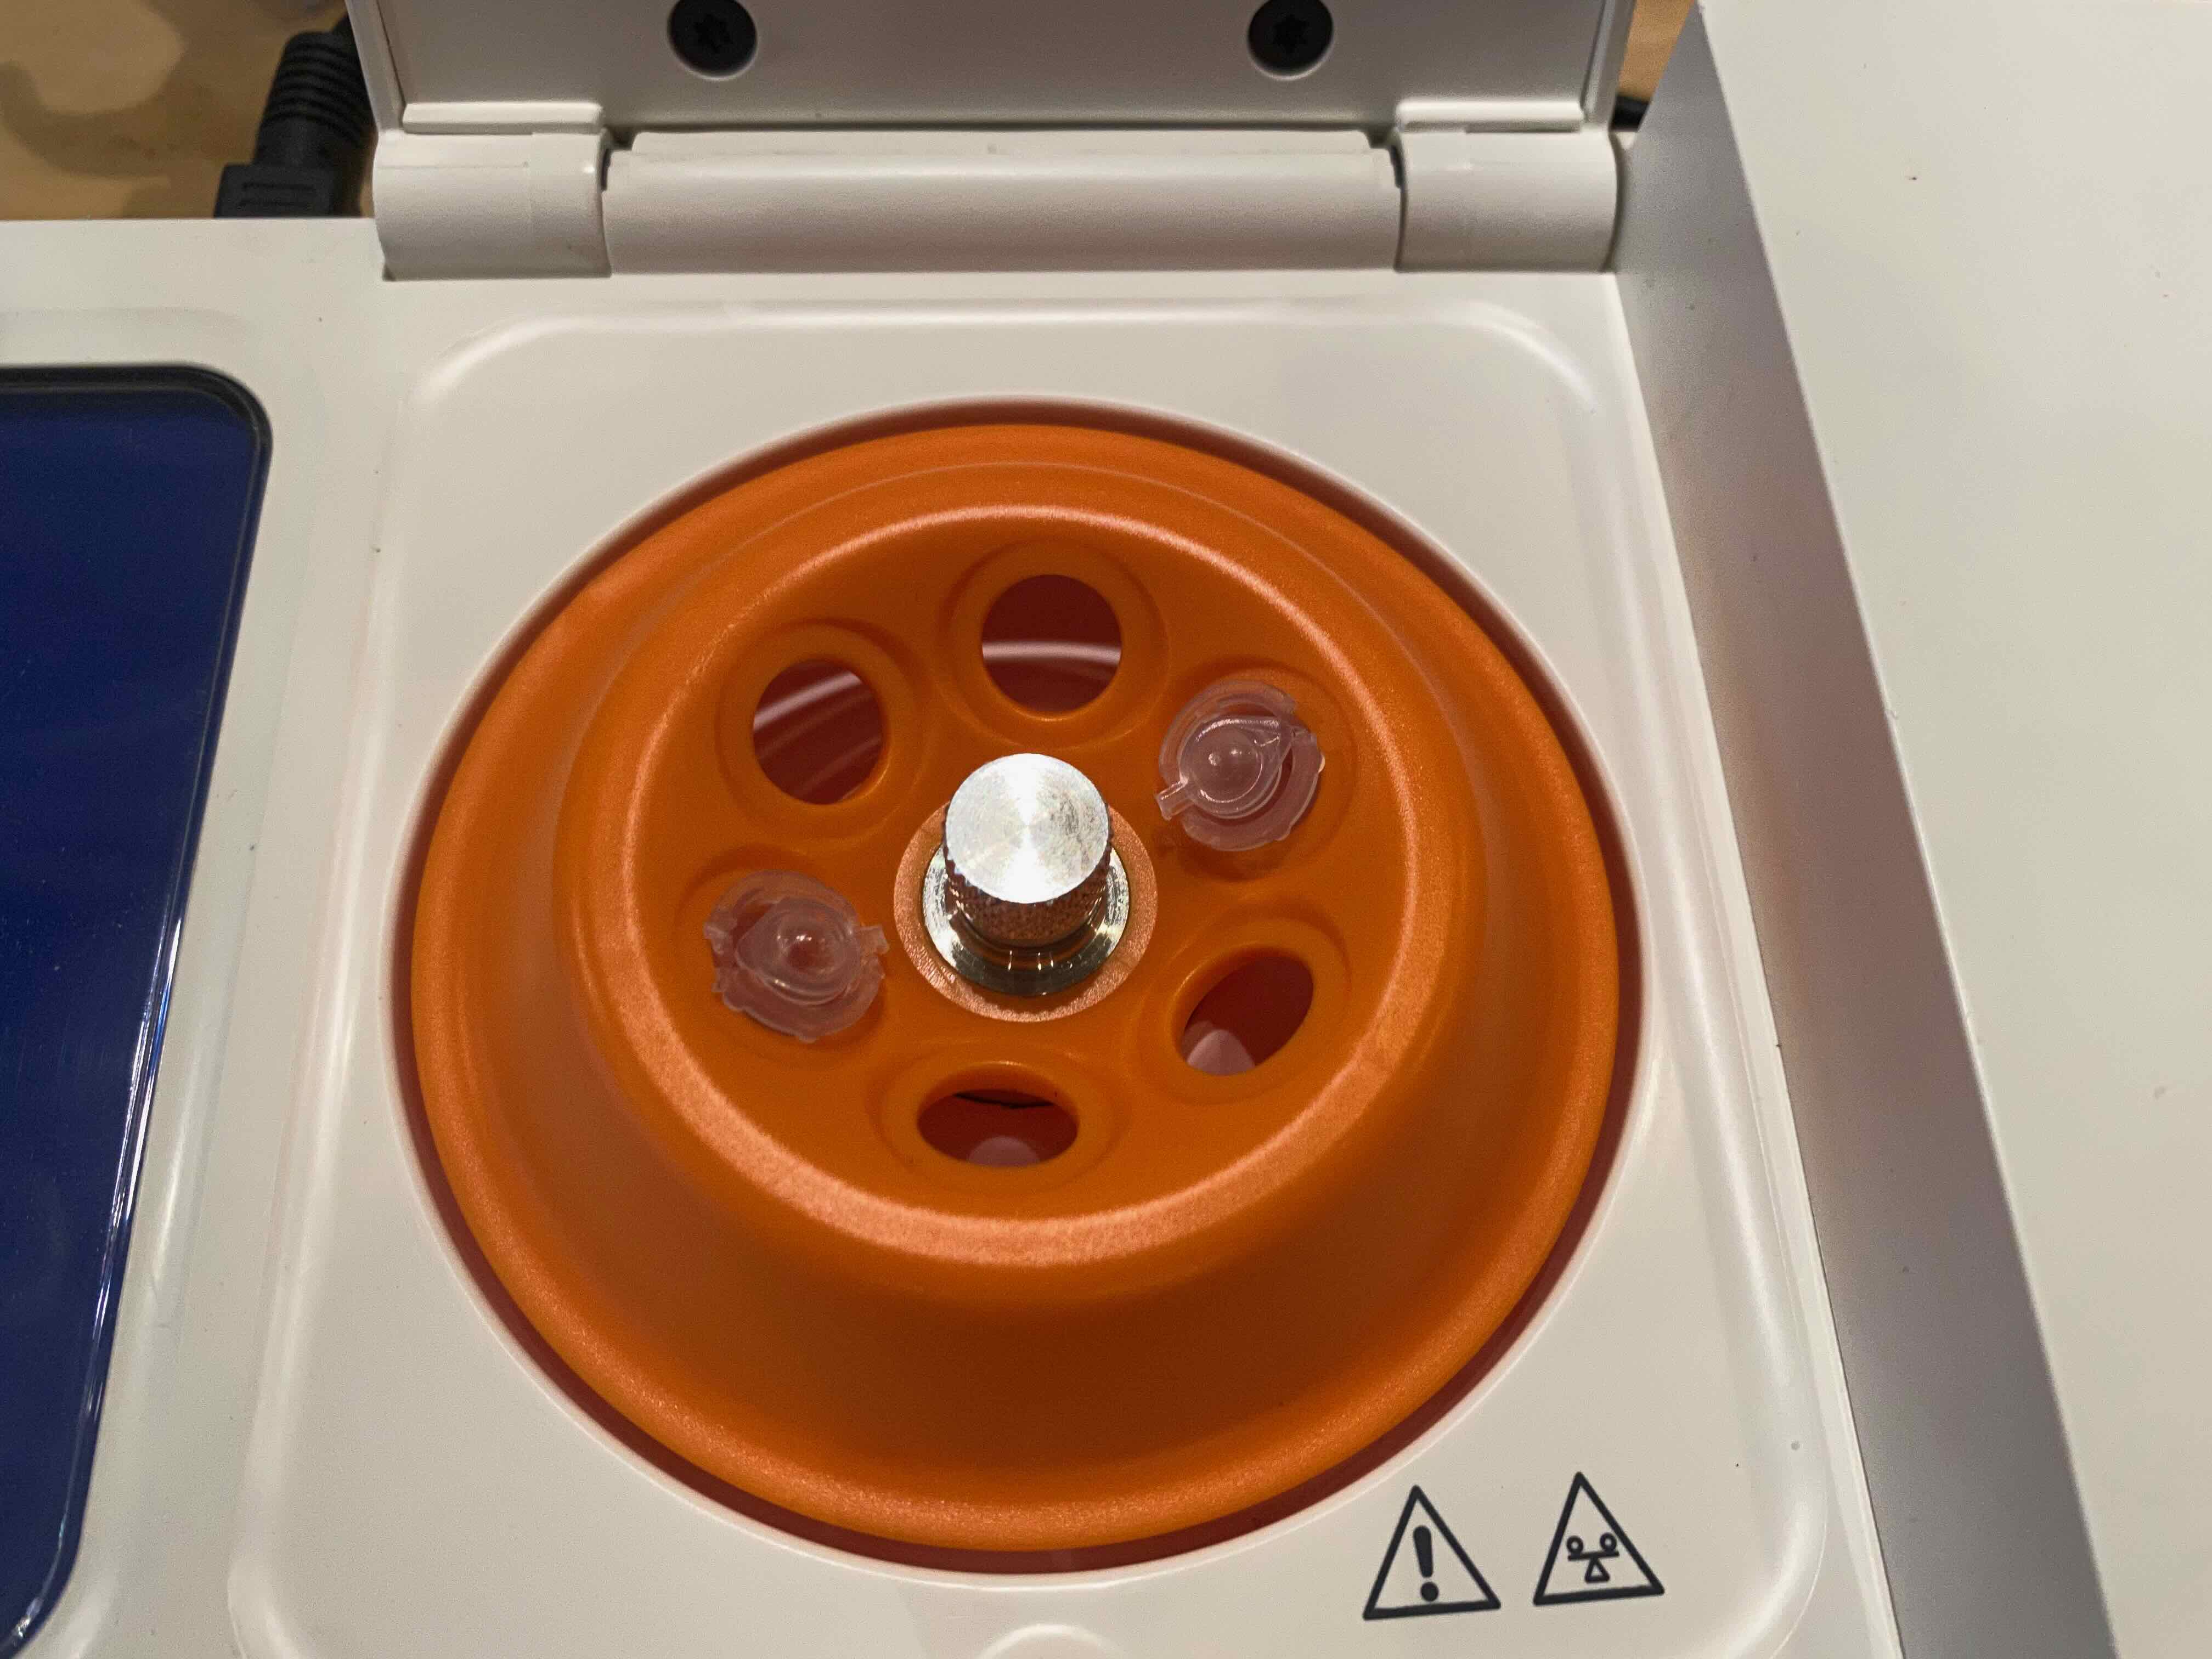
Set the parameter here:
- Speed: 8,000 G
- Spin for 90 seconds.
Then, start the centrifuge. The noise a little bit lauder than 4G.
Storageing
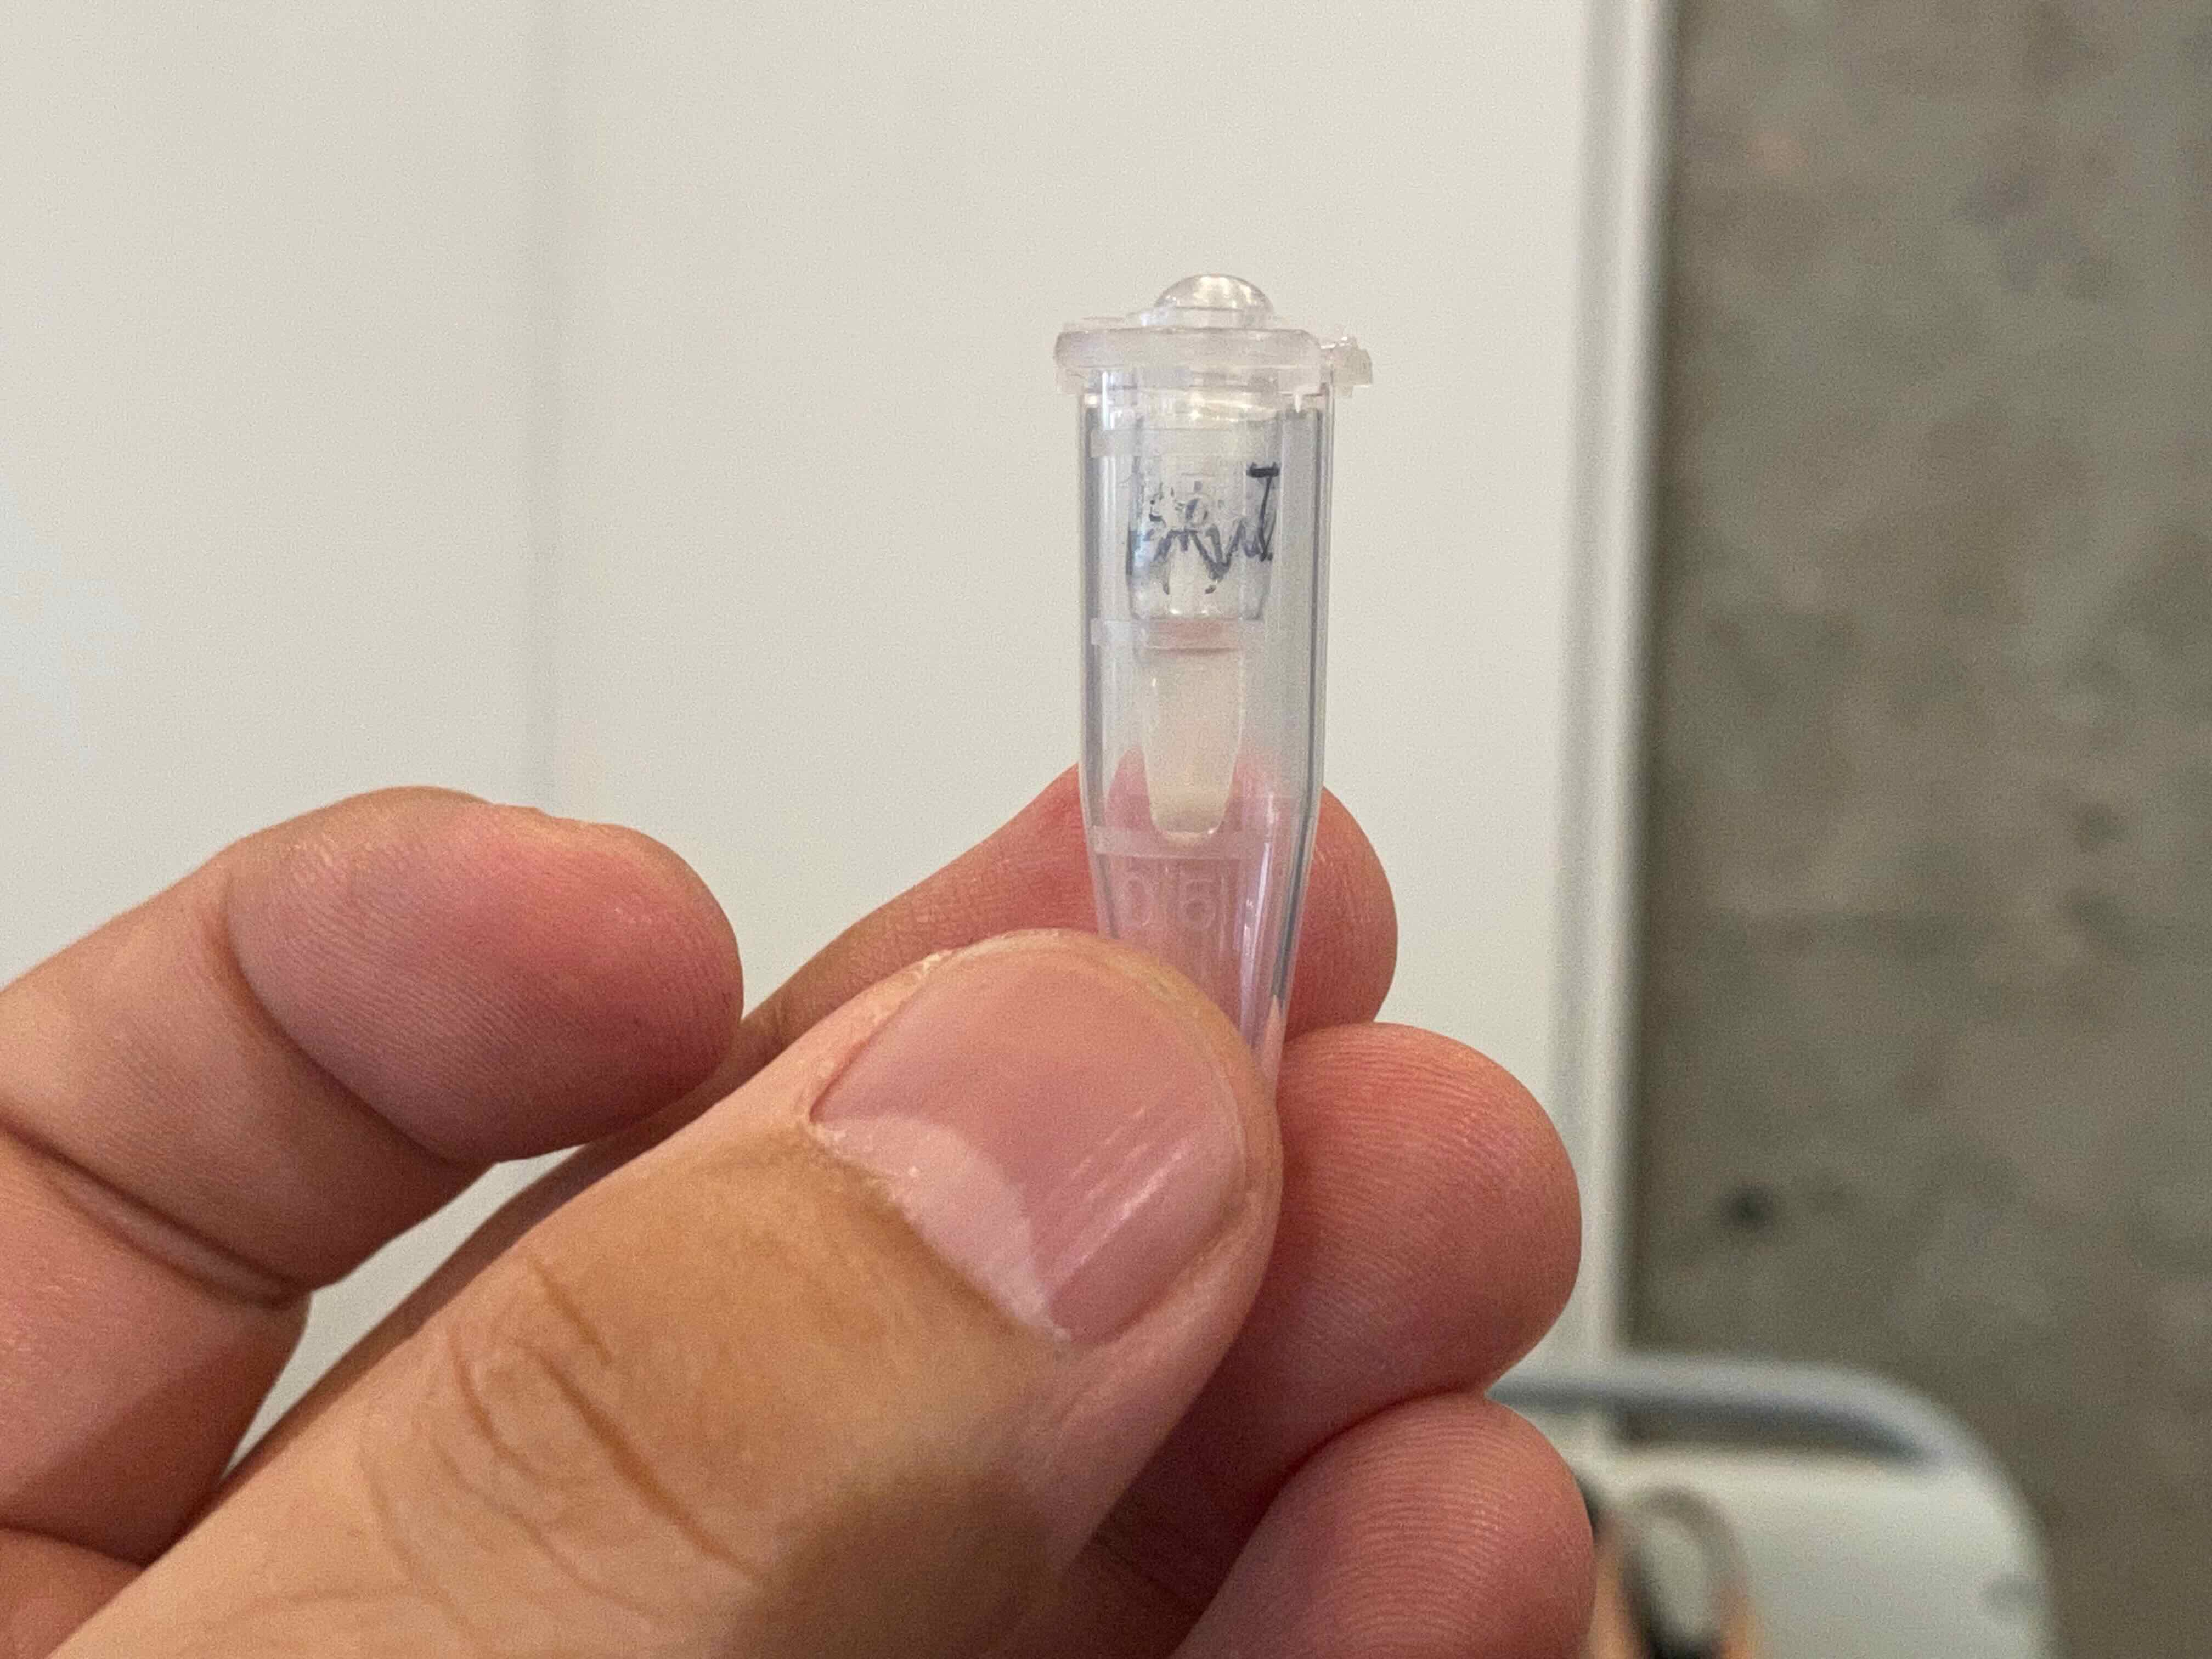
After centrifugation, all the cell debris has been forced to the bottom of the PCR tube leaving only the DNA in the liquid supernatant. The supernatant should look clear like water.
Label the name on the tube, then put into the storage.
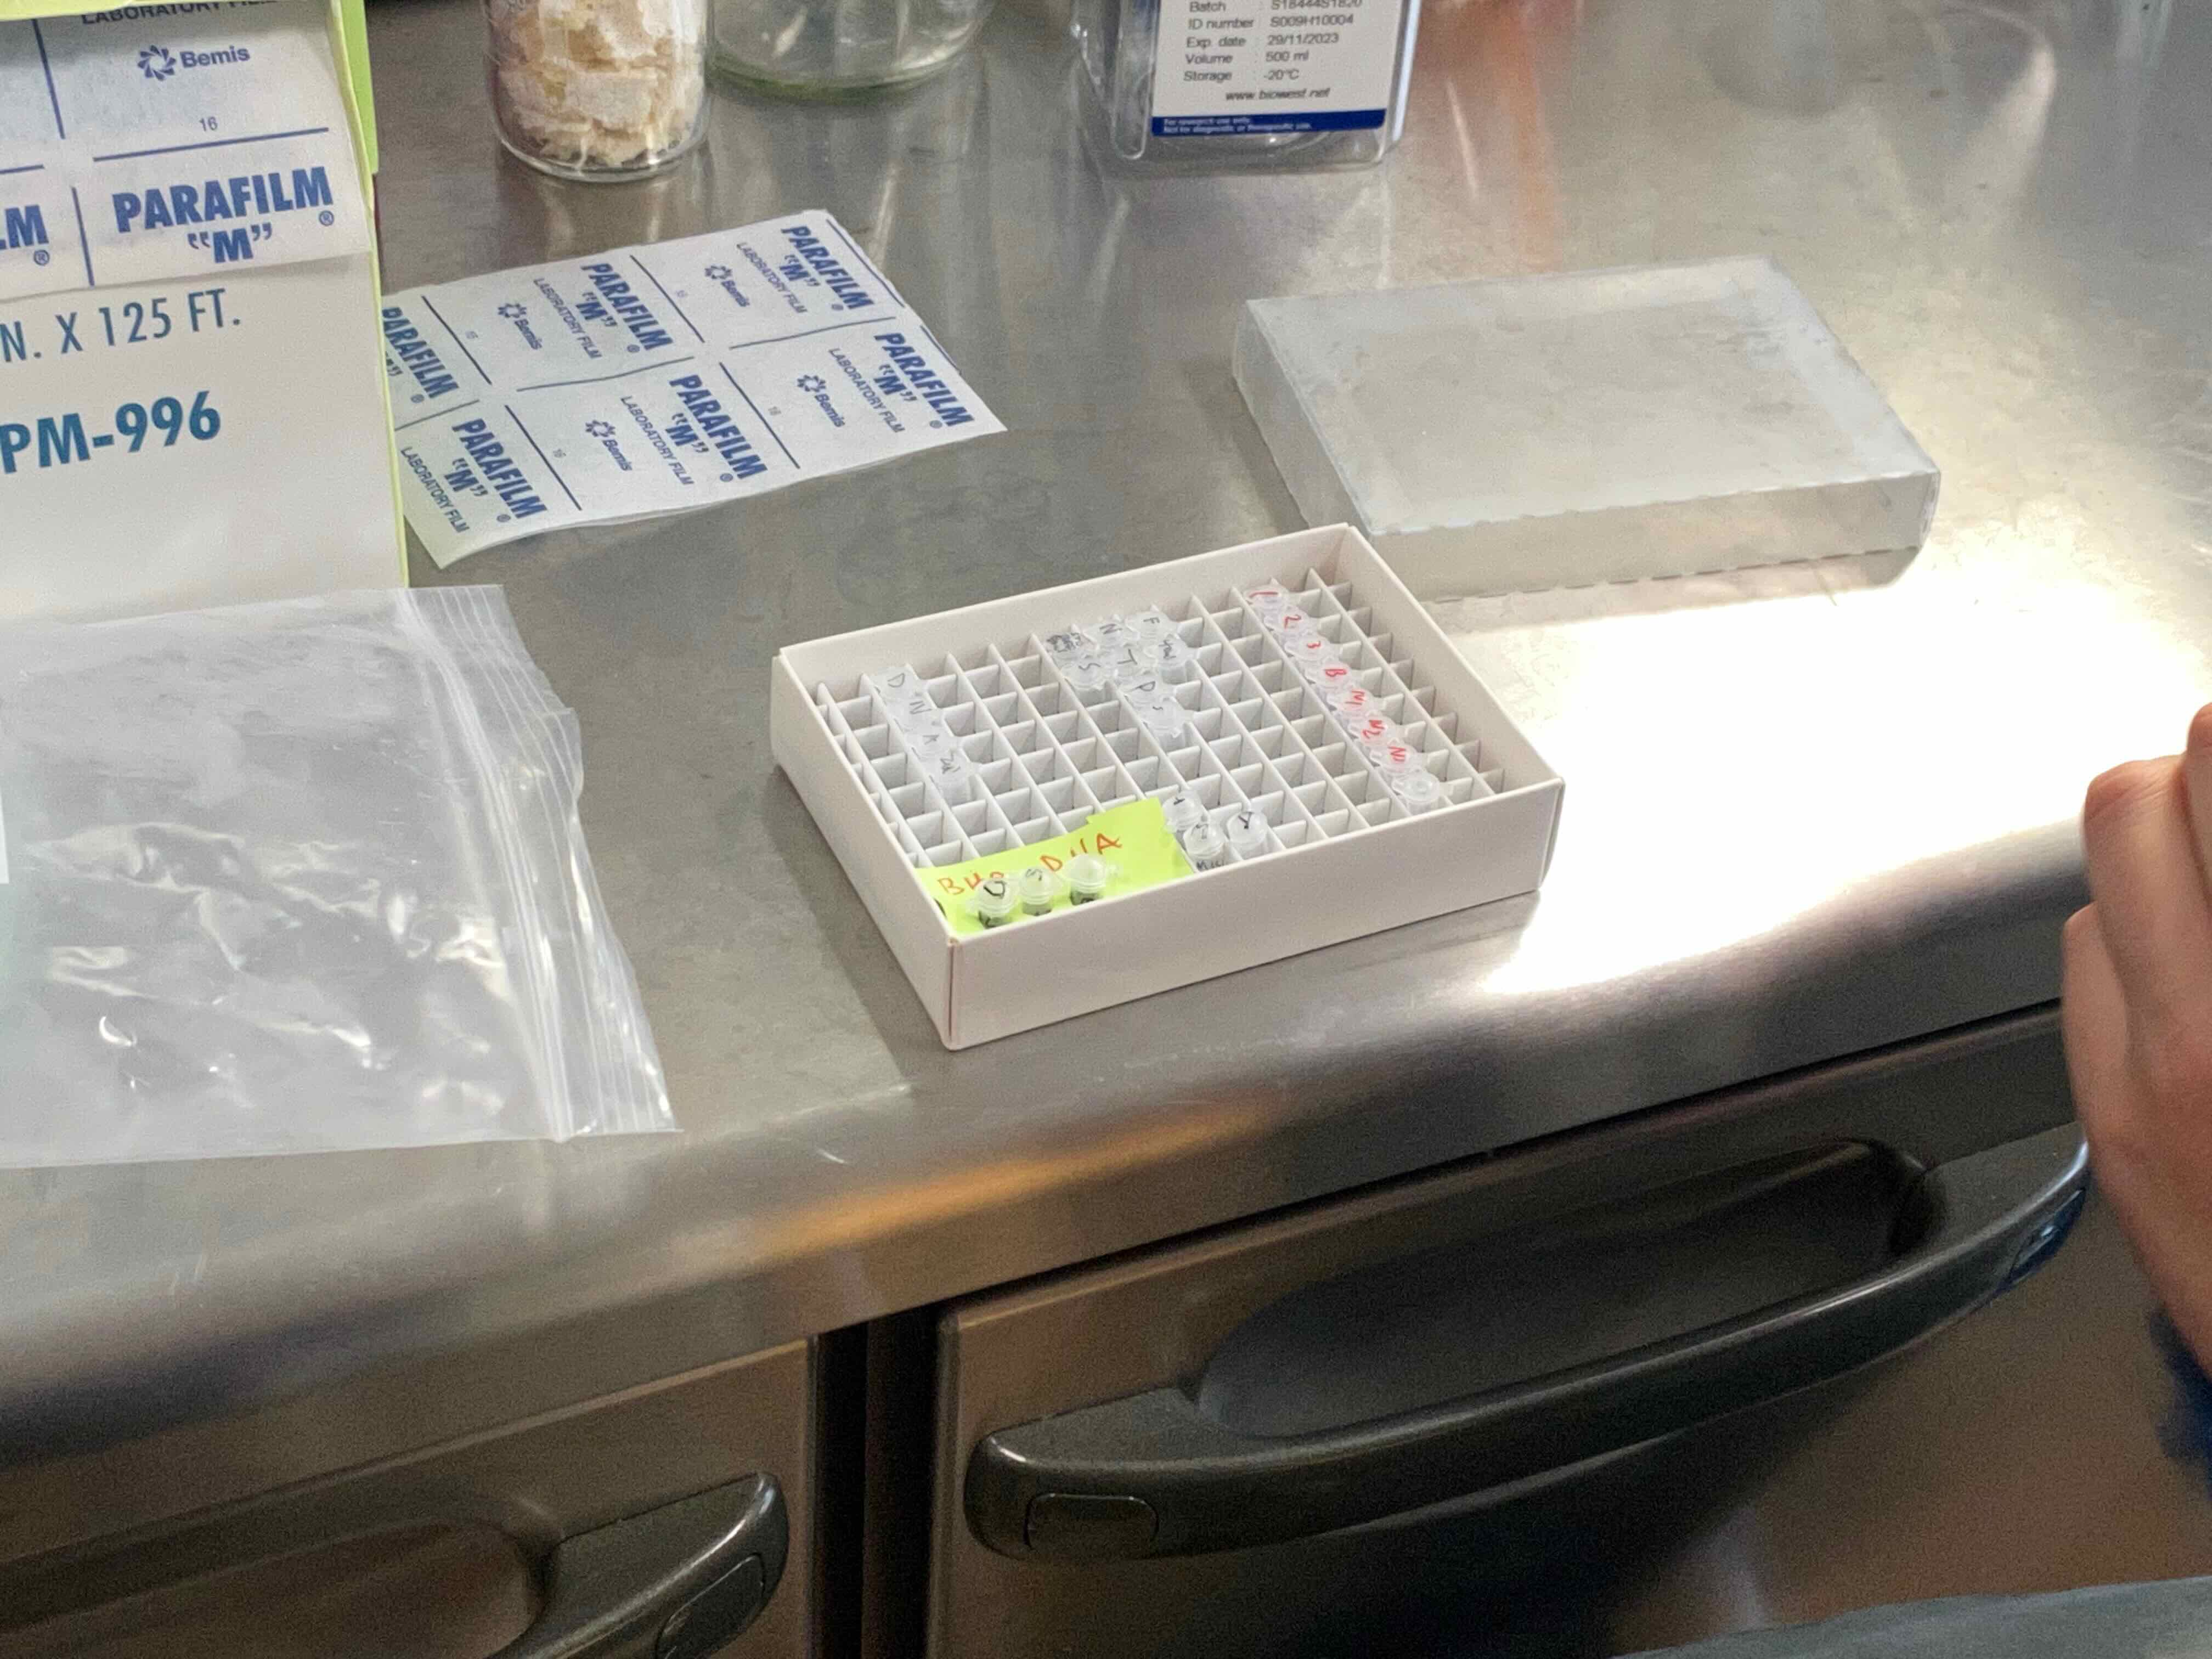
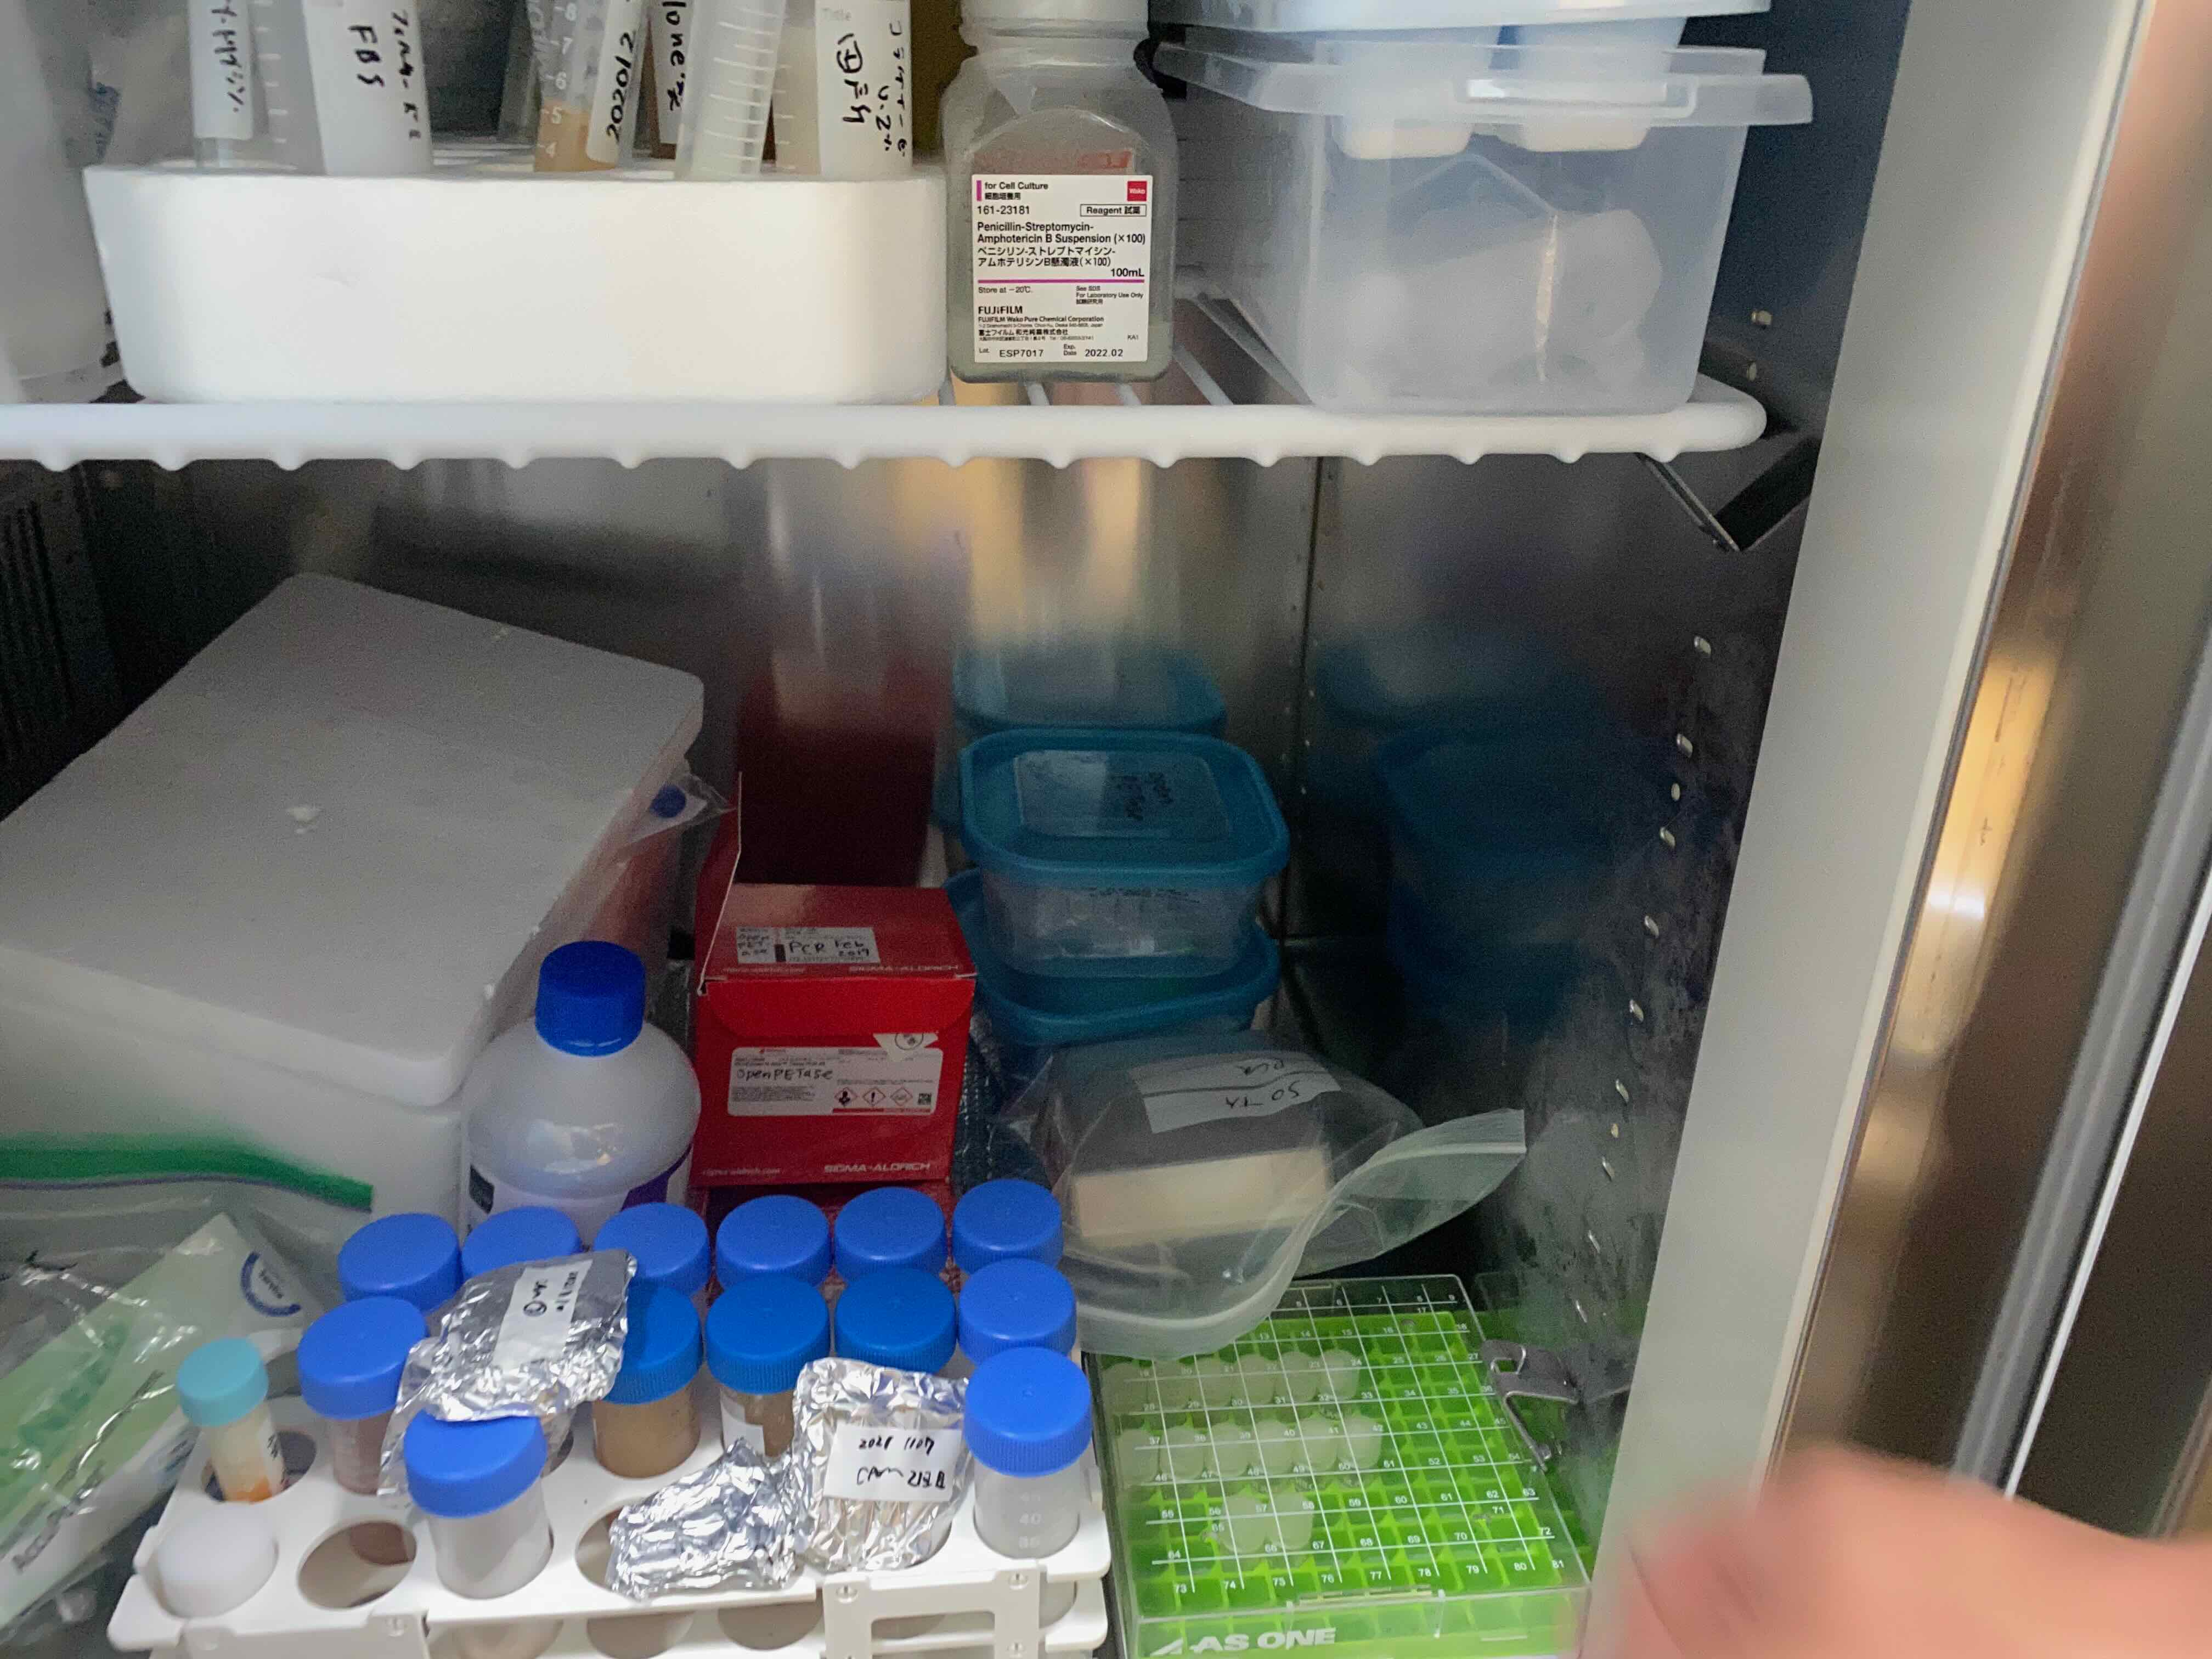
Then, store it in the freezer at around -20 C. This will prevent the sample.
Lactose Intolerance by Gel Electrophoresis
Cast a 1% agarose gel, load the gel with DNA samples and ladder, and separate them using gel electrophoresis.
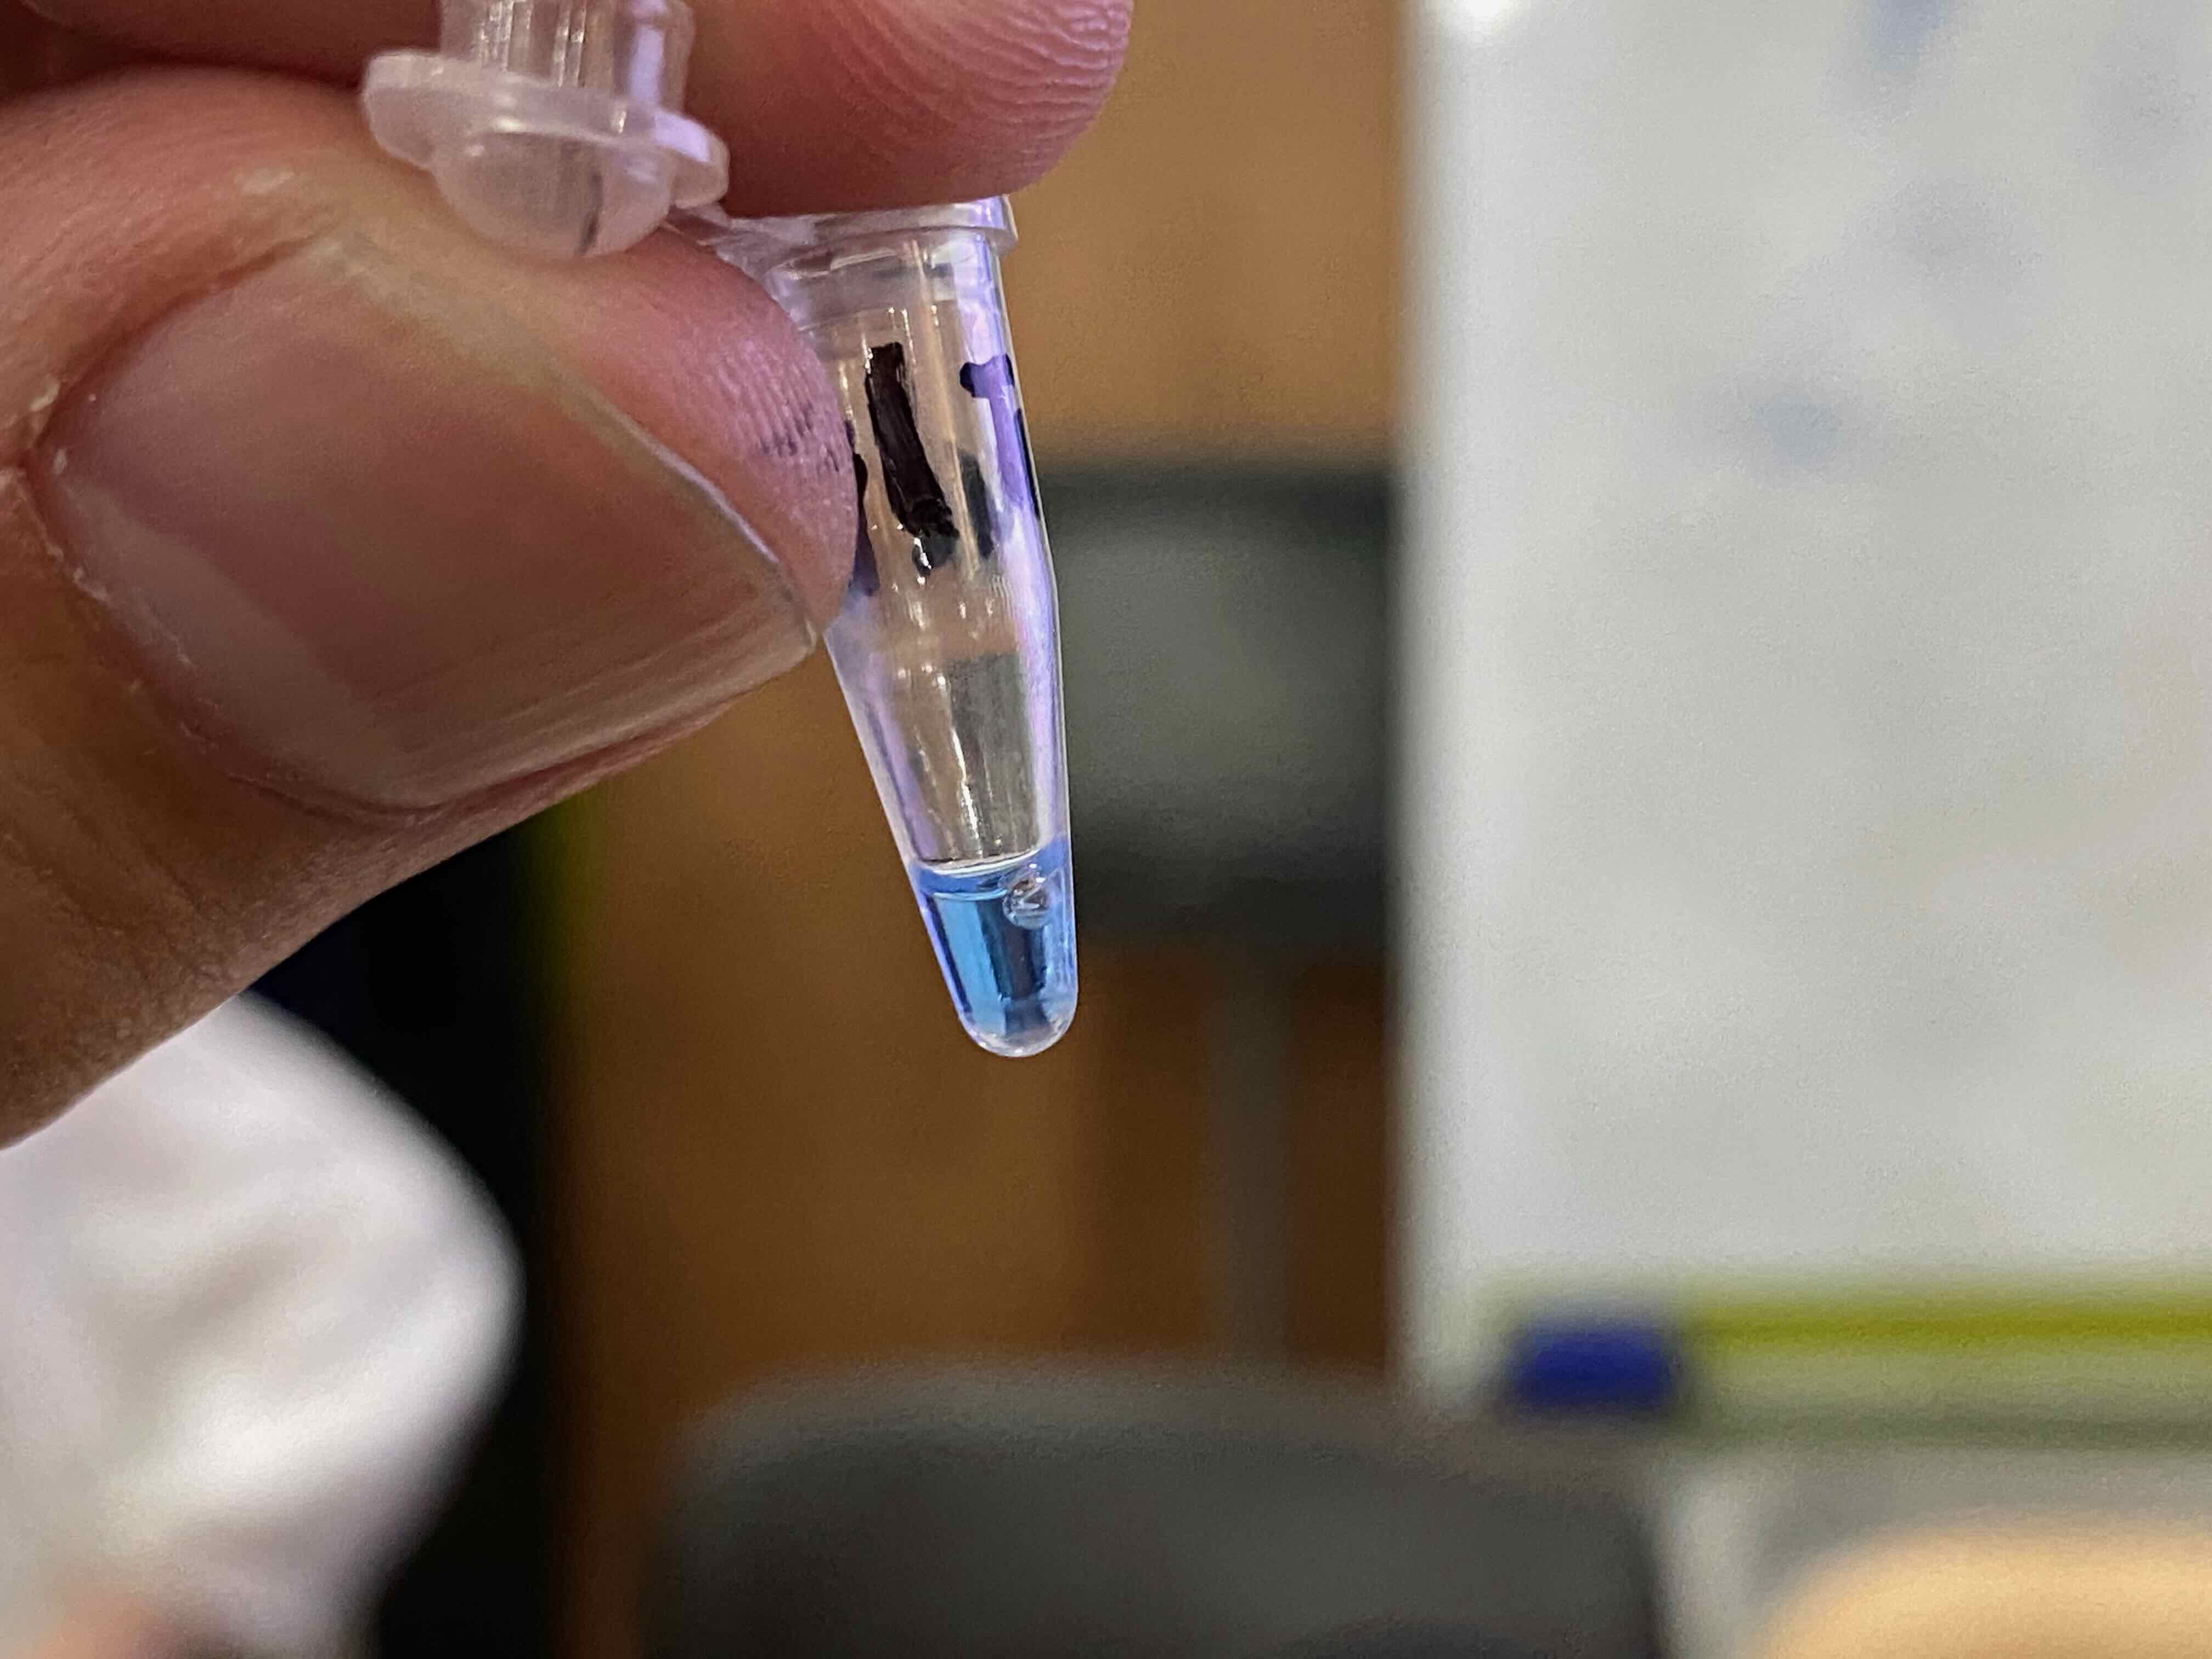
First, add Taq PCR Premix With Dyes into my DNA Sample.
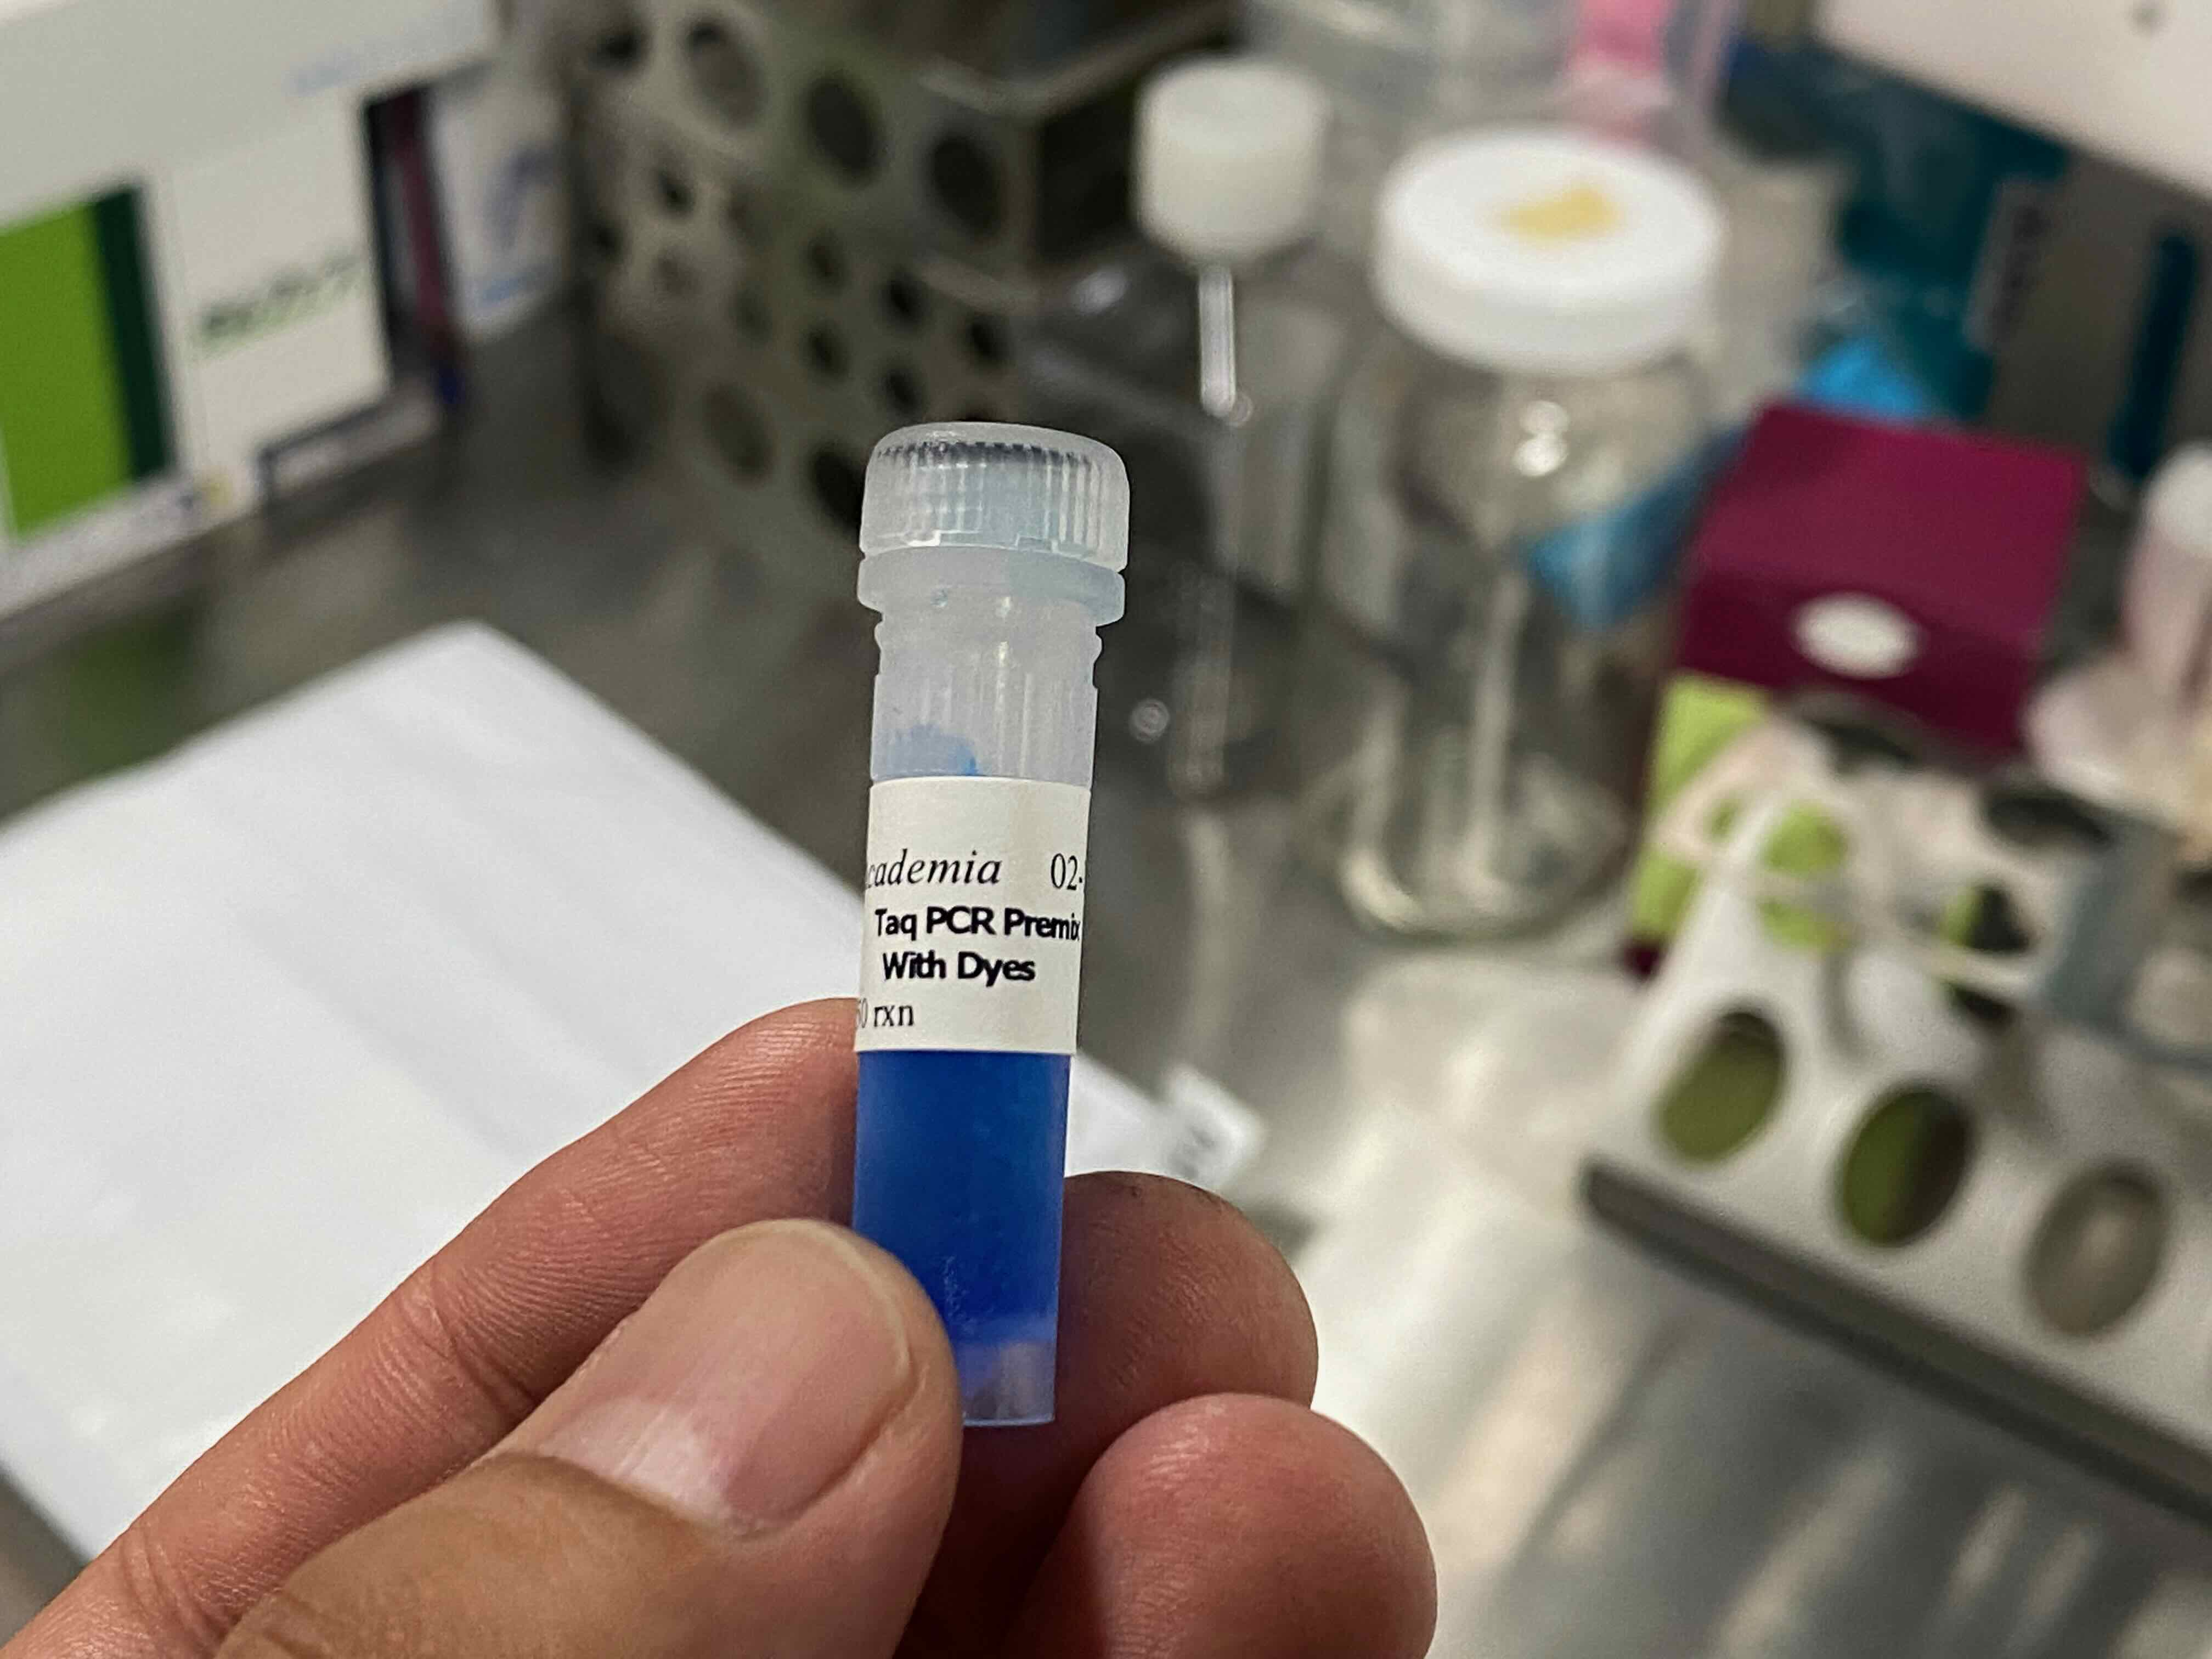
The sample become blue…
Then setup Gel Electrophresis in the Bento Lab.
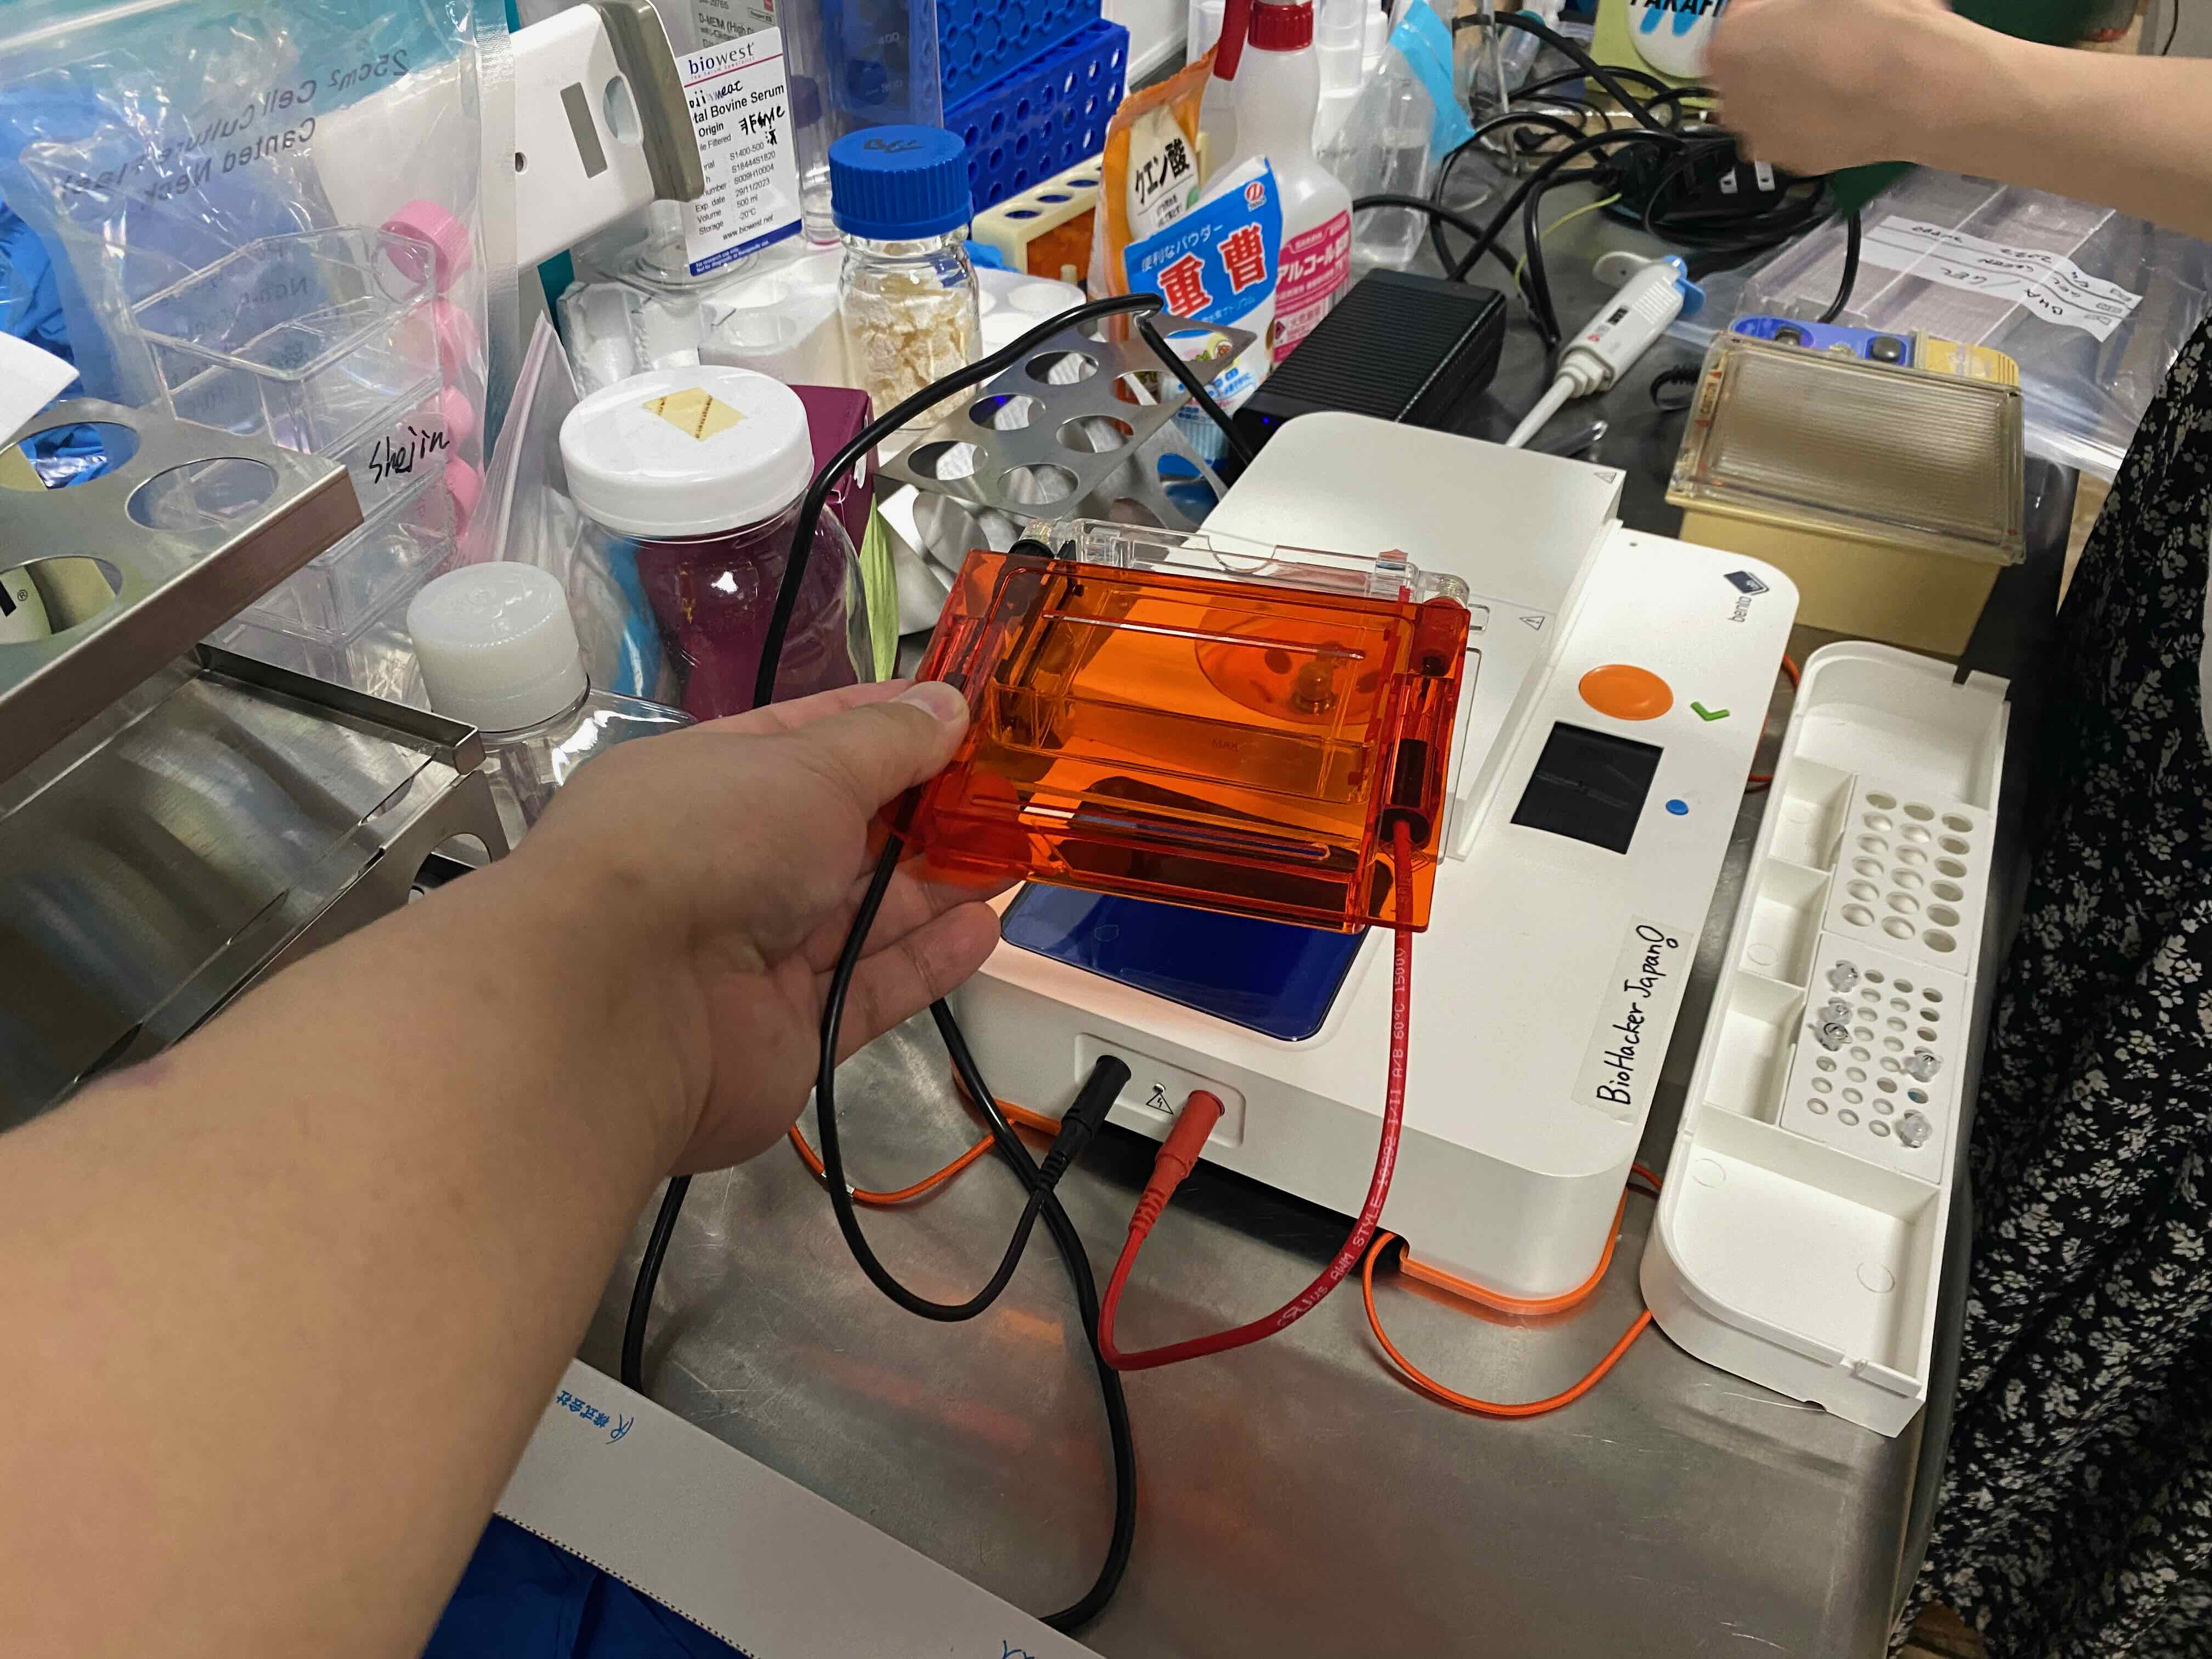
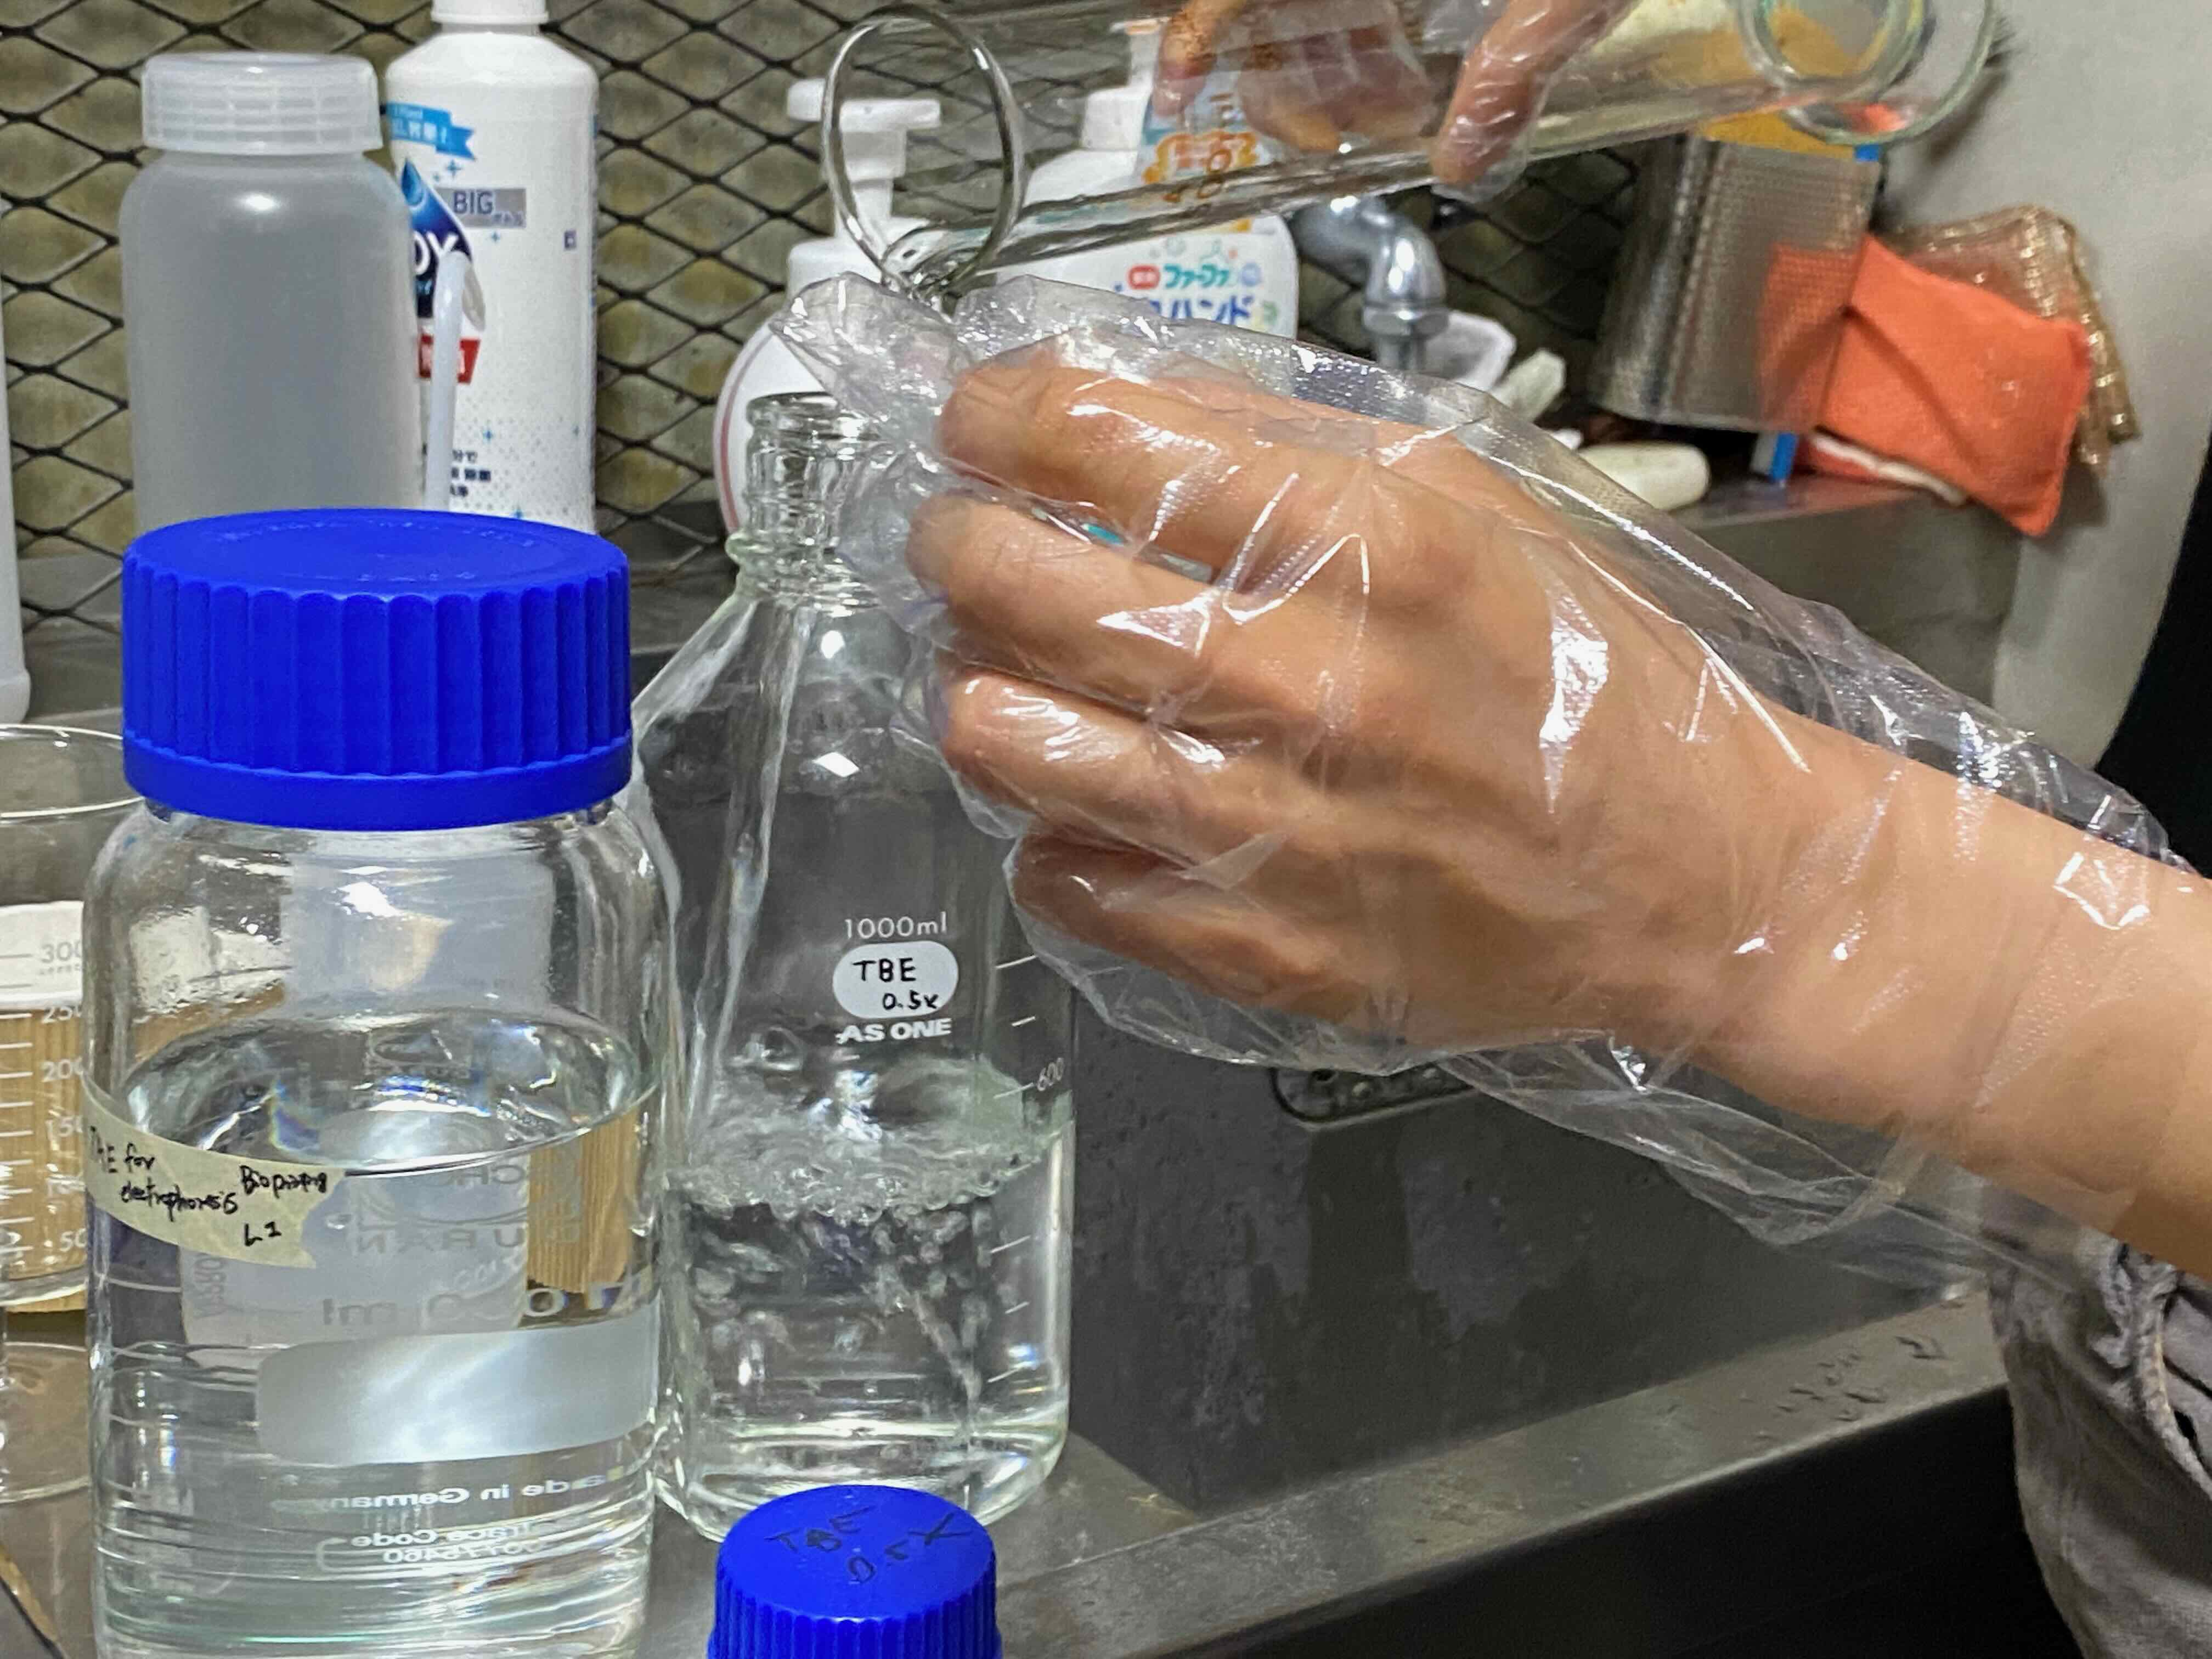
Make a Gel Buffer…
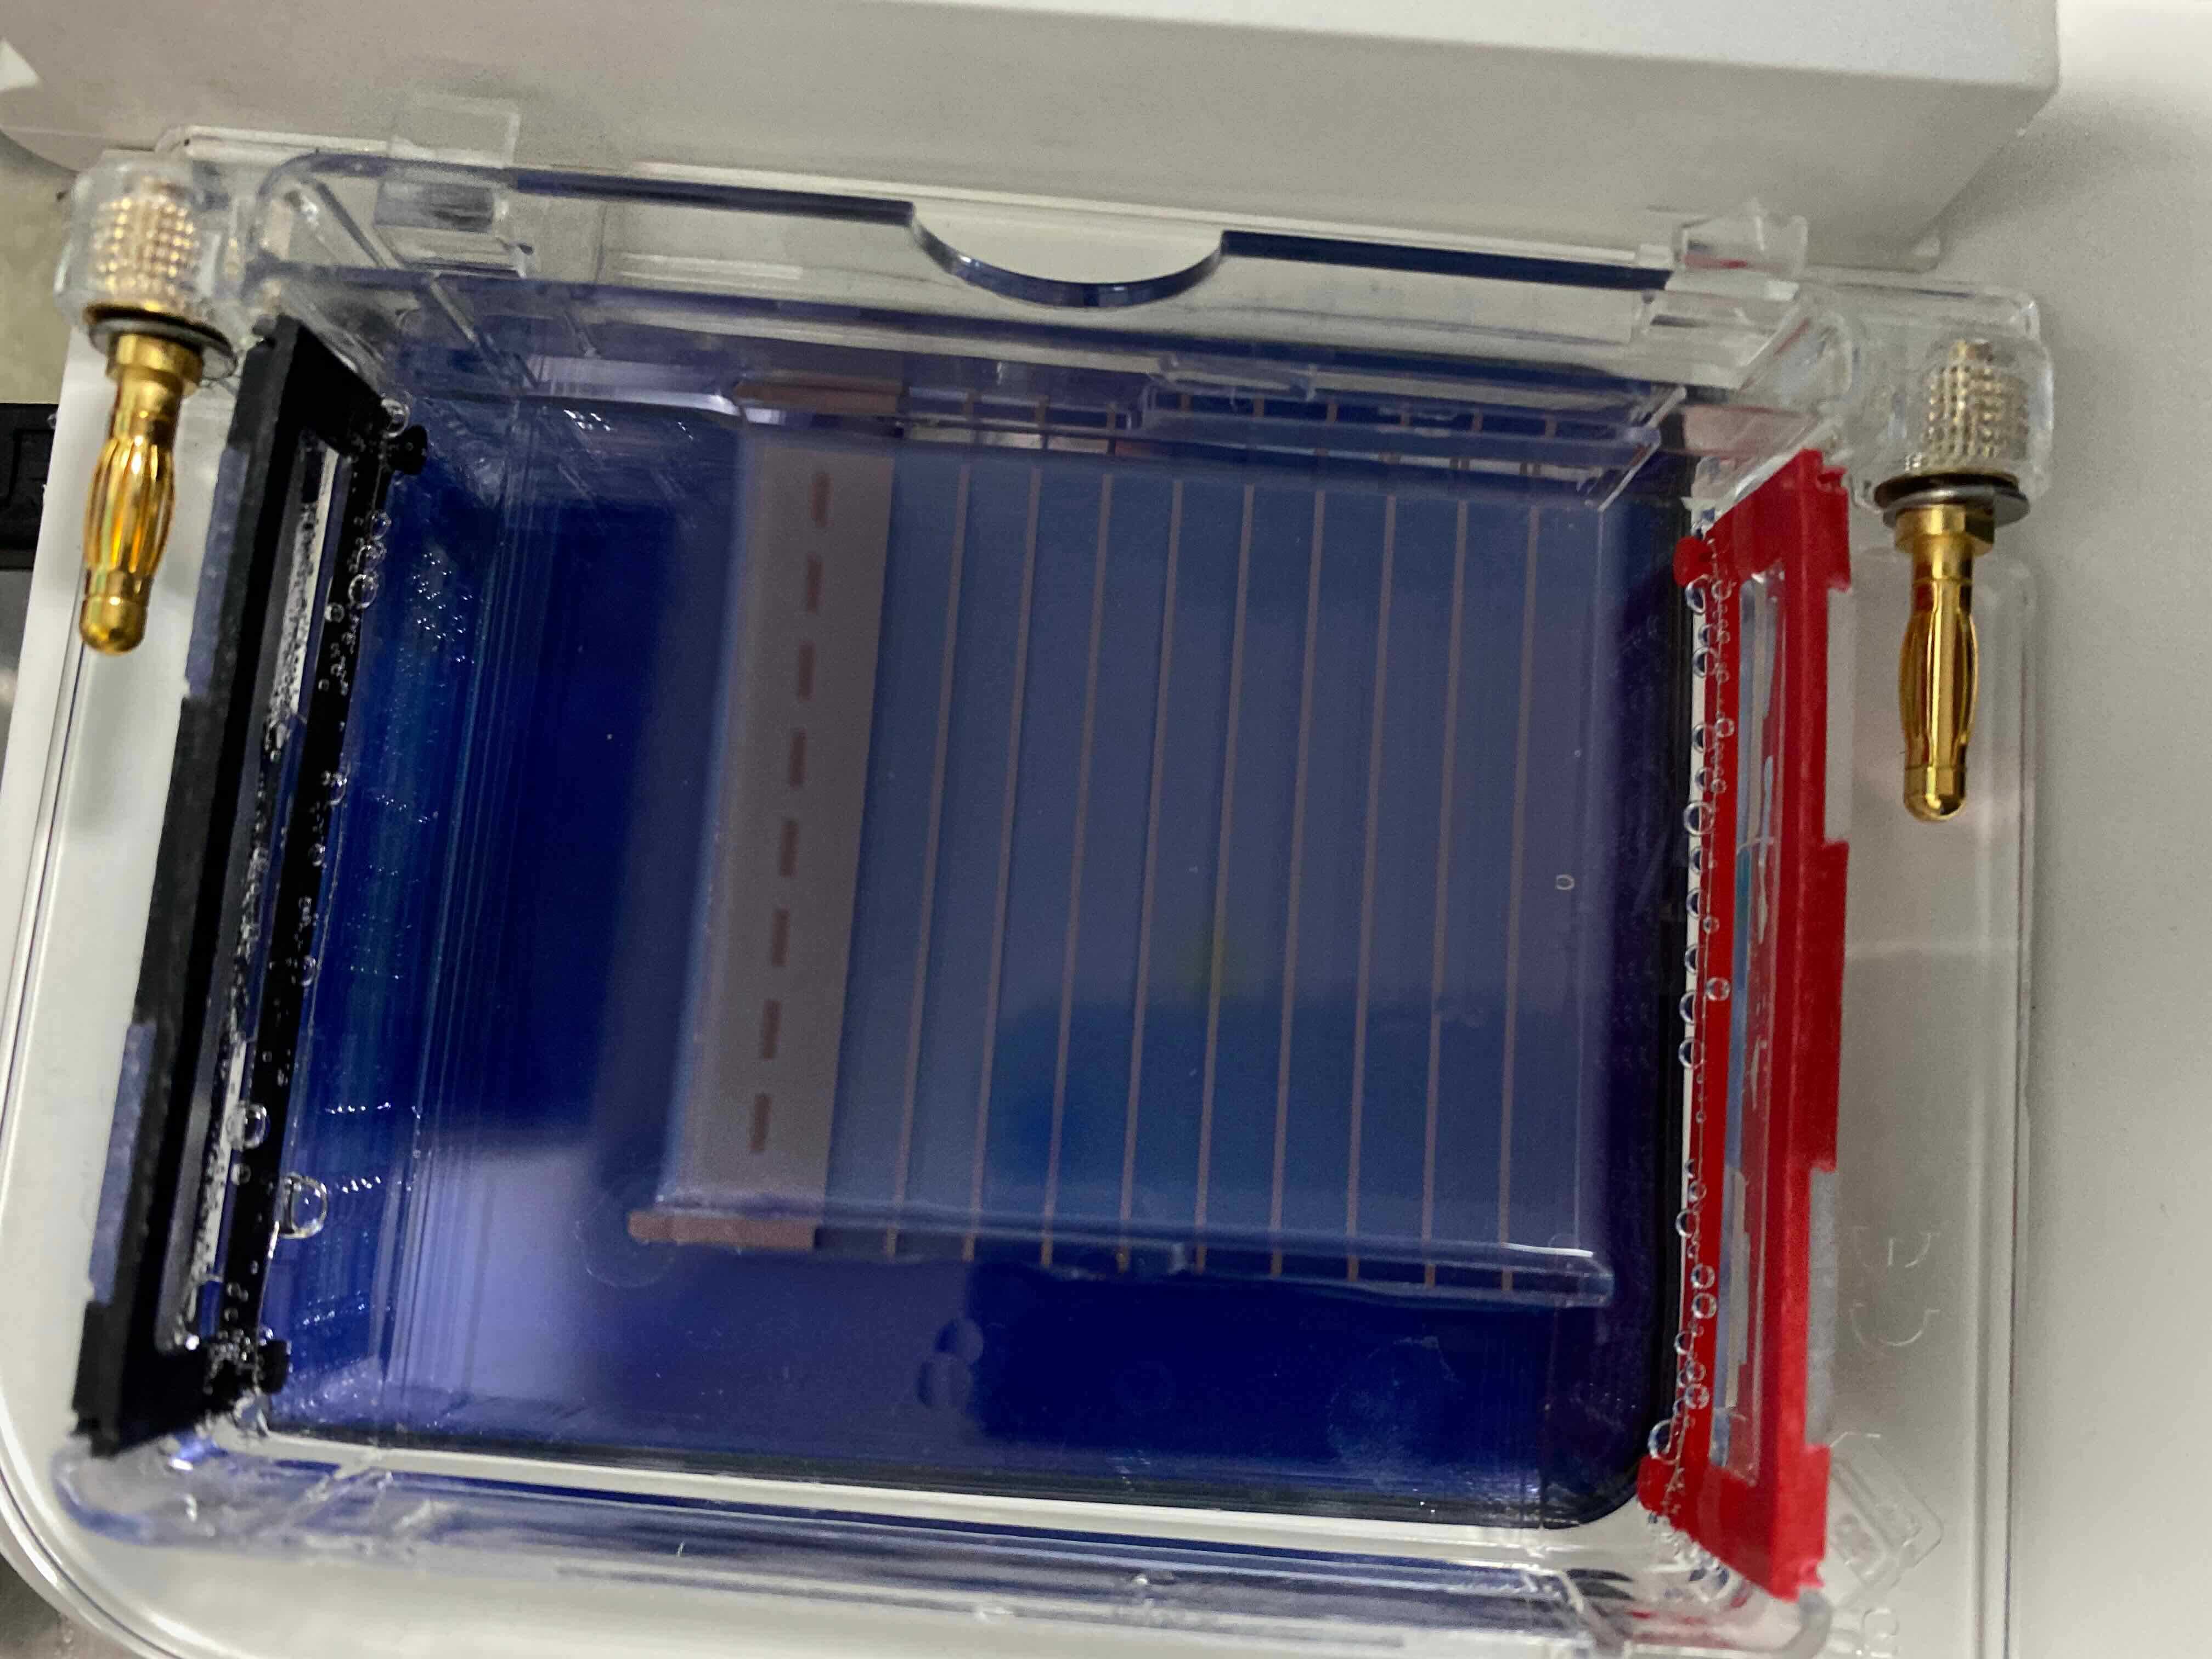
And, pour it into the stage
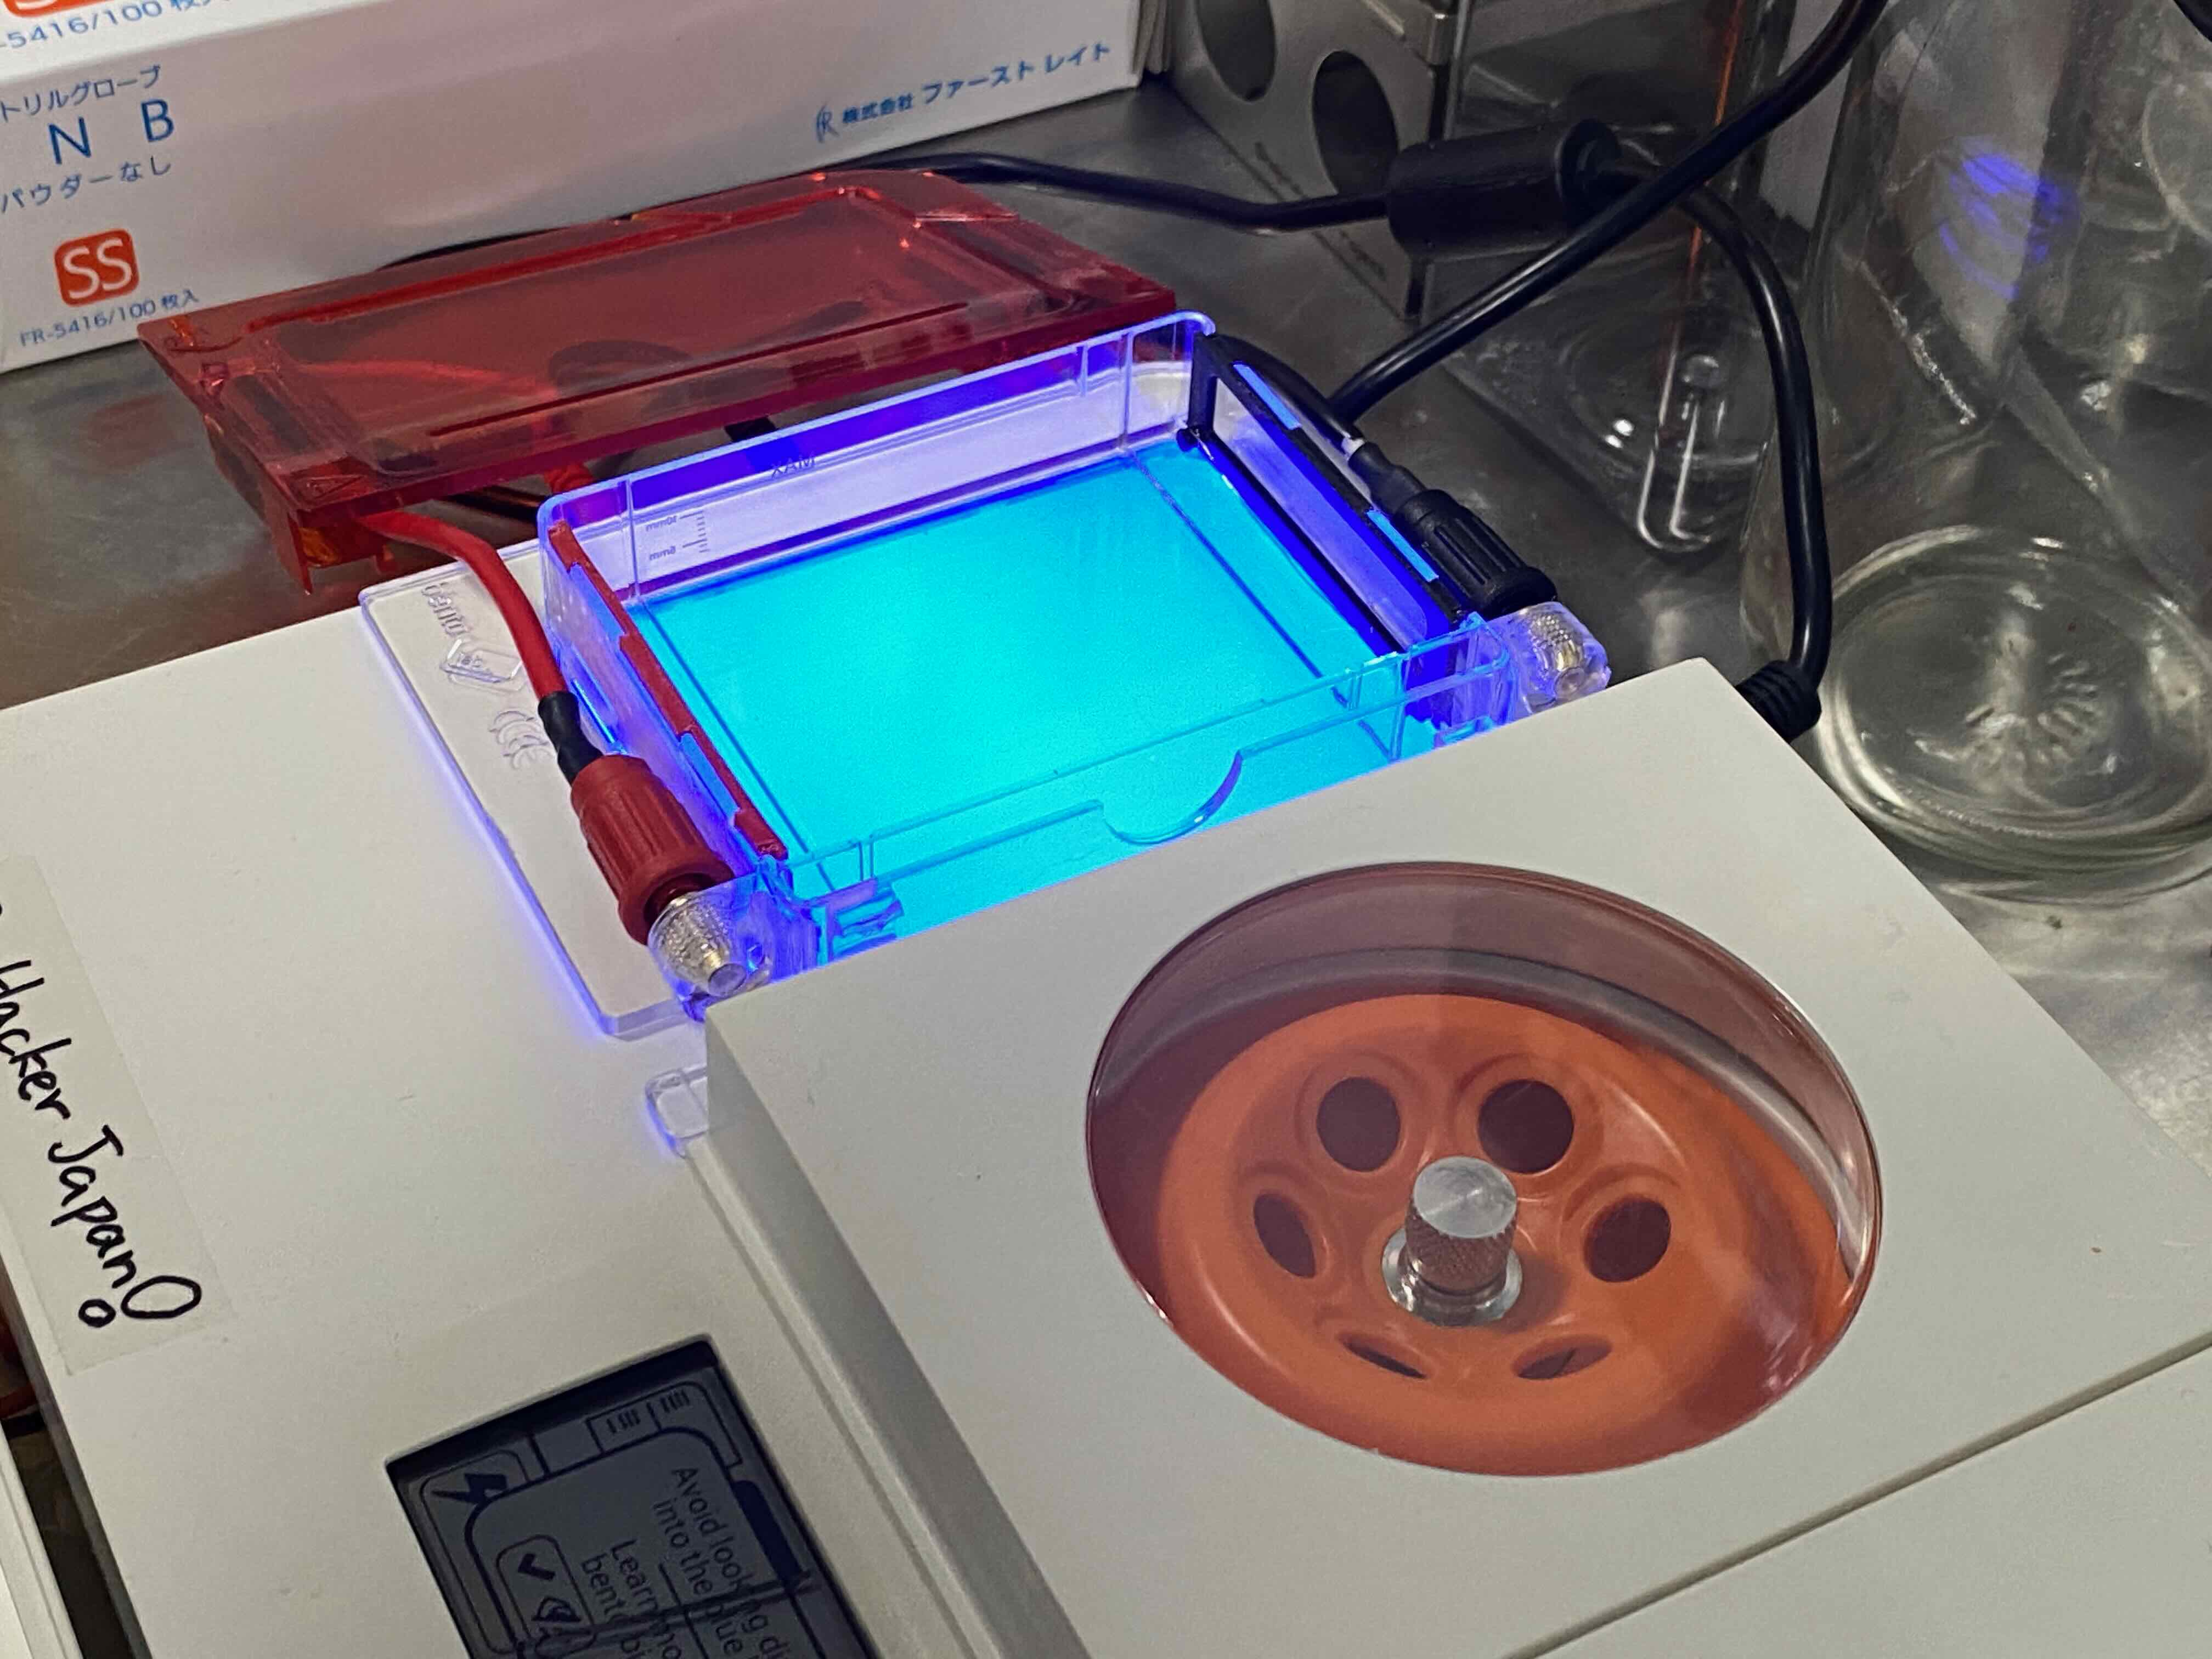
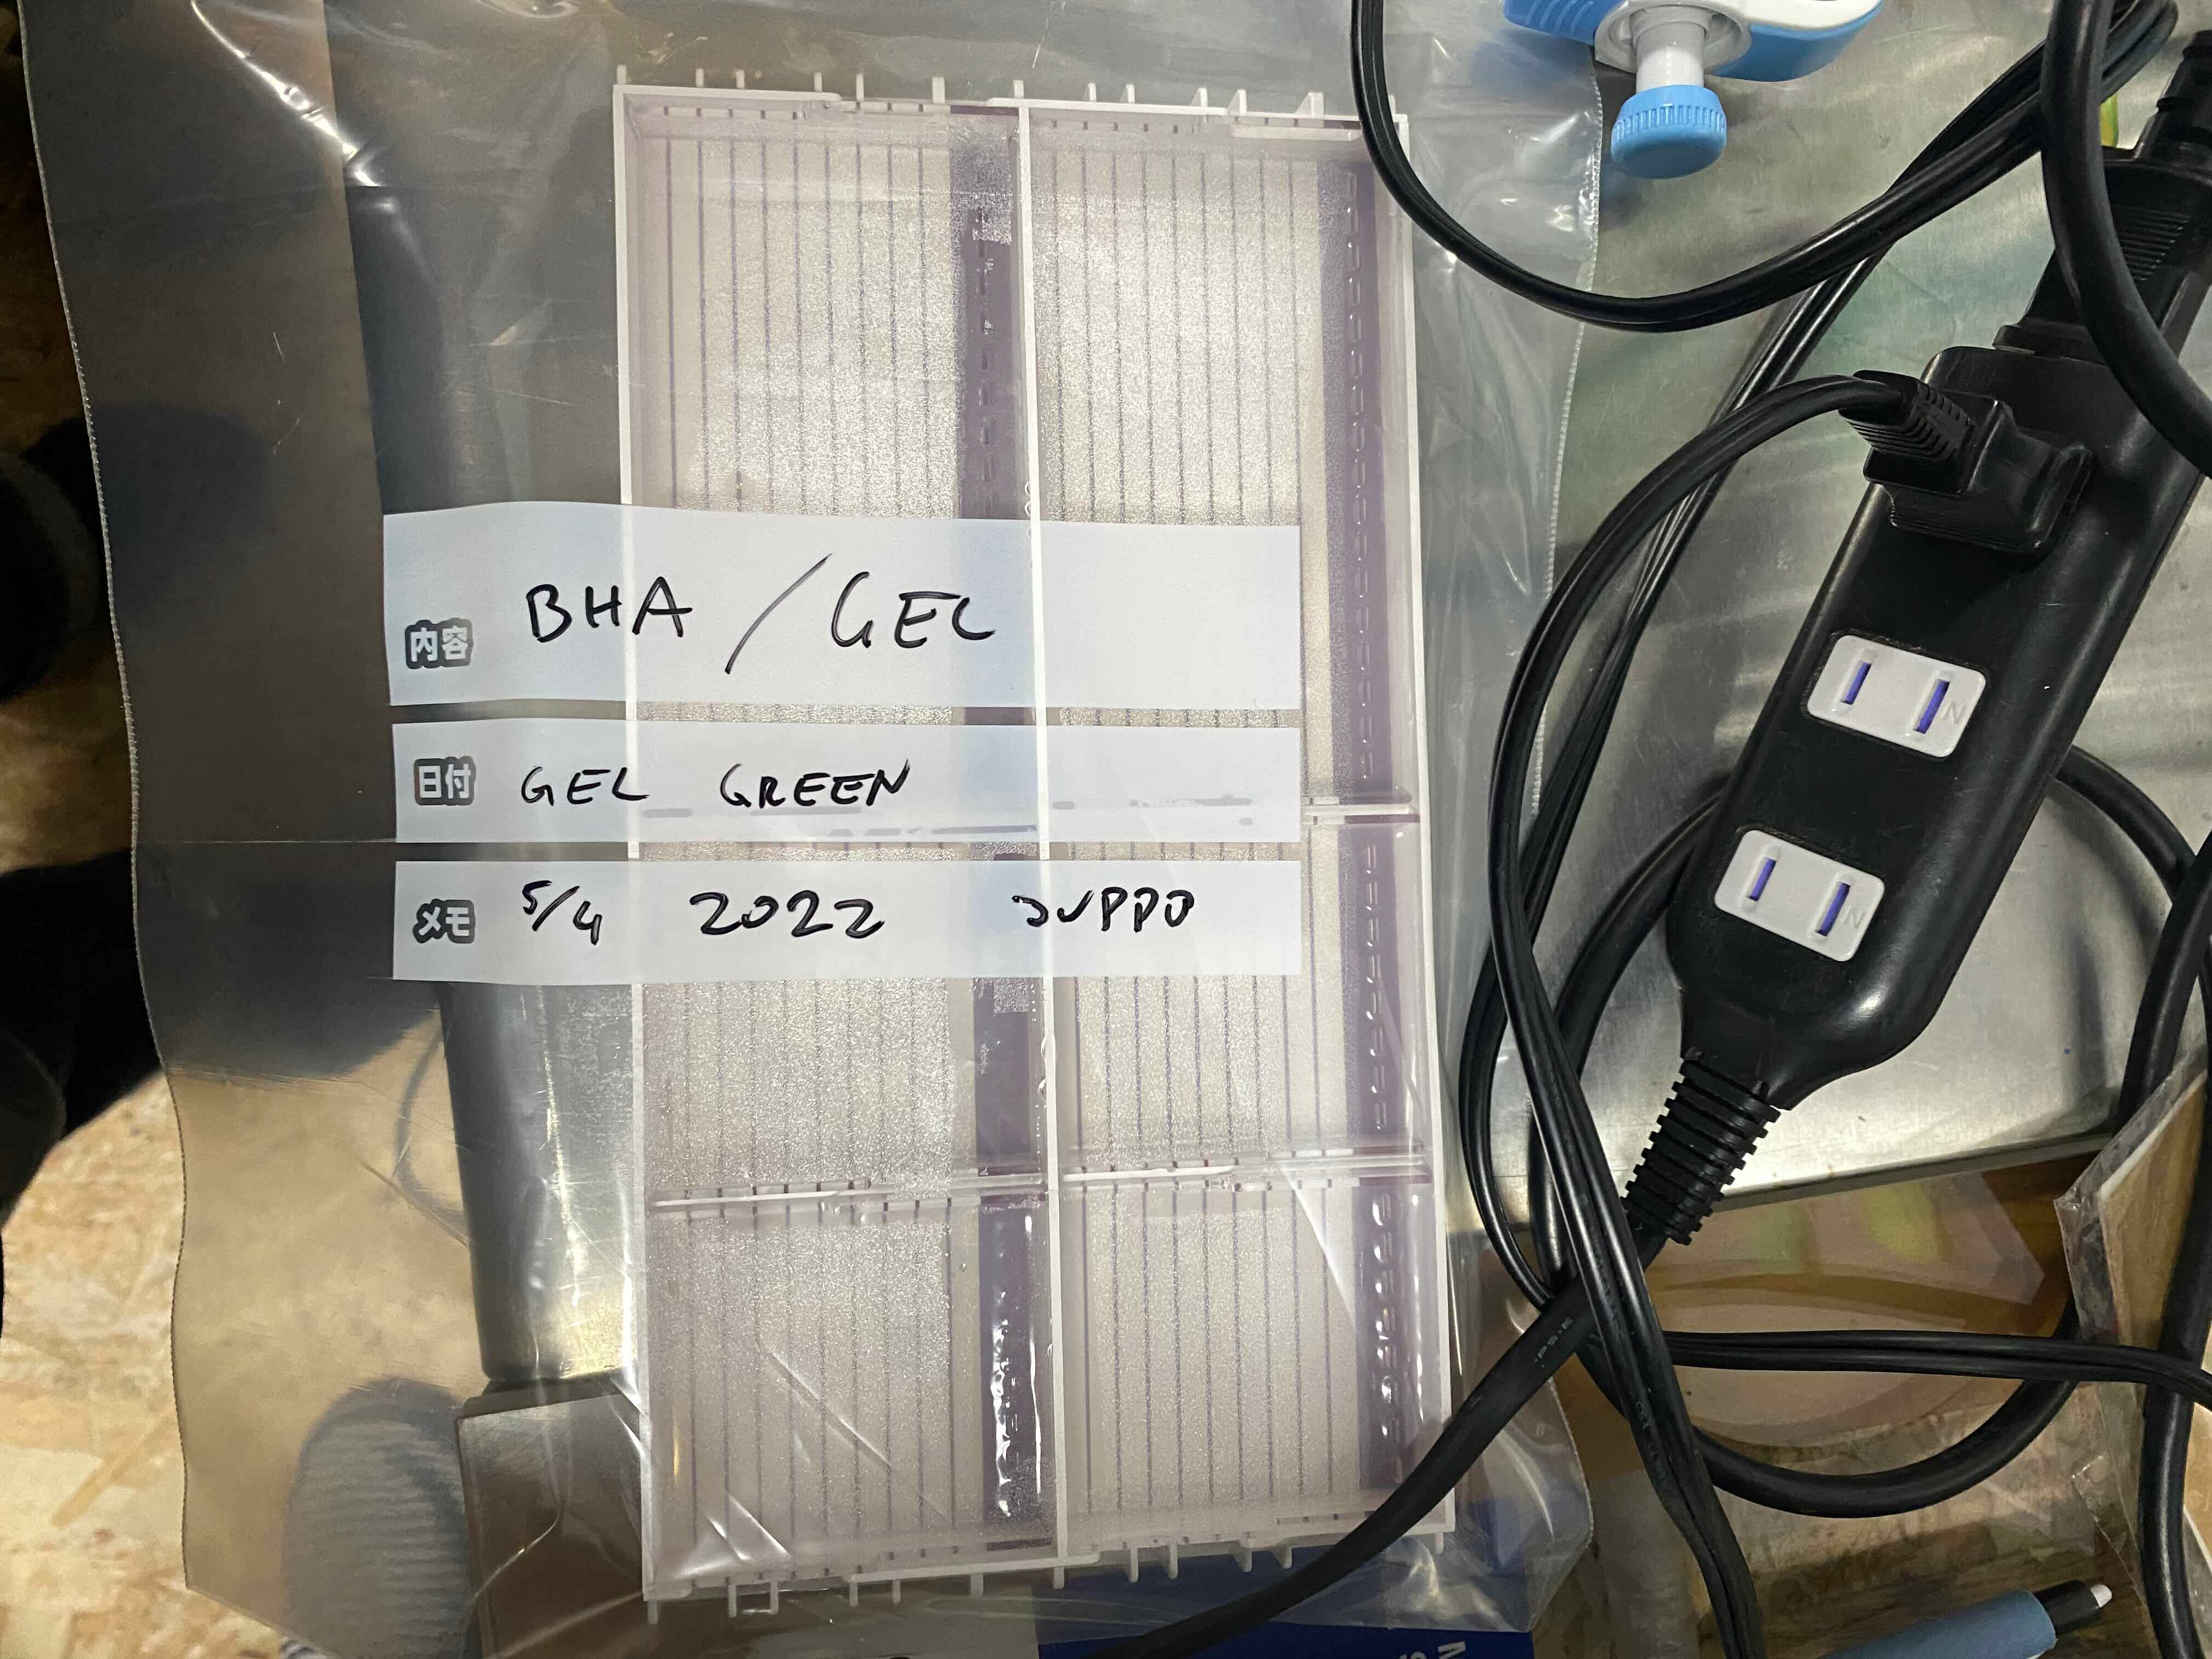
Set the Gel into the stage…
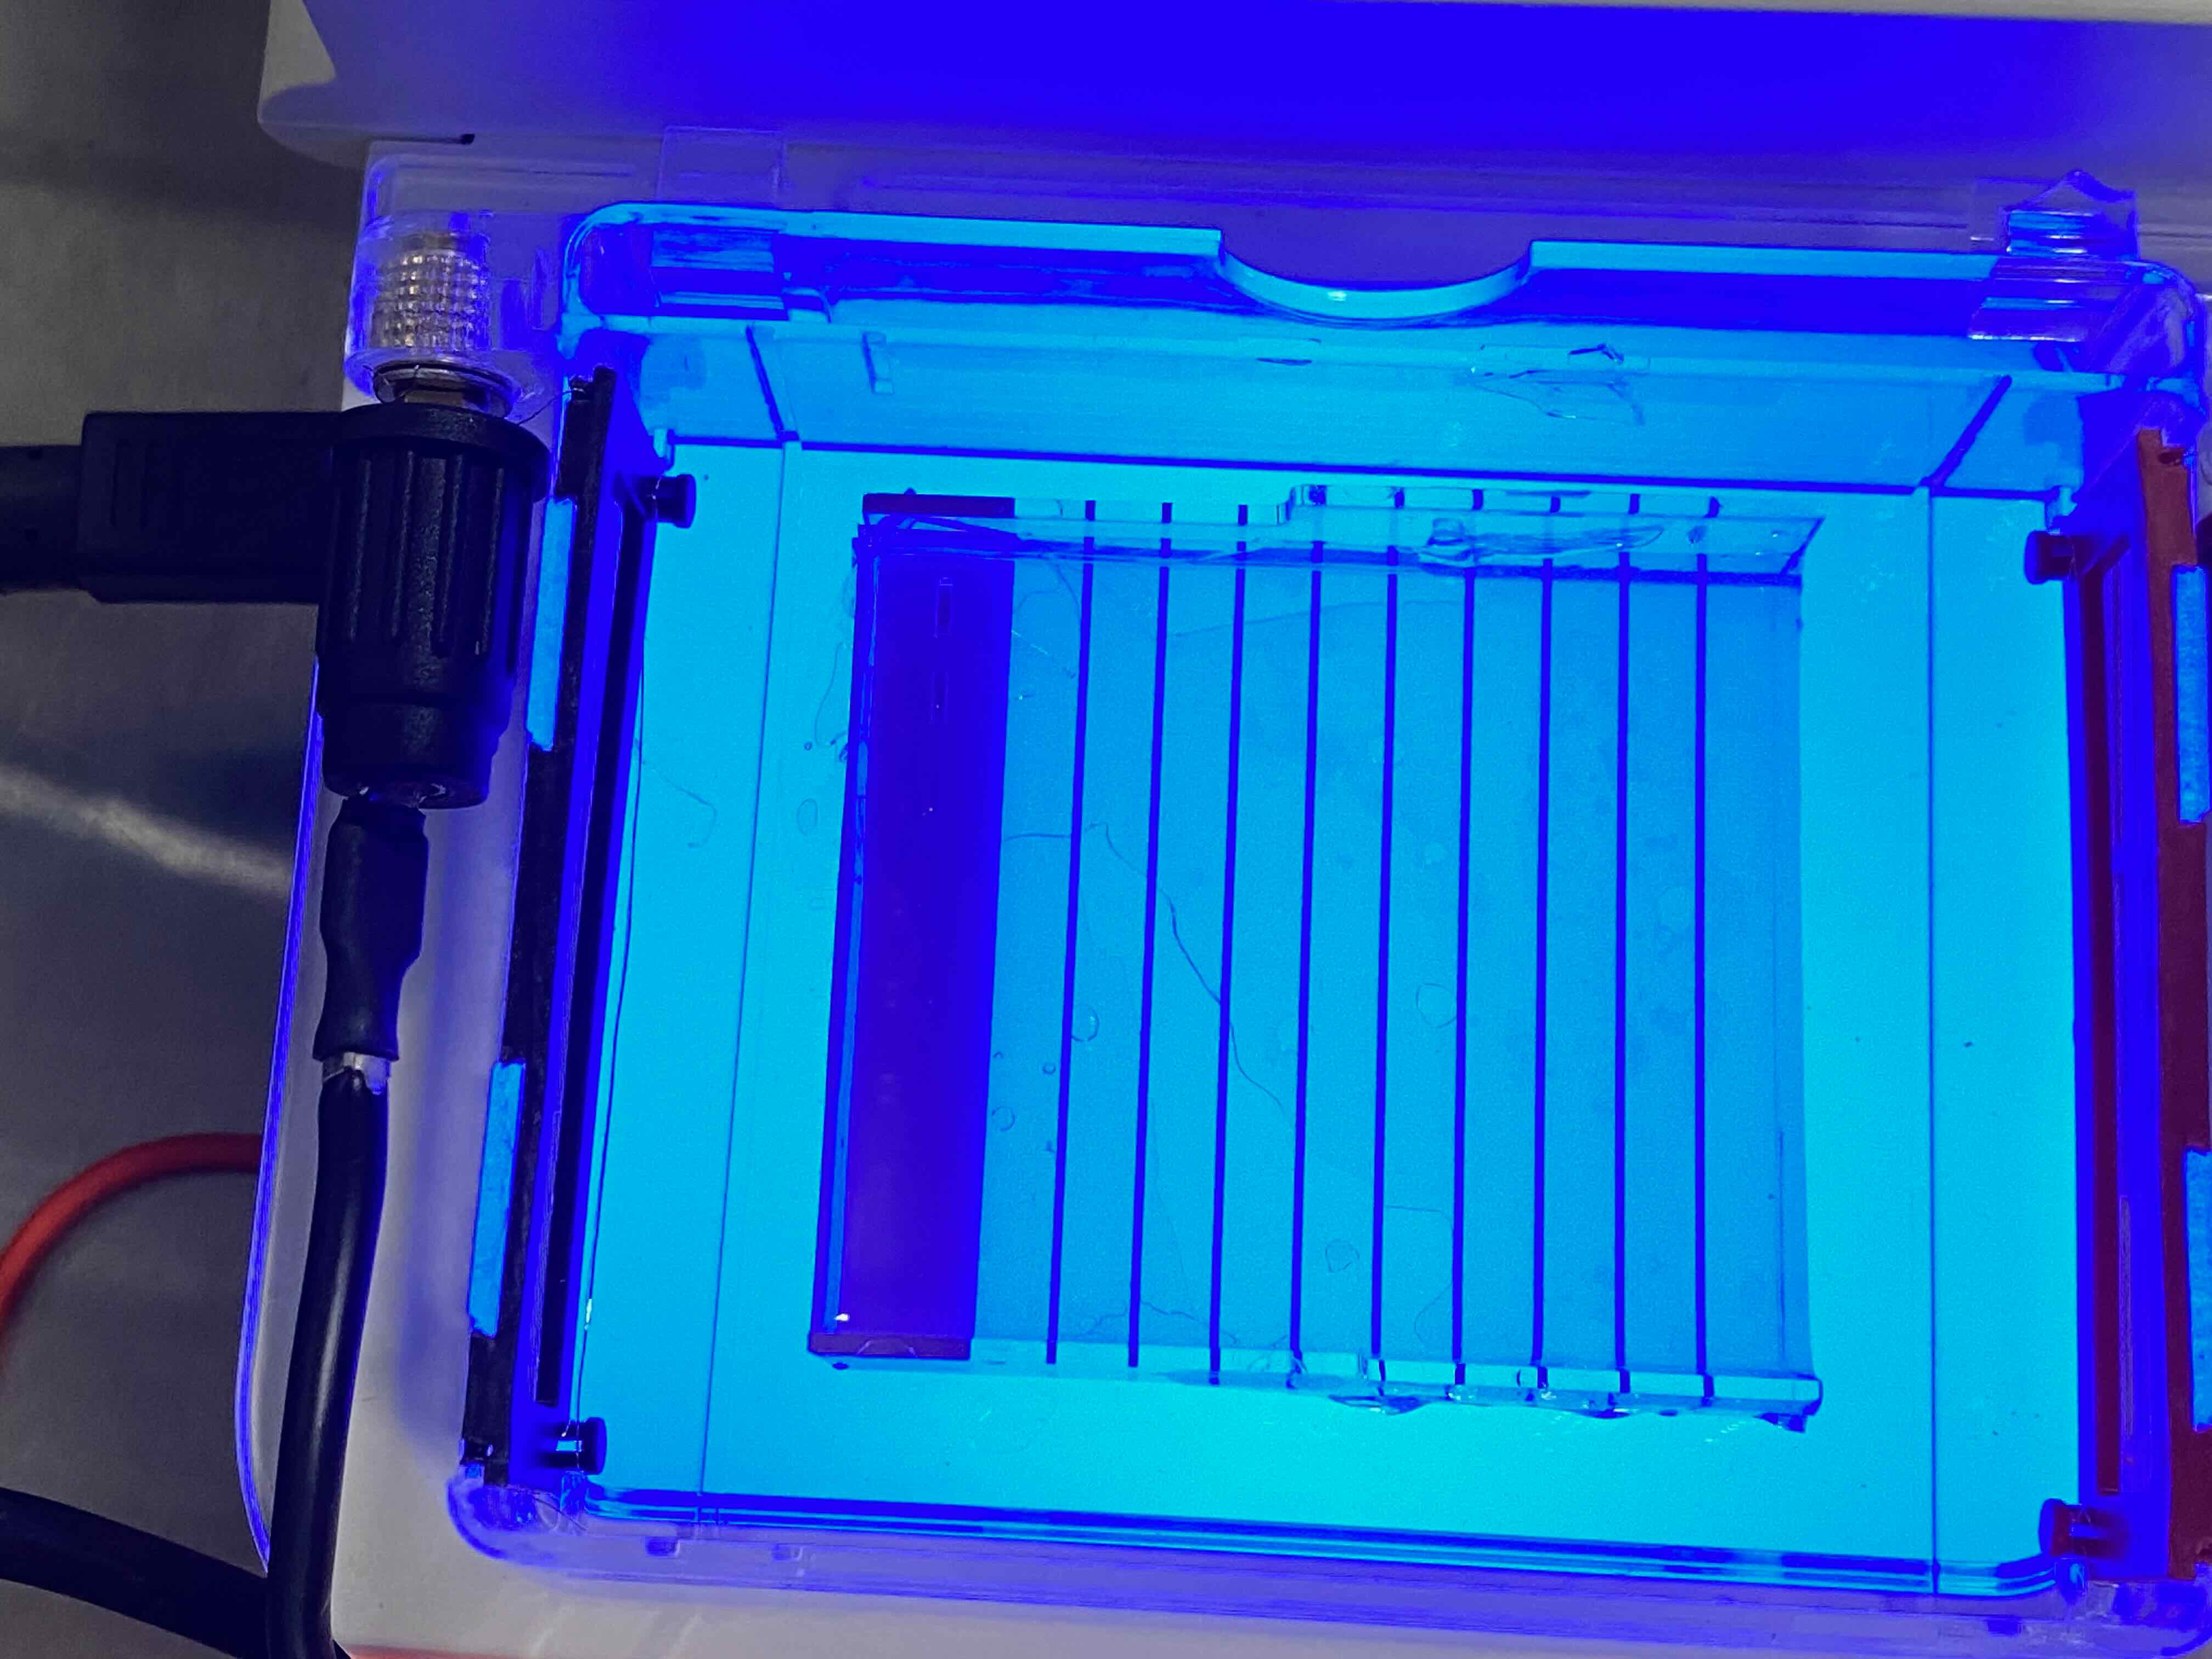
Then, put the DNA sample into the Gel. This is very sensitive tasks. Here is a demonstration.
Then, the DNA sample put, and get ready to Electrophoresis.
Connect the plug to apply an electrical current.
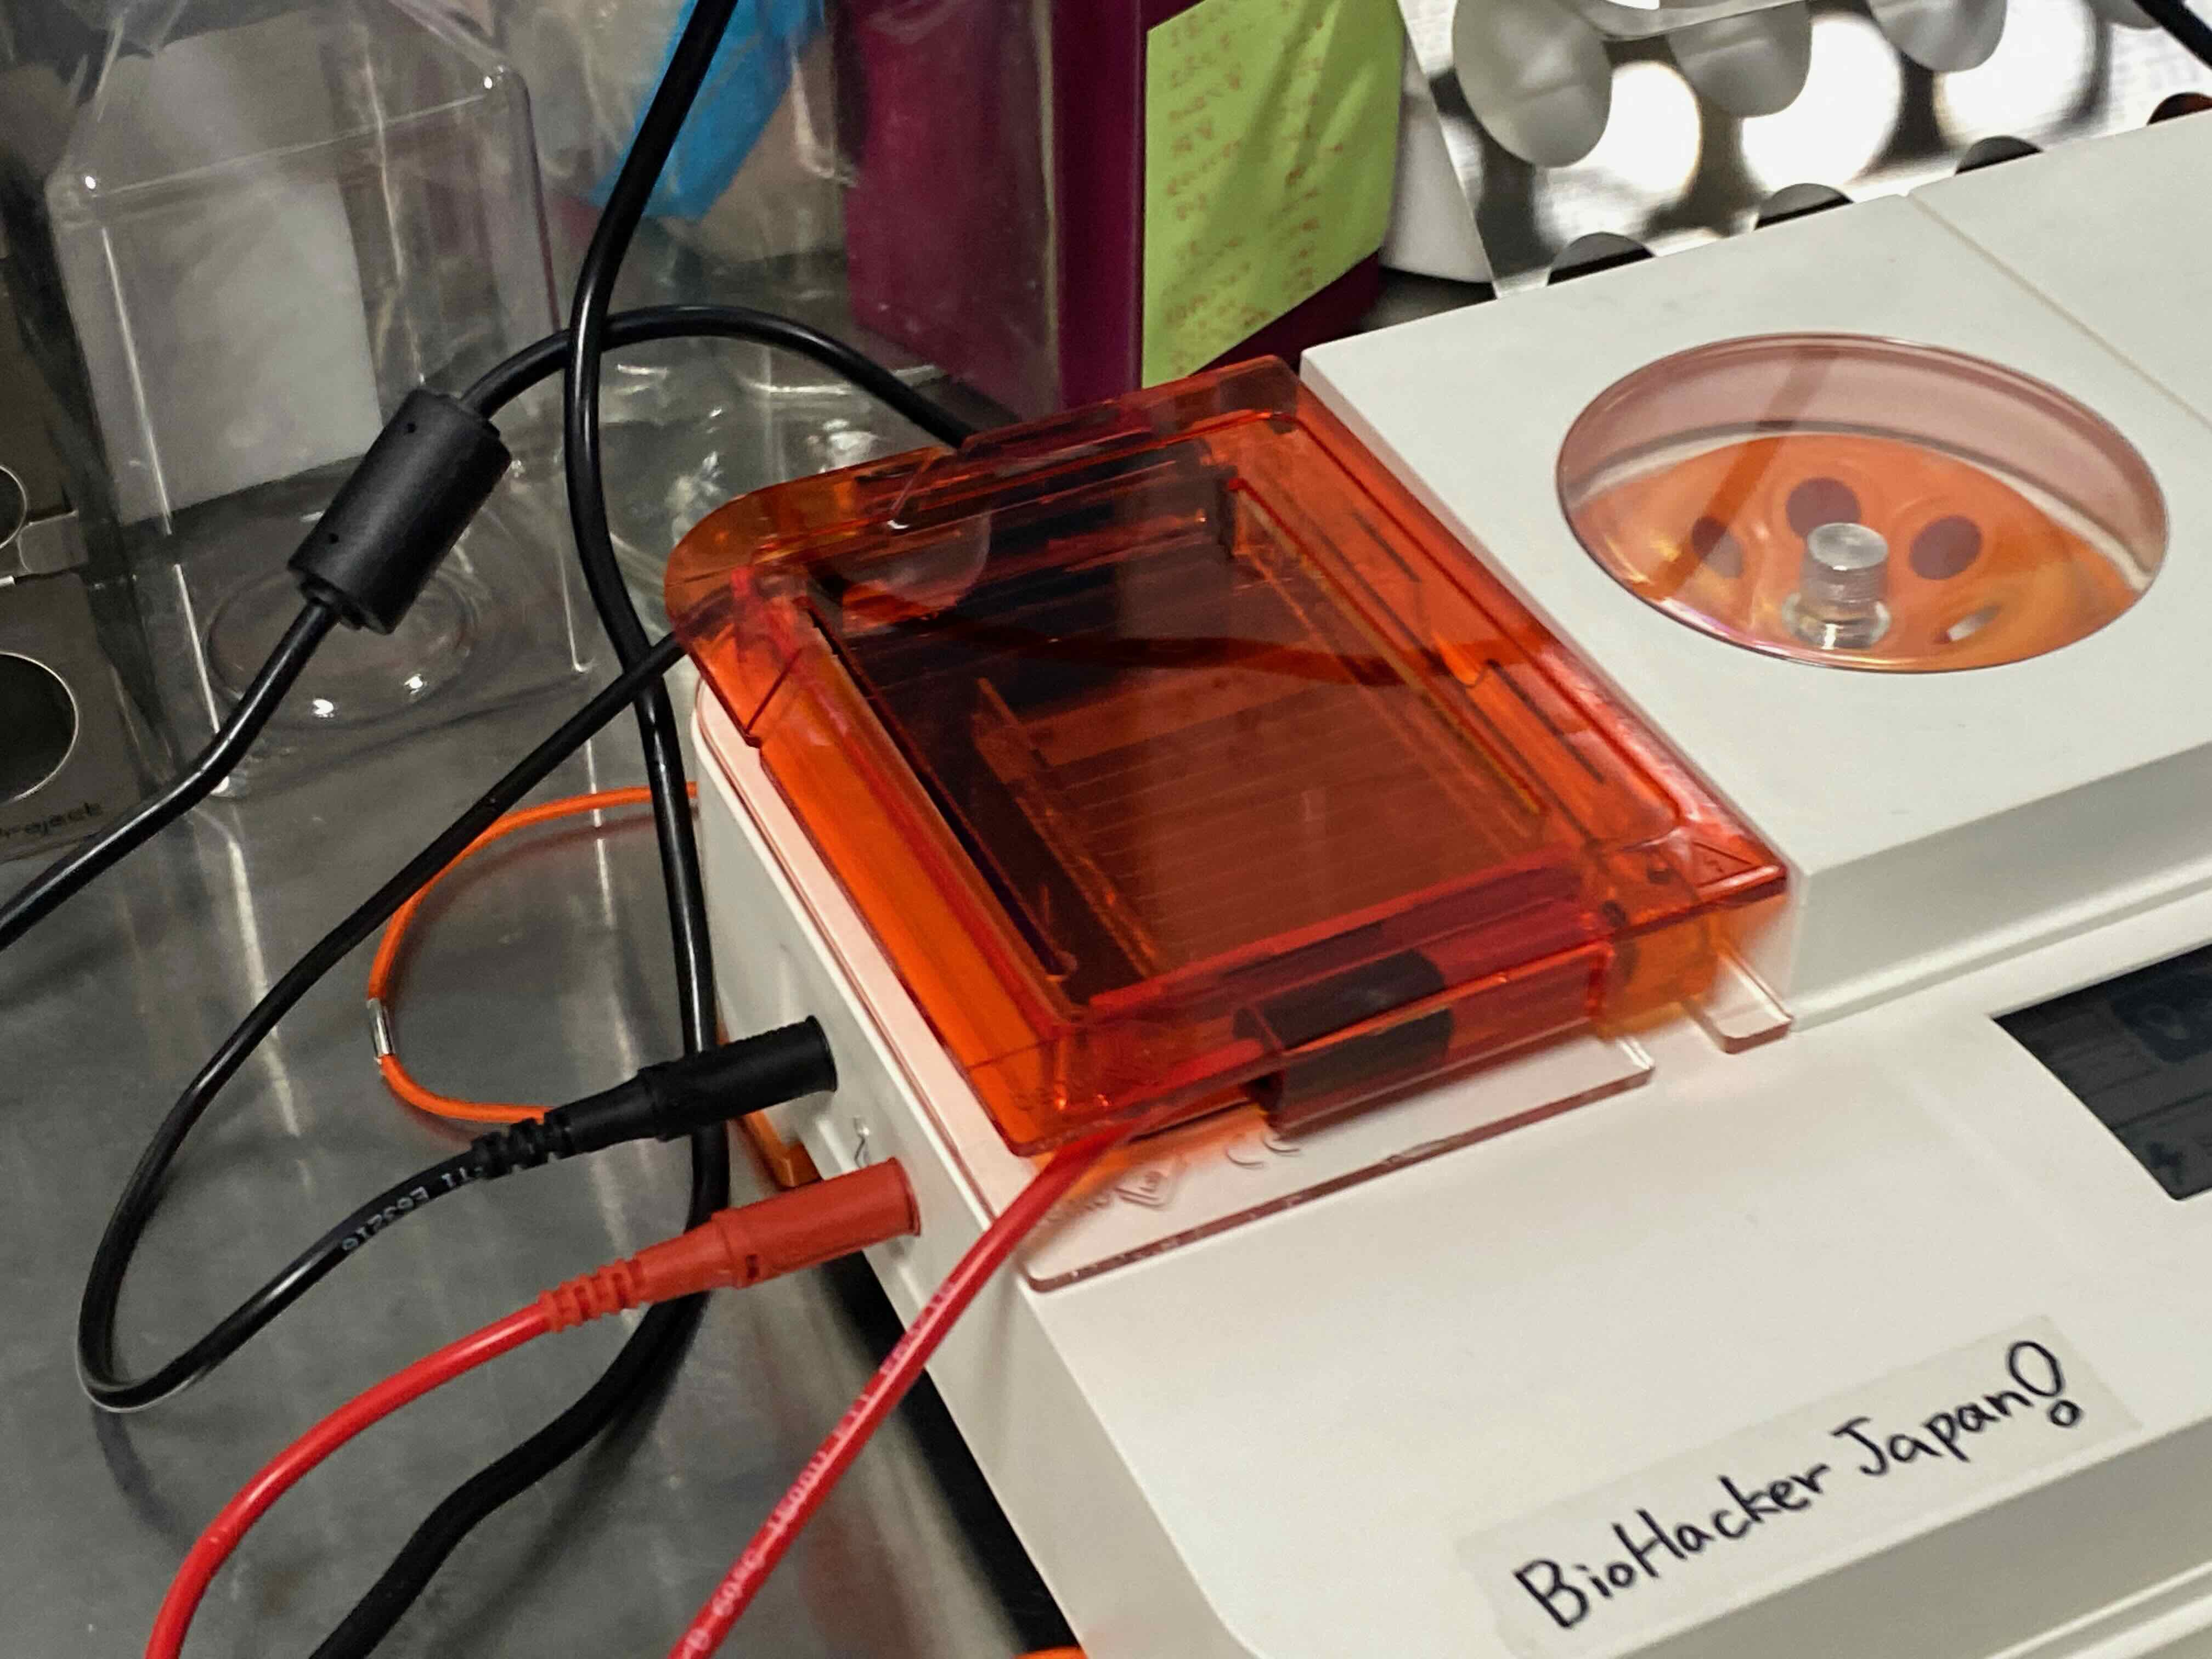
Then, set the parameter…
- Voltage: 50V
- time : 40 minutes

Then, start to gel elecrophoresis. Wait 40 minutes…
Visualizing DNA
After gel run has completed, I can visualise my result.
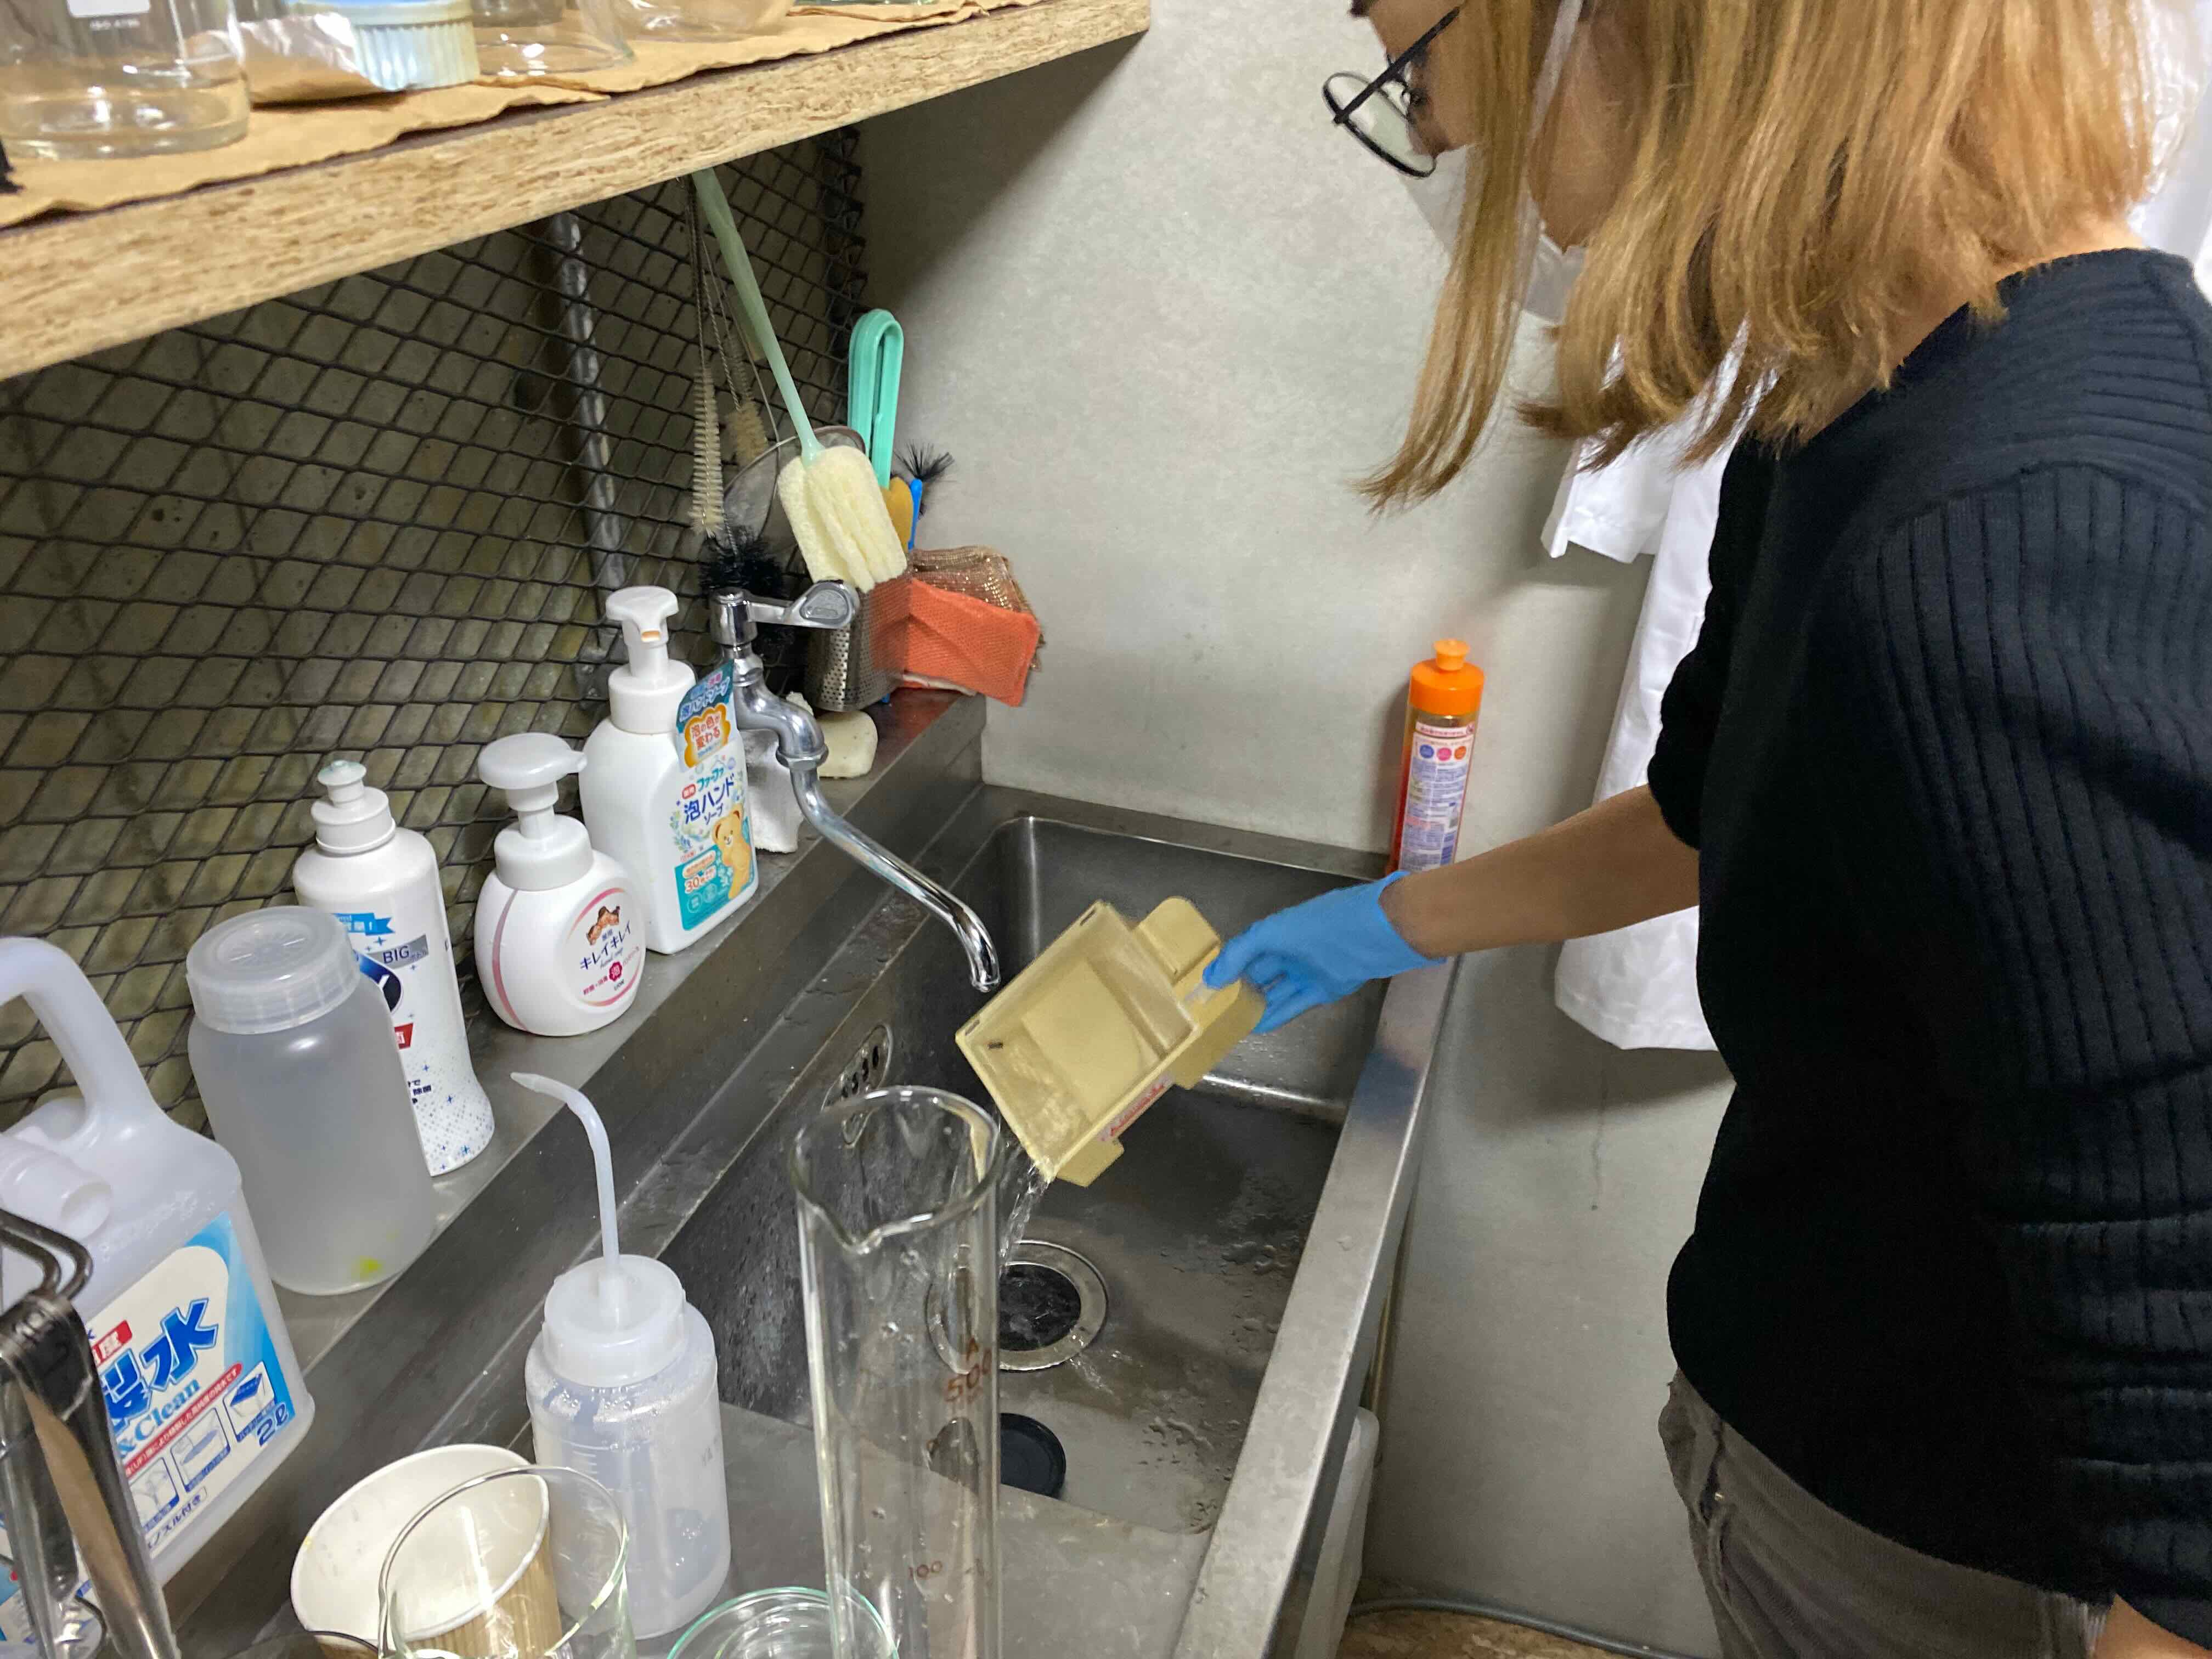
First, open the gel box, and put away the buffer.
Then, turn off the light in the room, and turn on blue light of the Bento Lab.
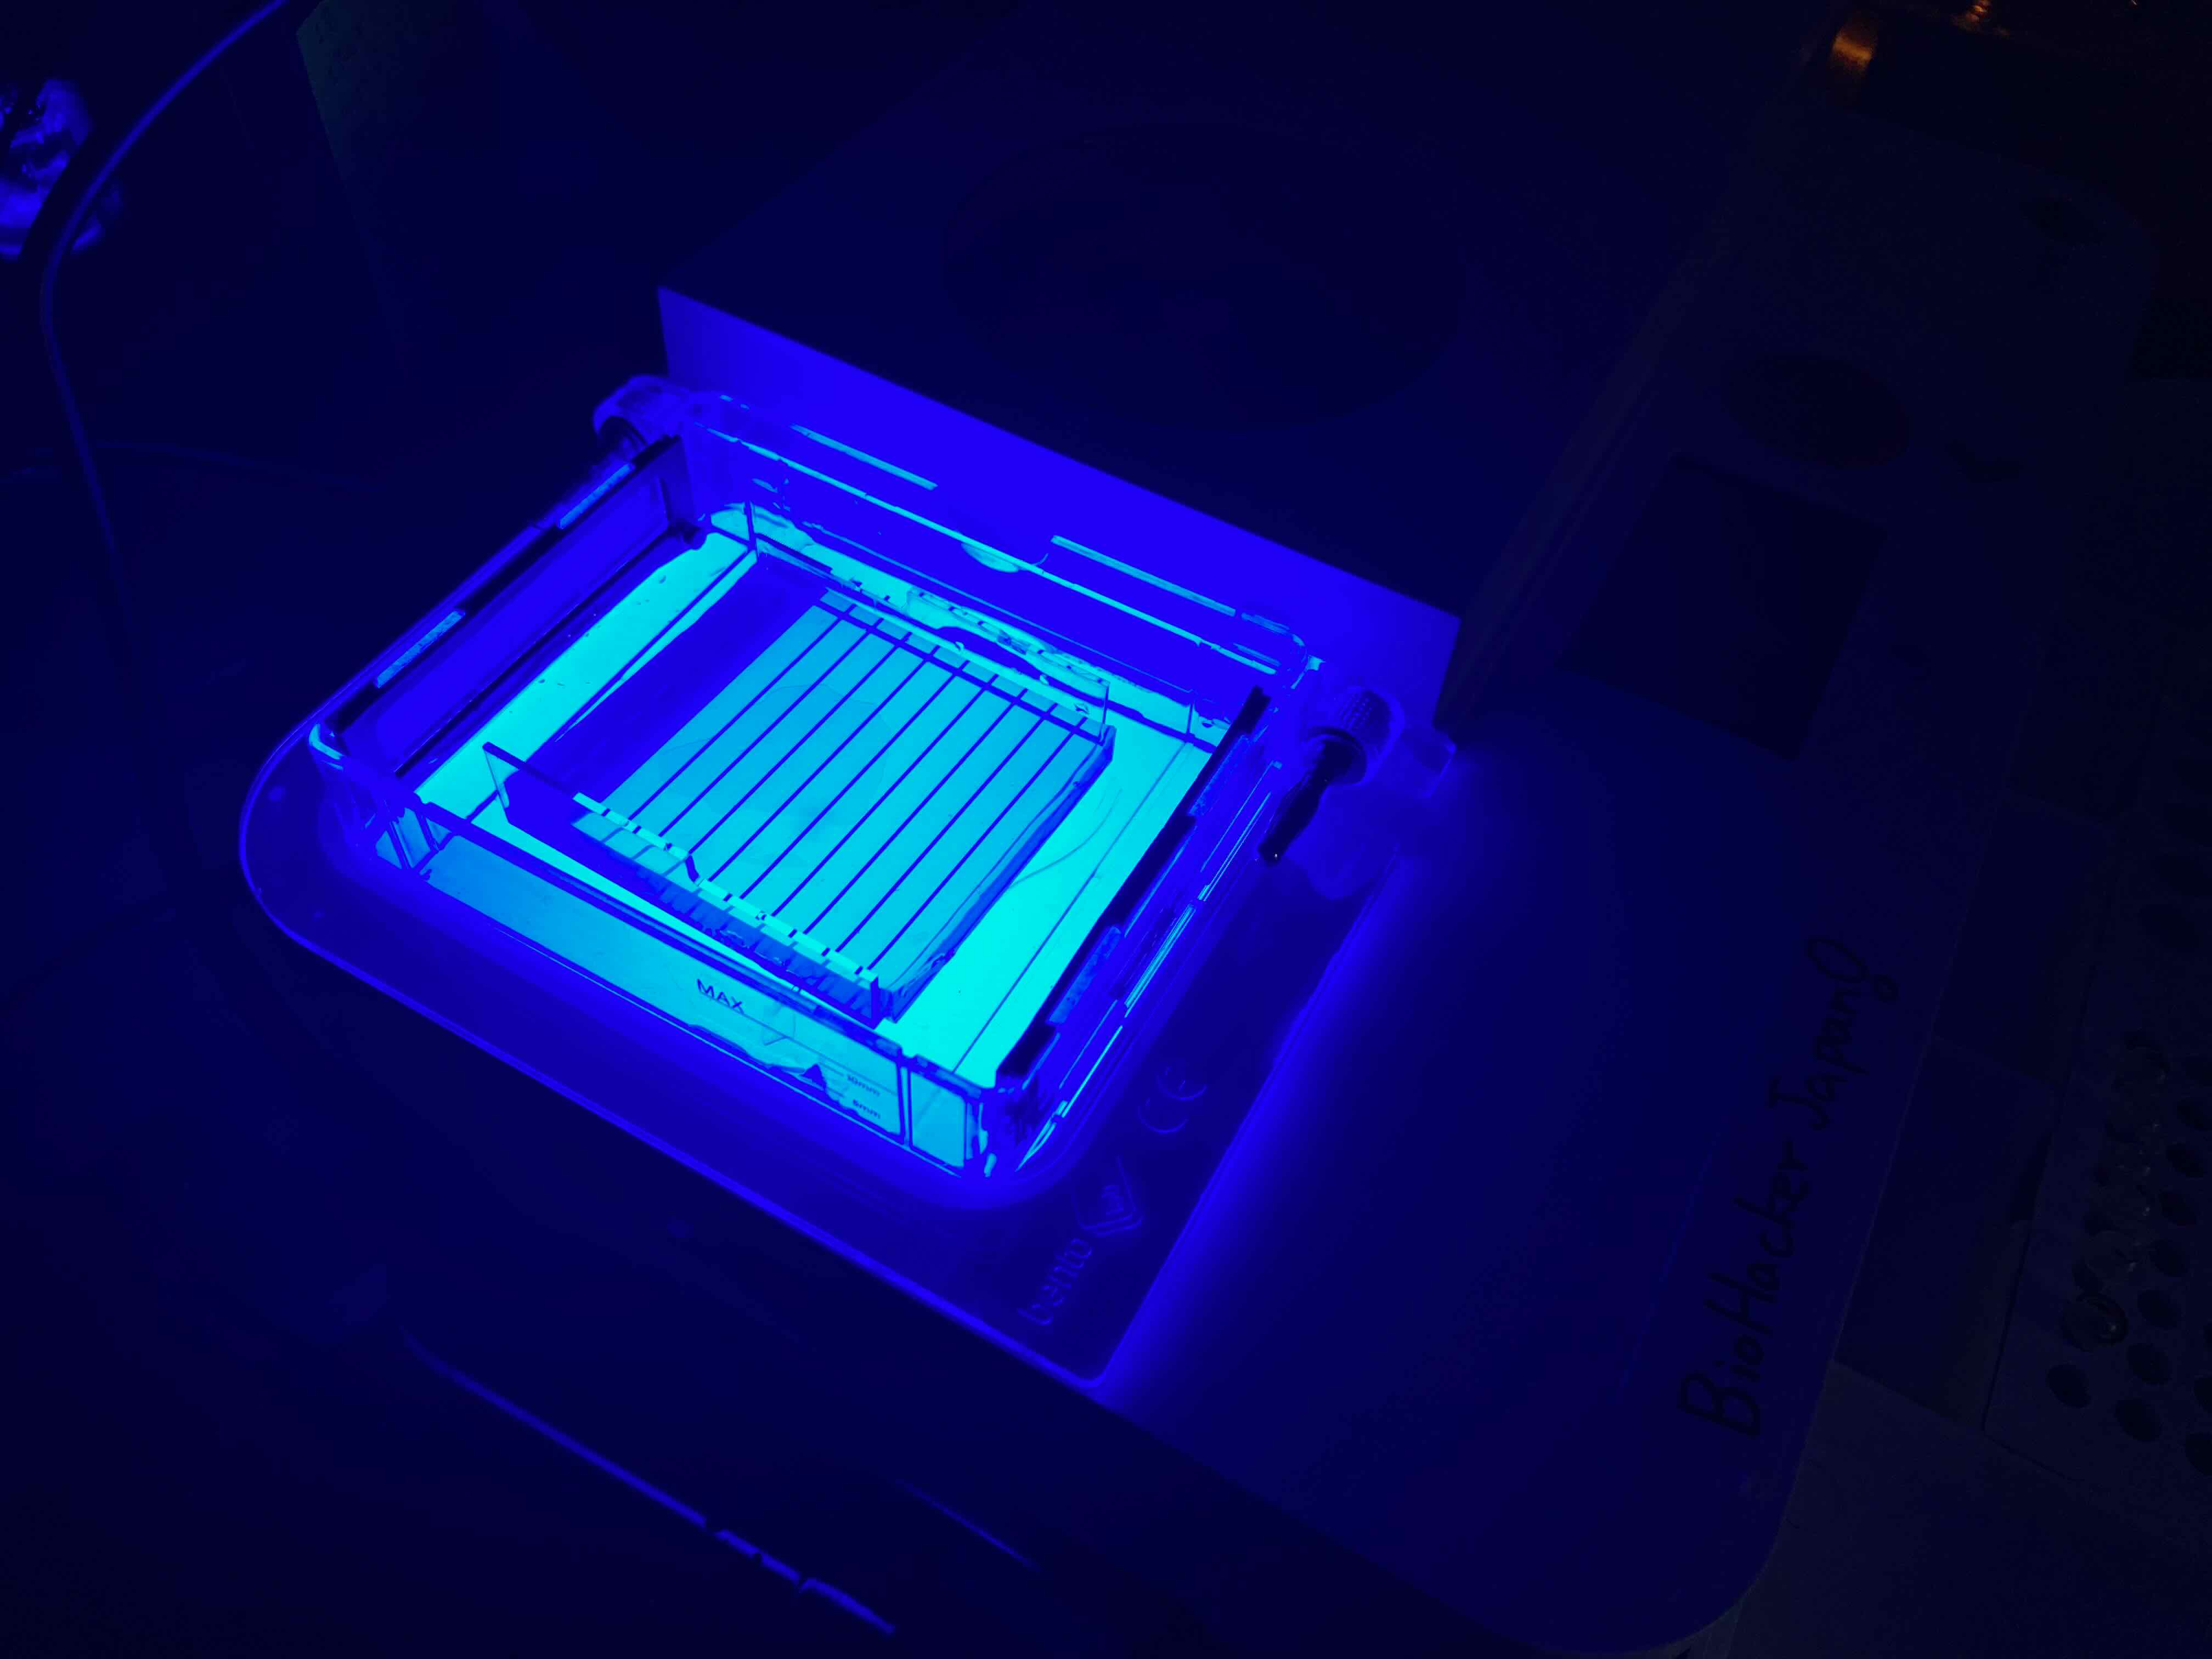
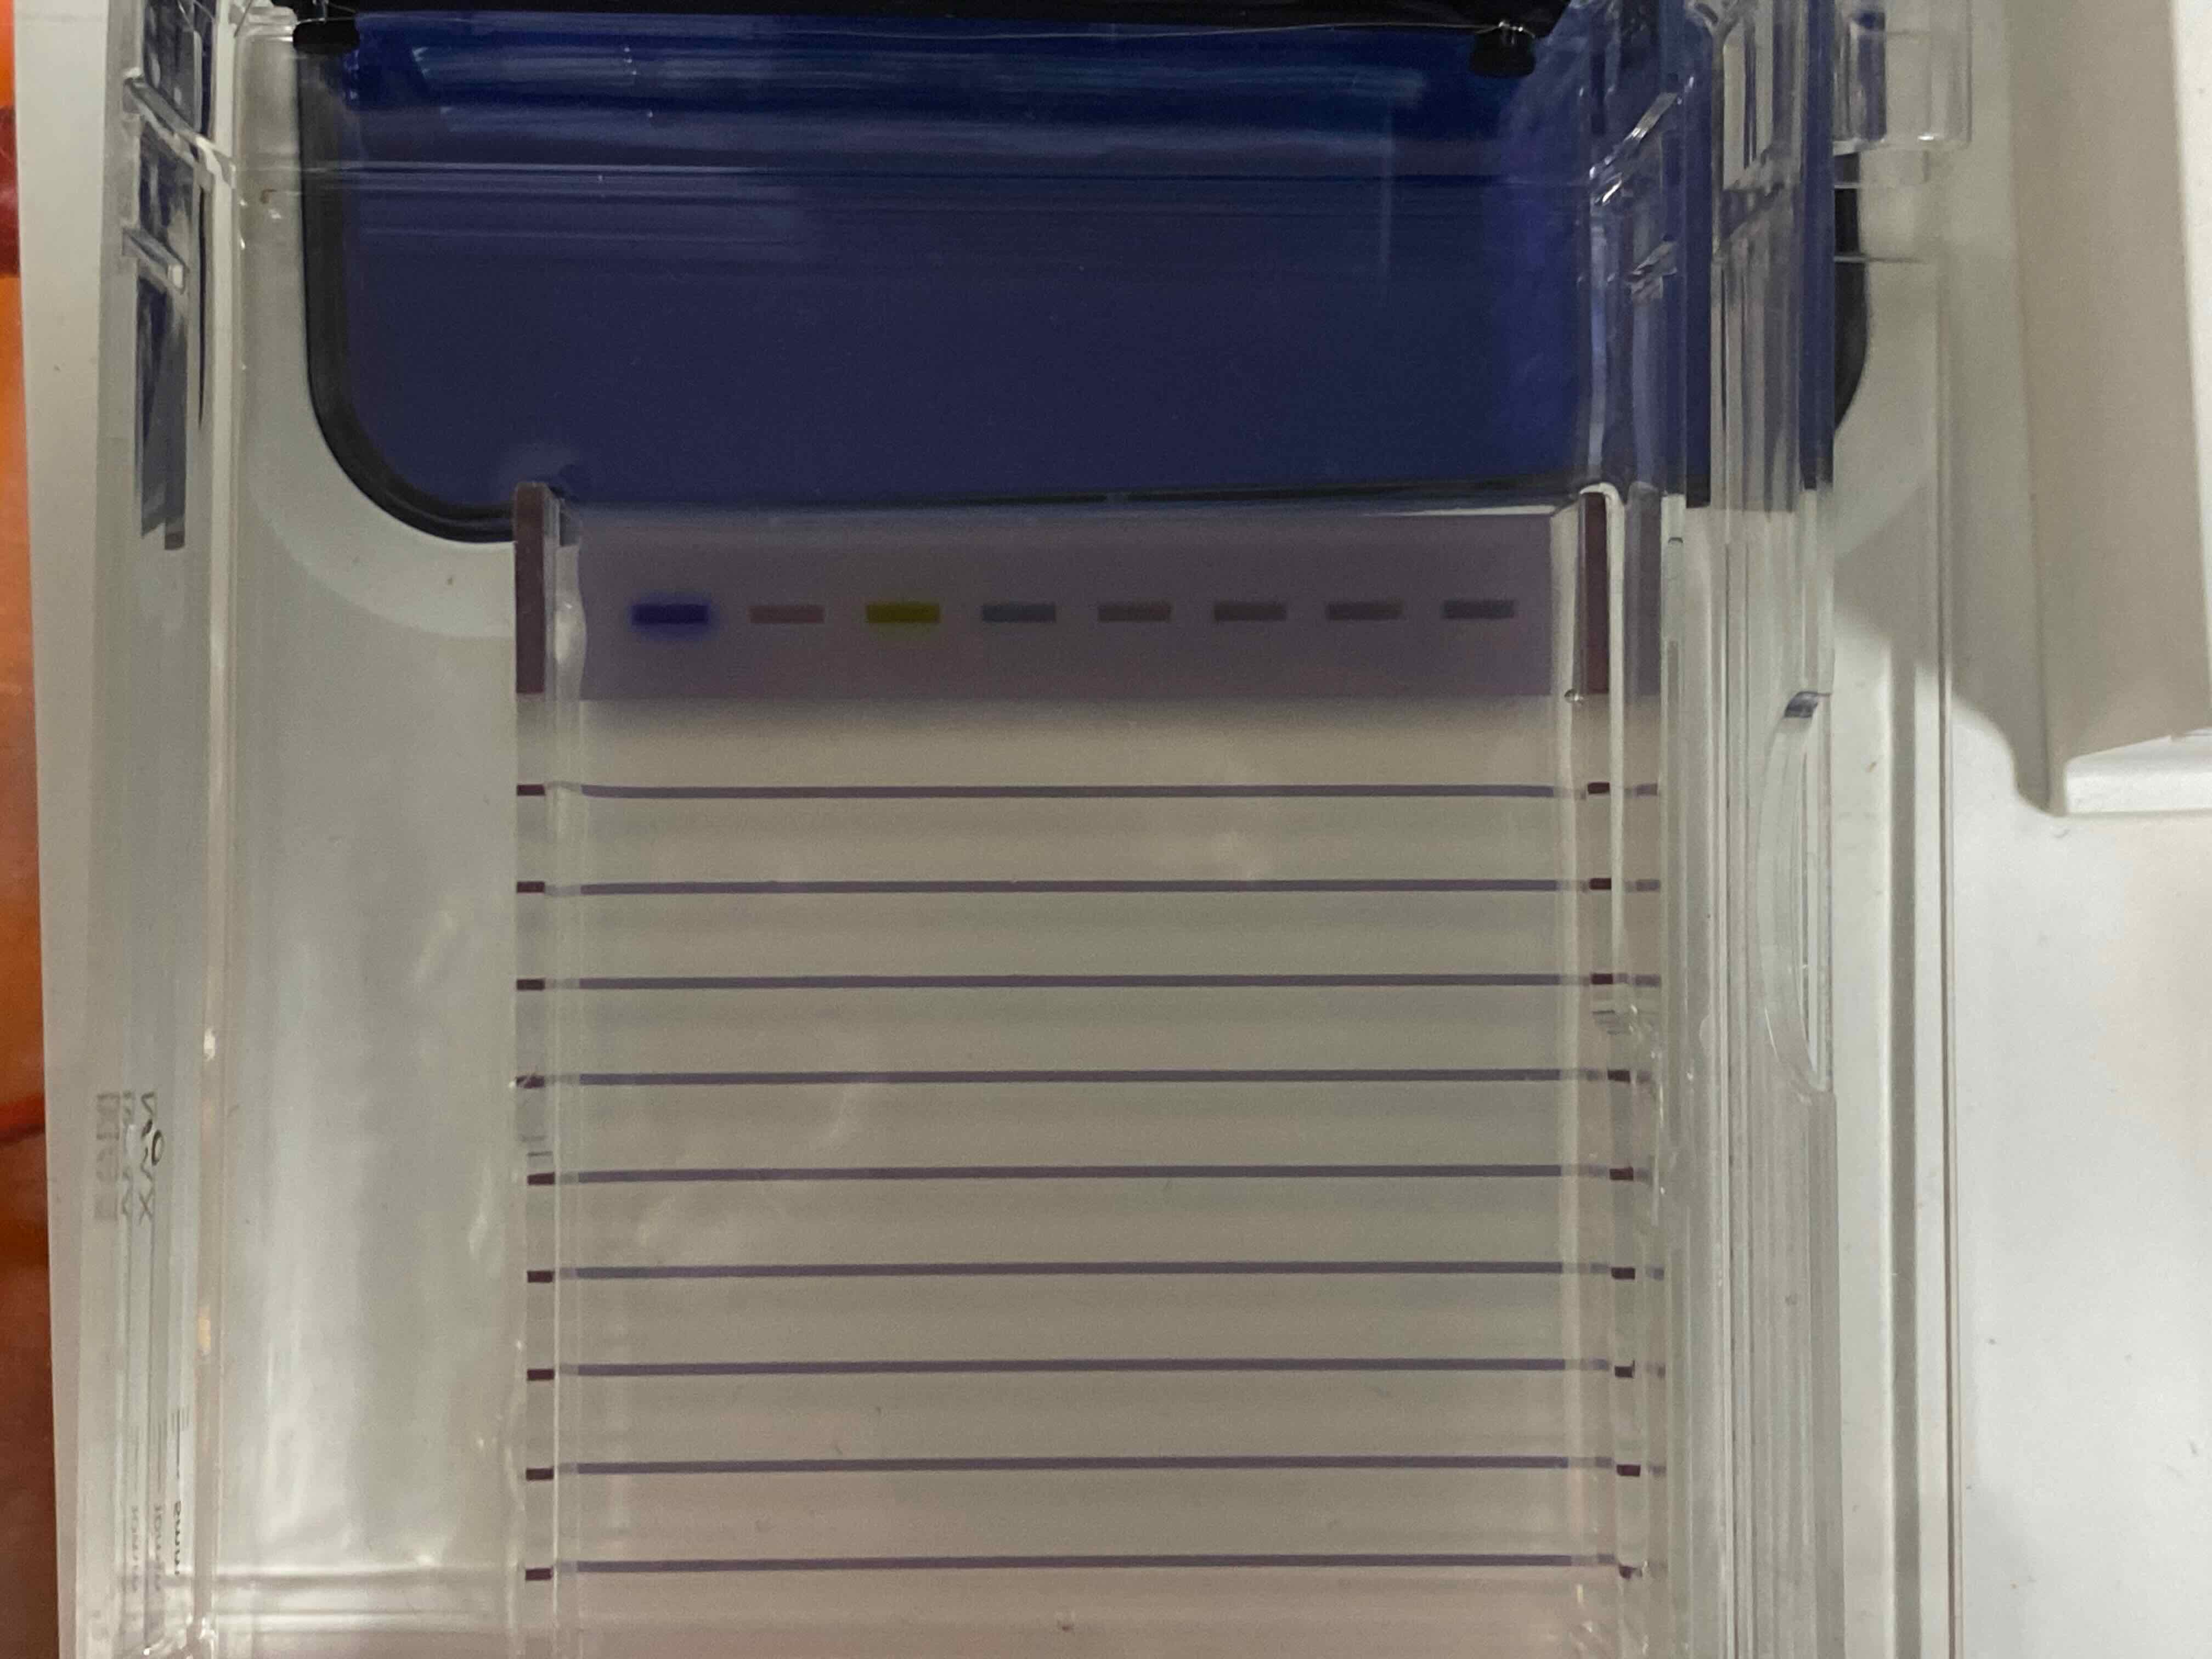
And…. we can see the pattern !
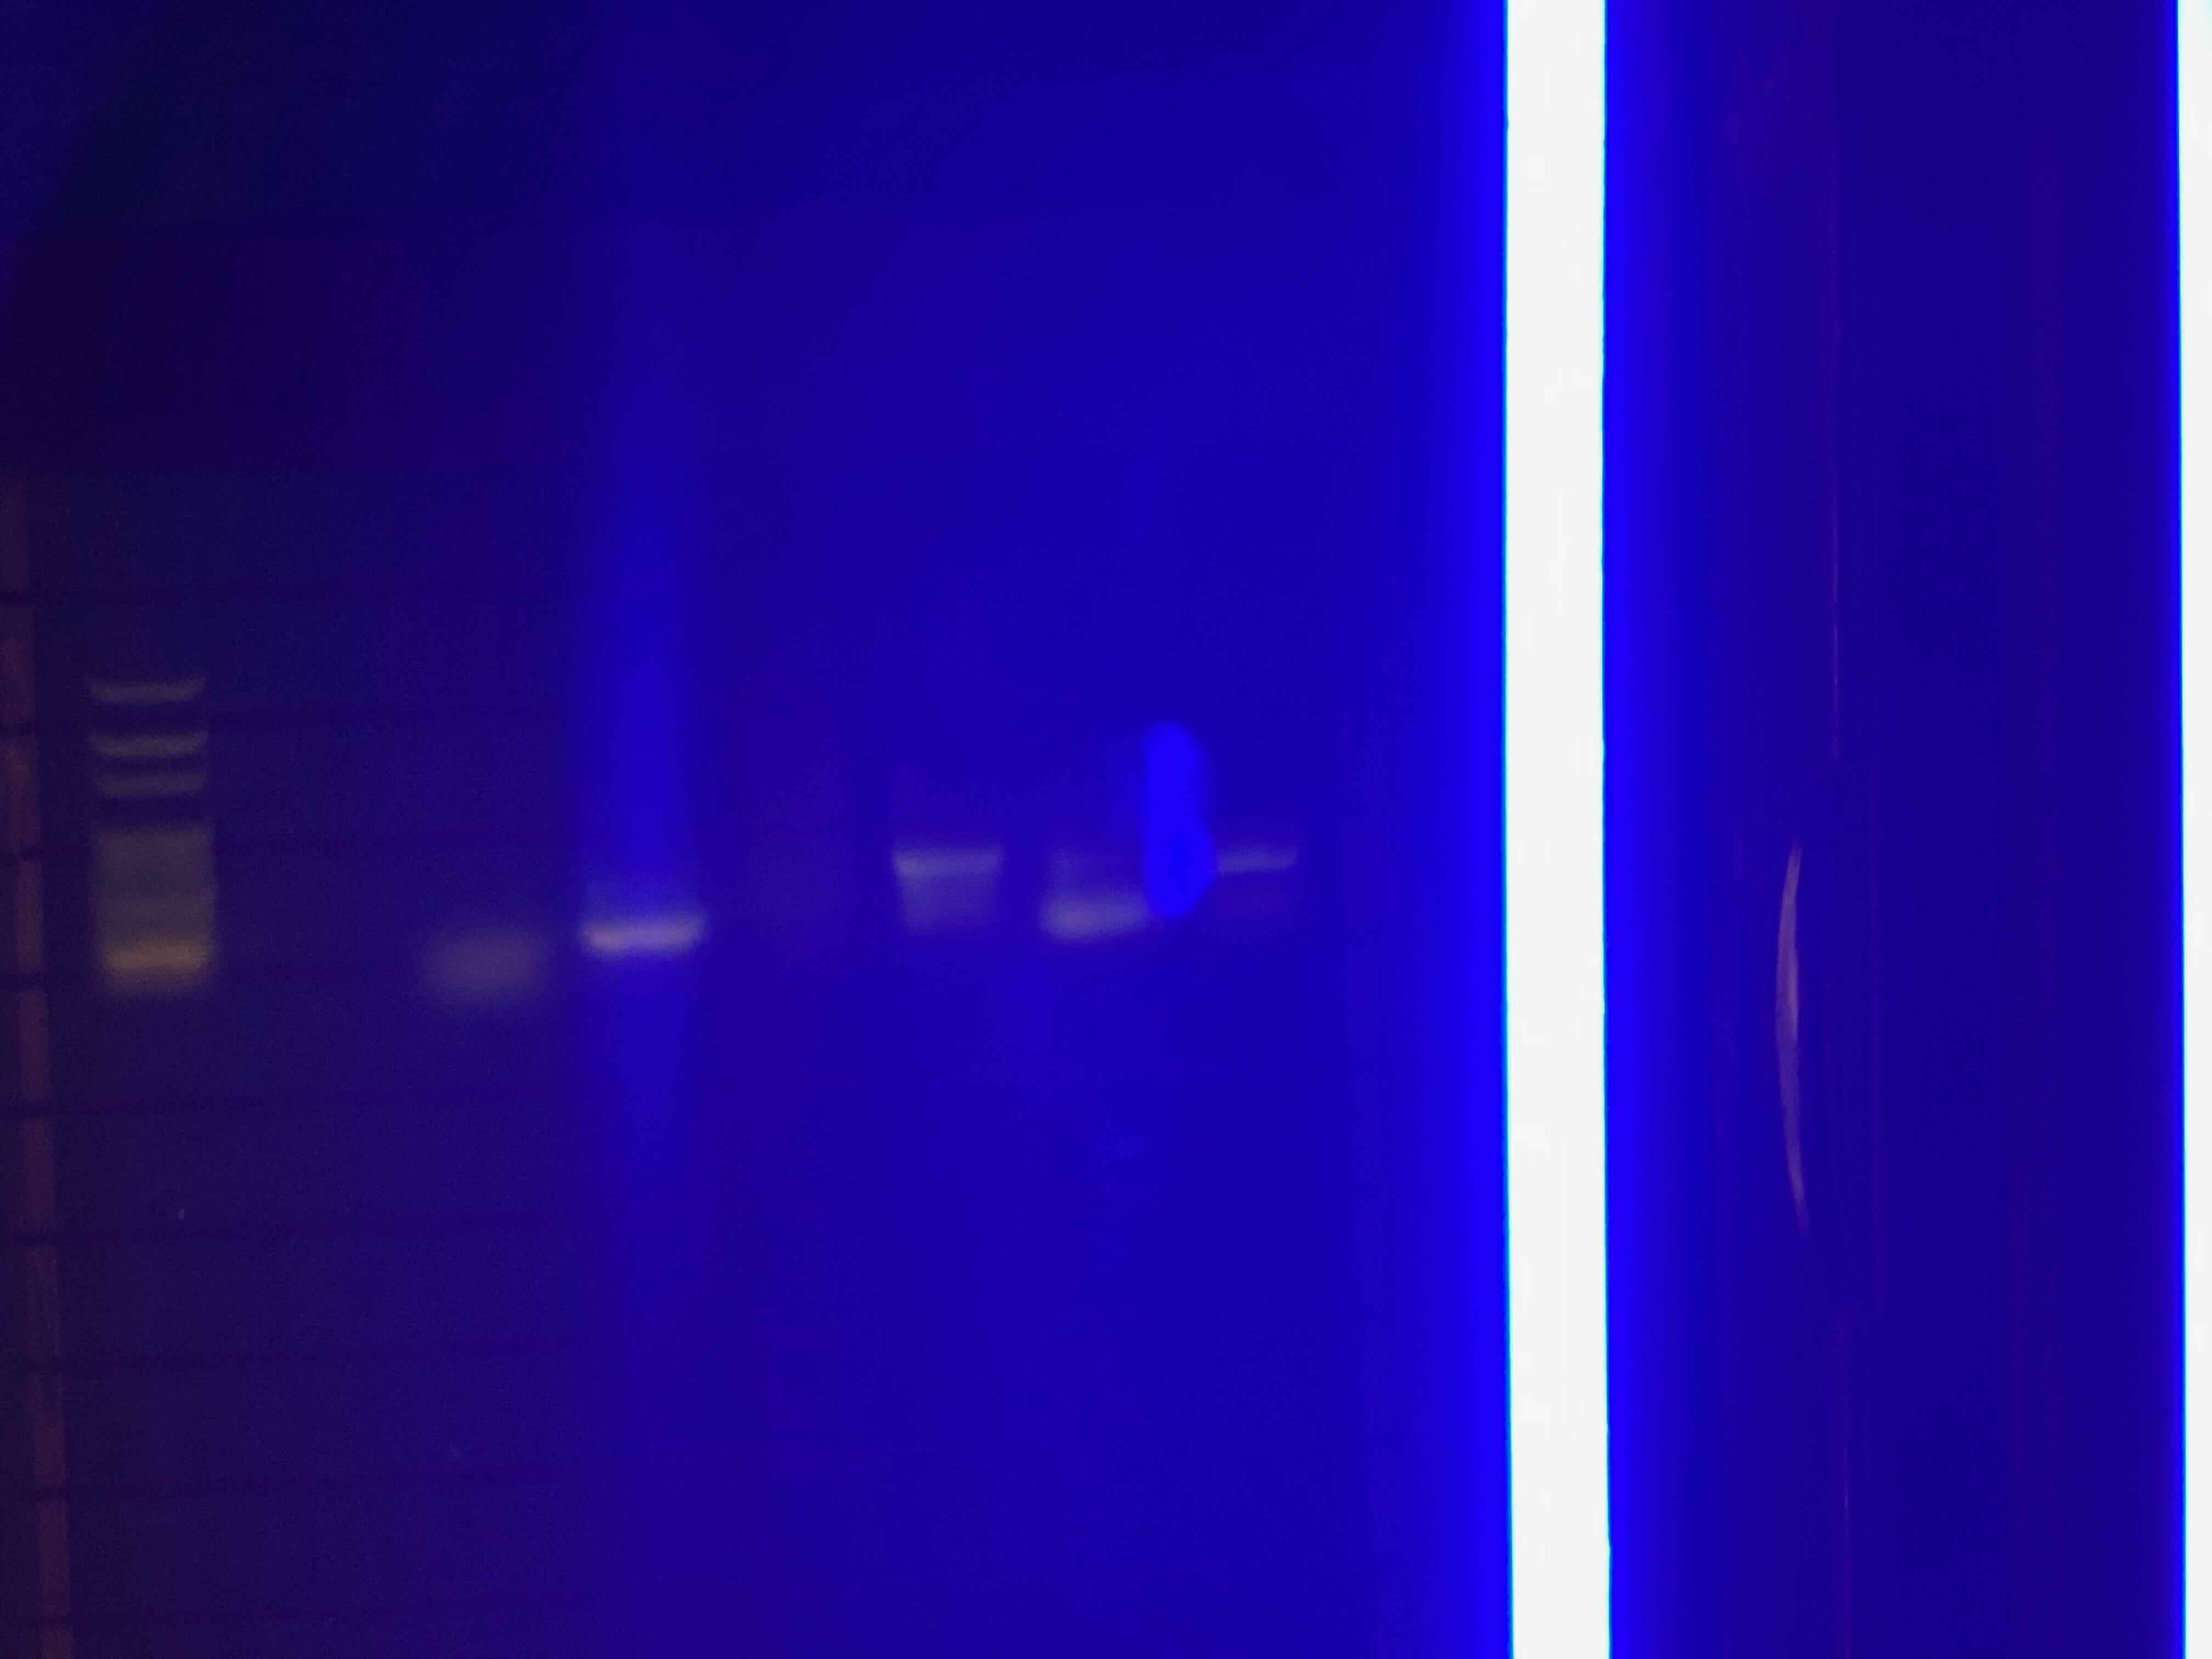
Also, we can use the yellow filter, and we can see the patter more clear.
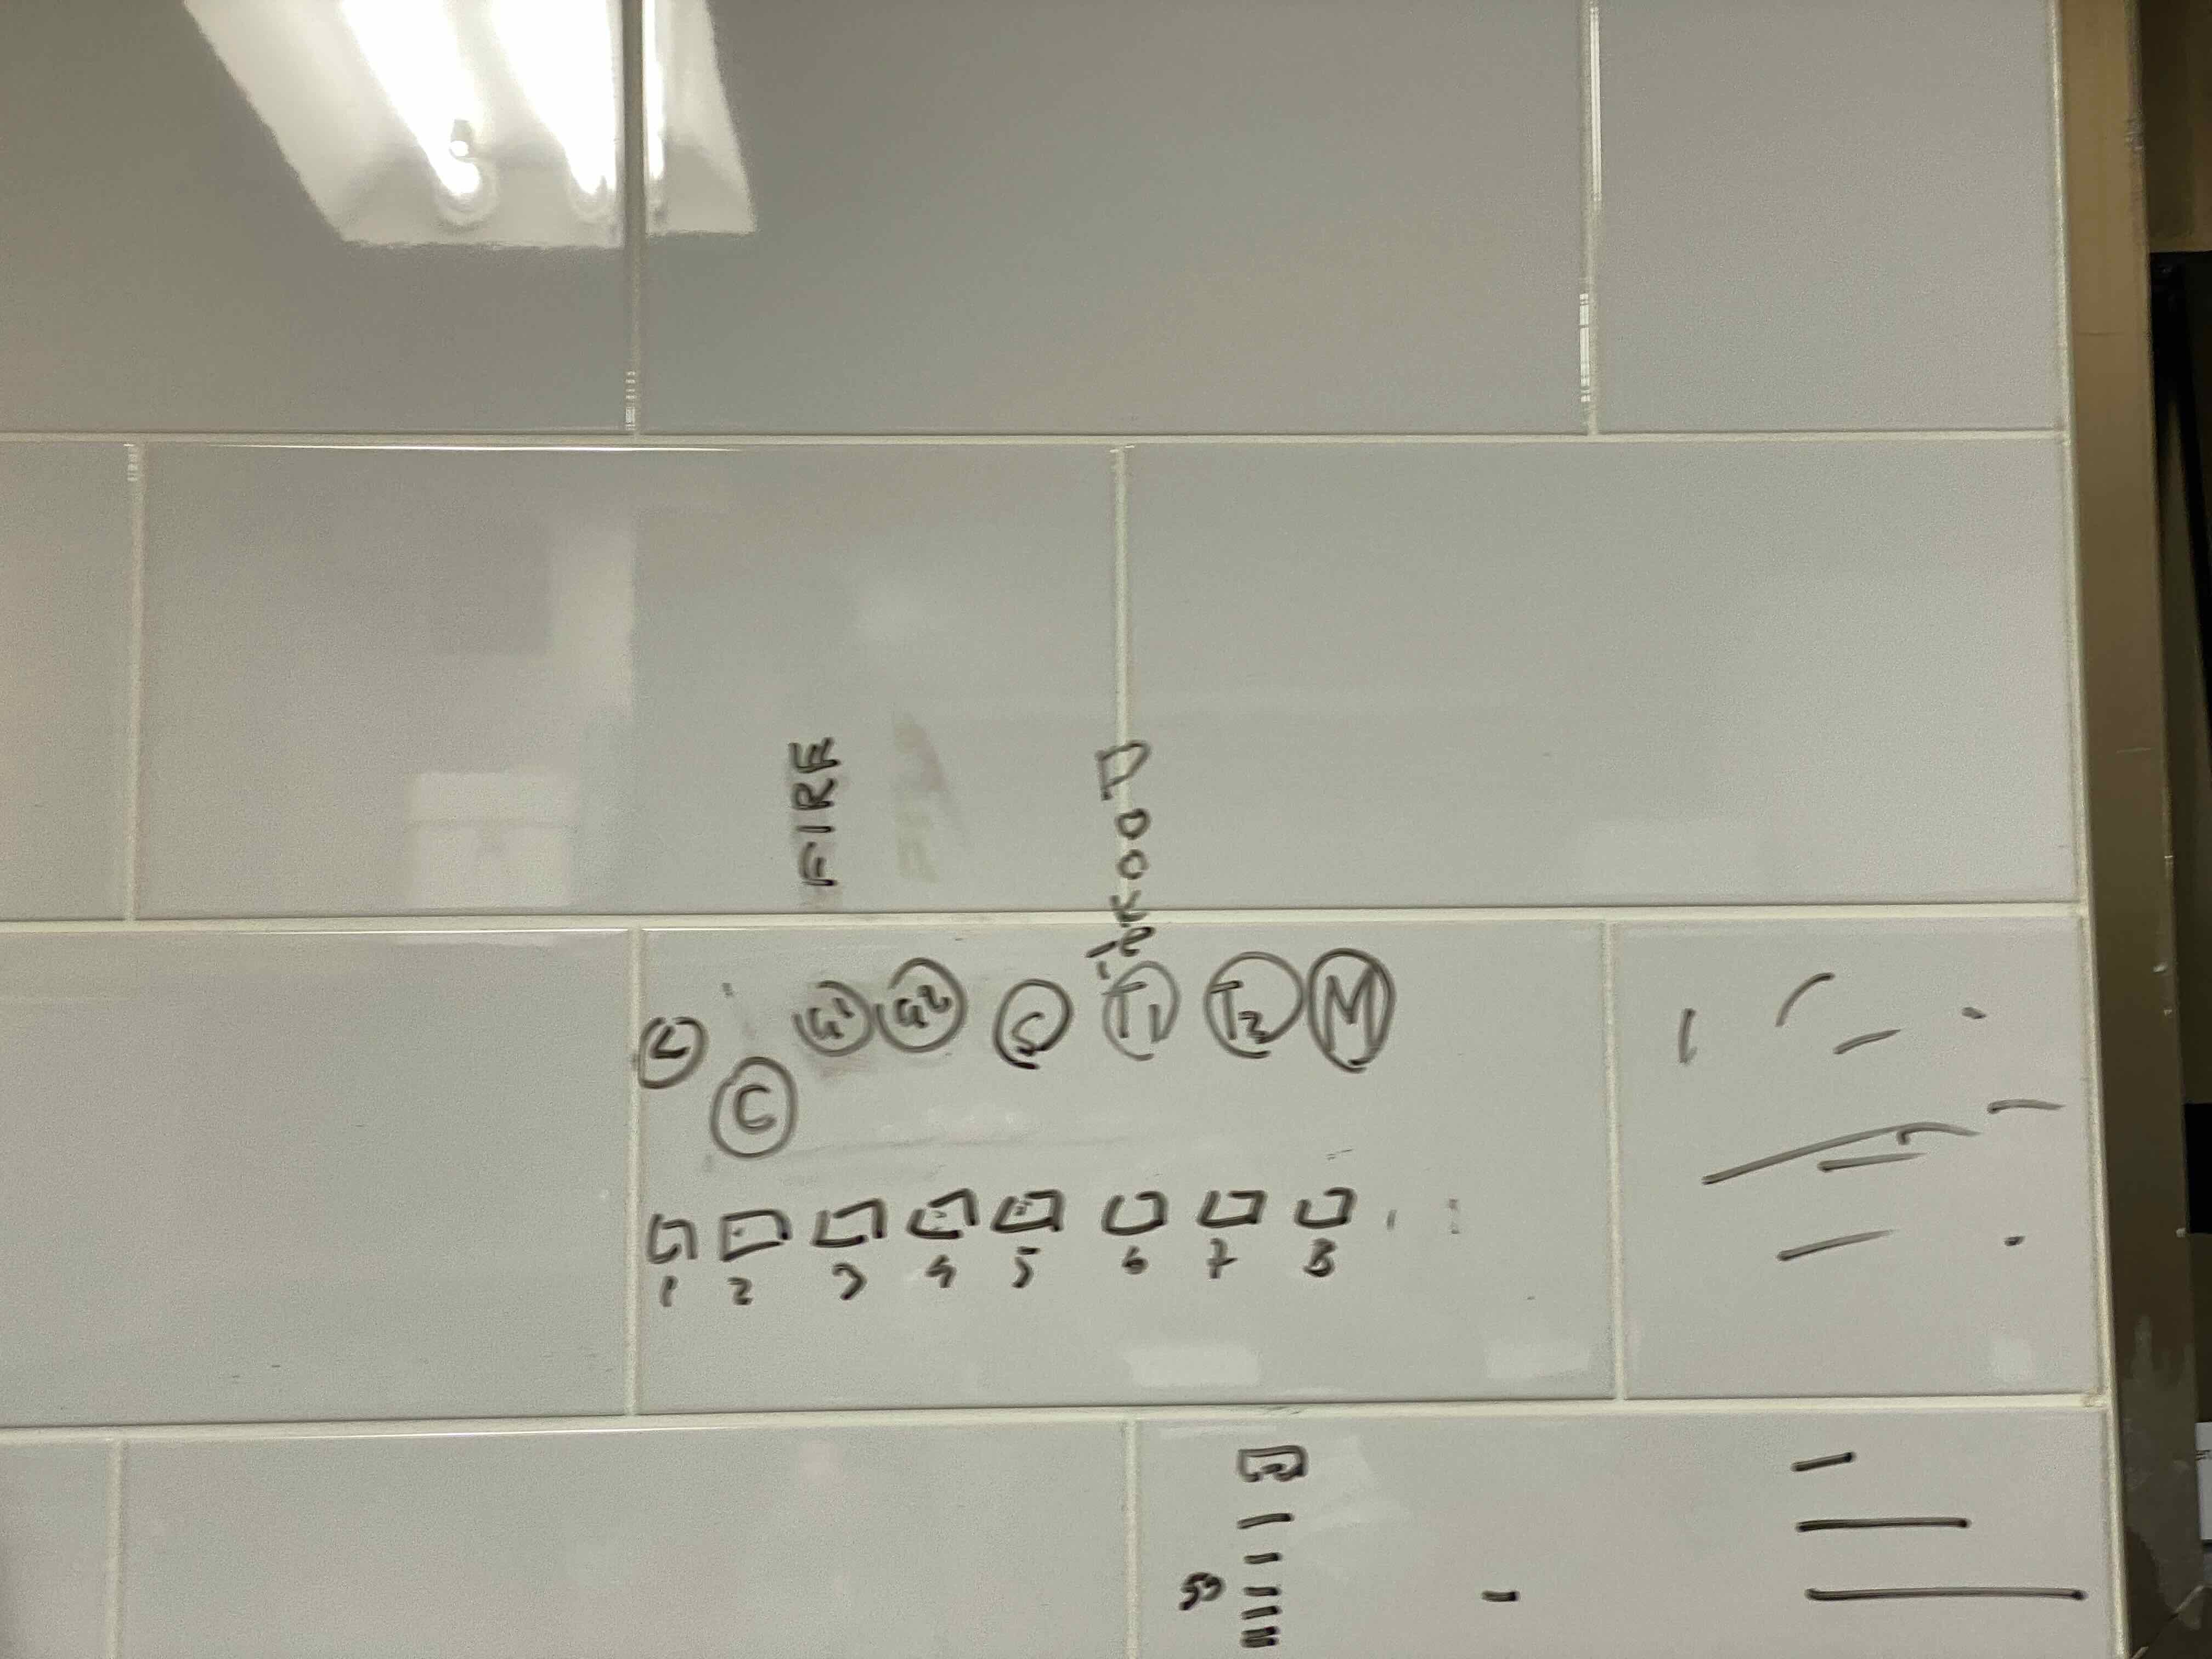
Analysis the result.
This time, we set our sample as following, mine should be the 2nd and 3rd one from the right side.
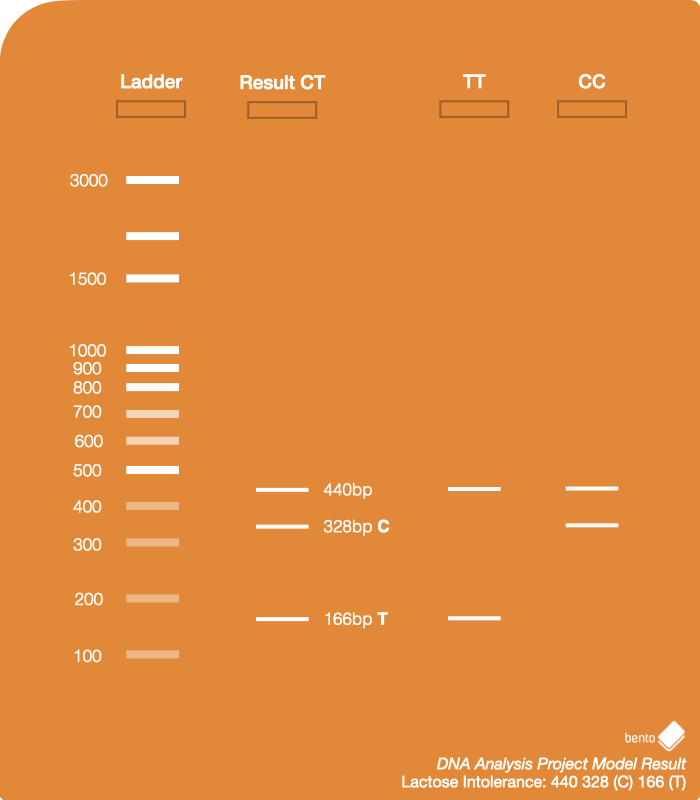
Compare with this picture of our gel to this example result, which has been run with all variations.
Then, see again the result.
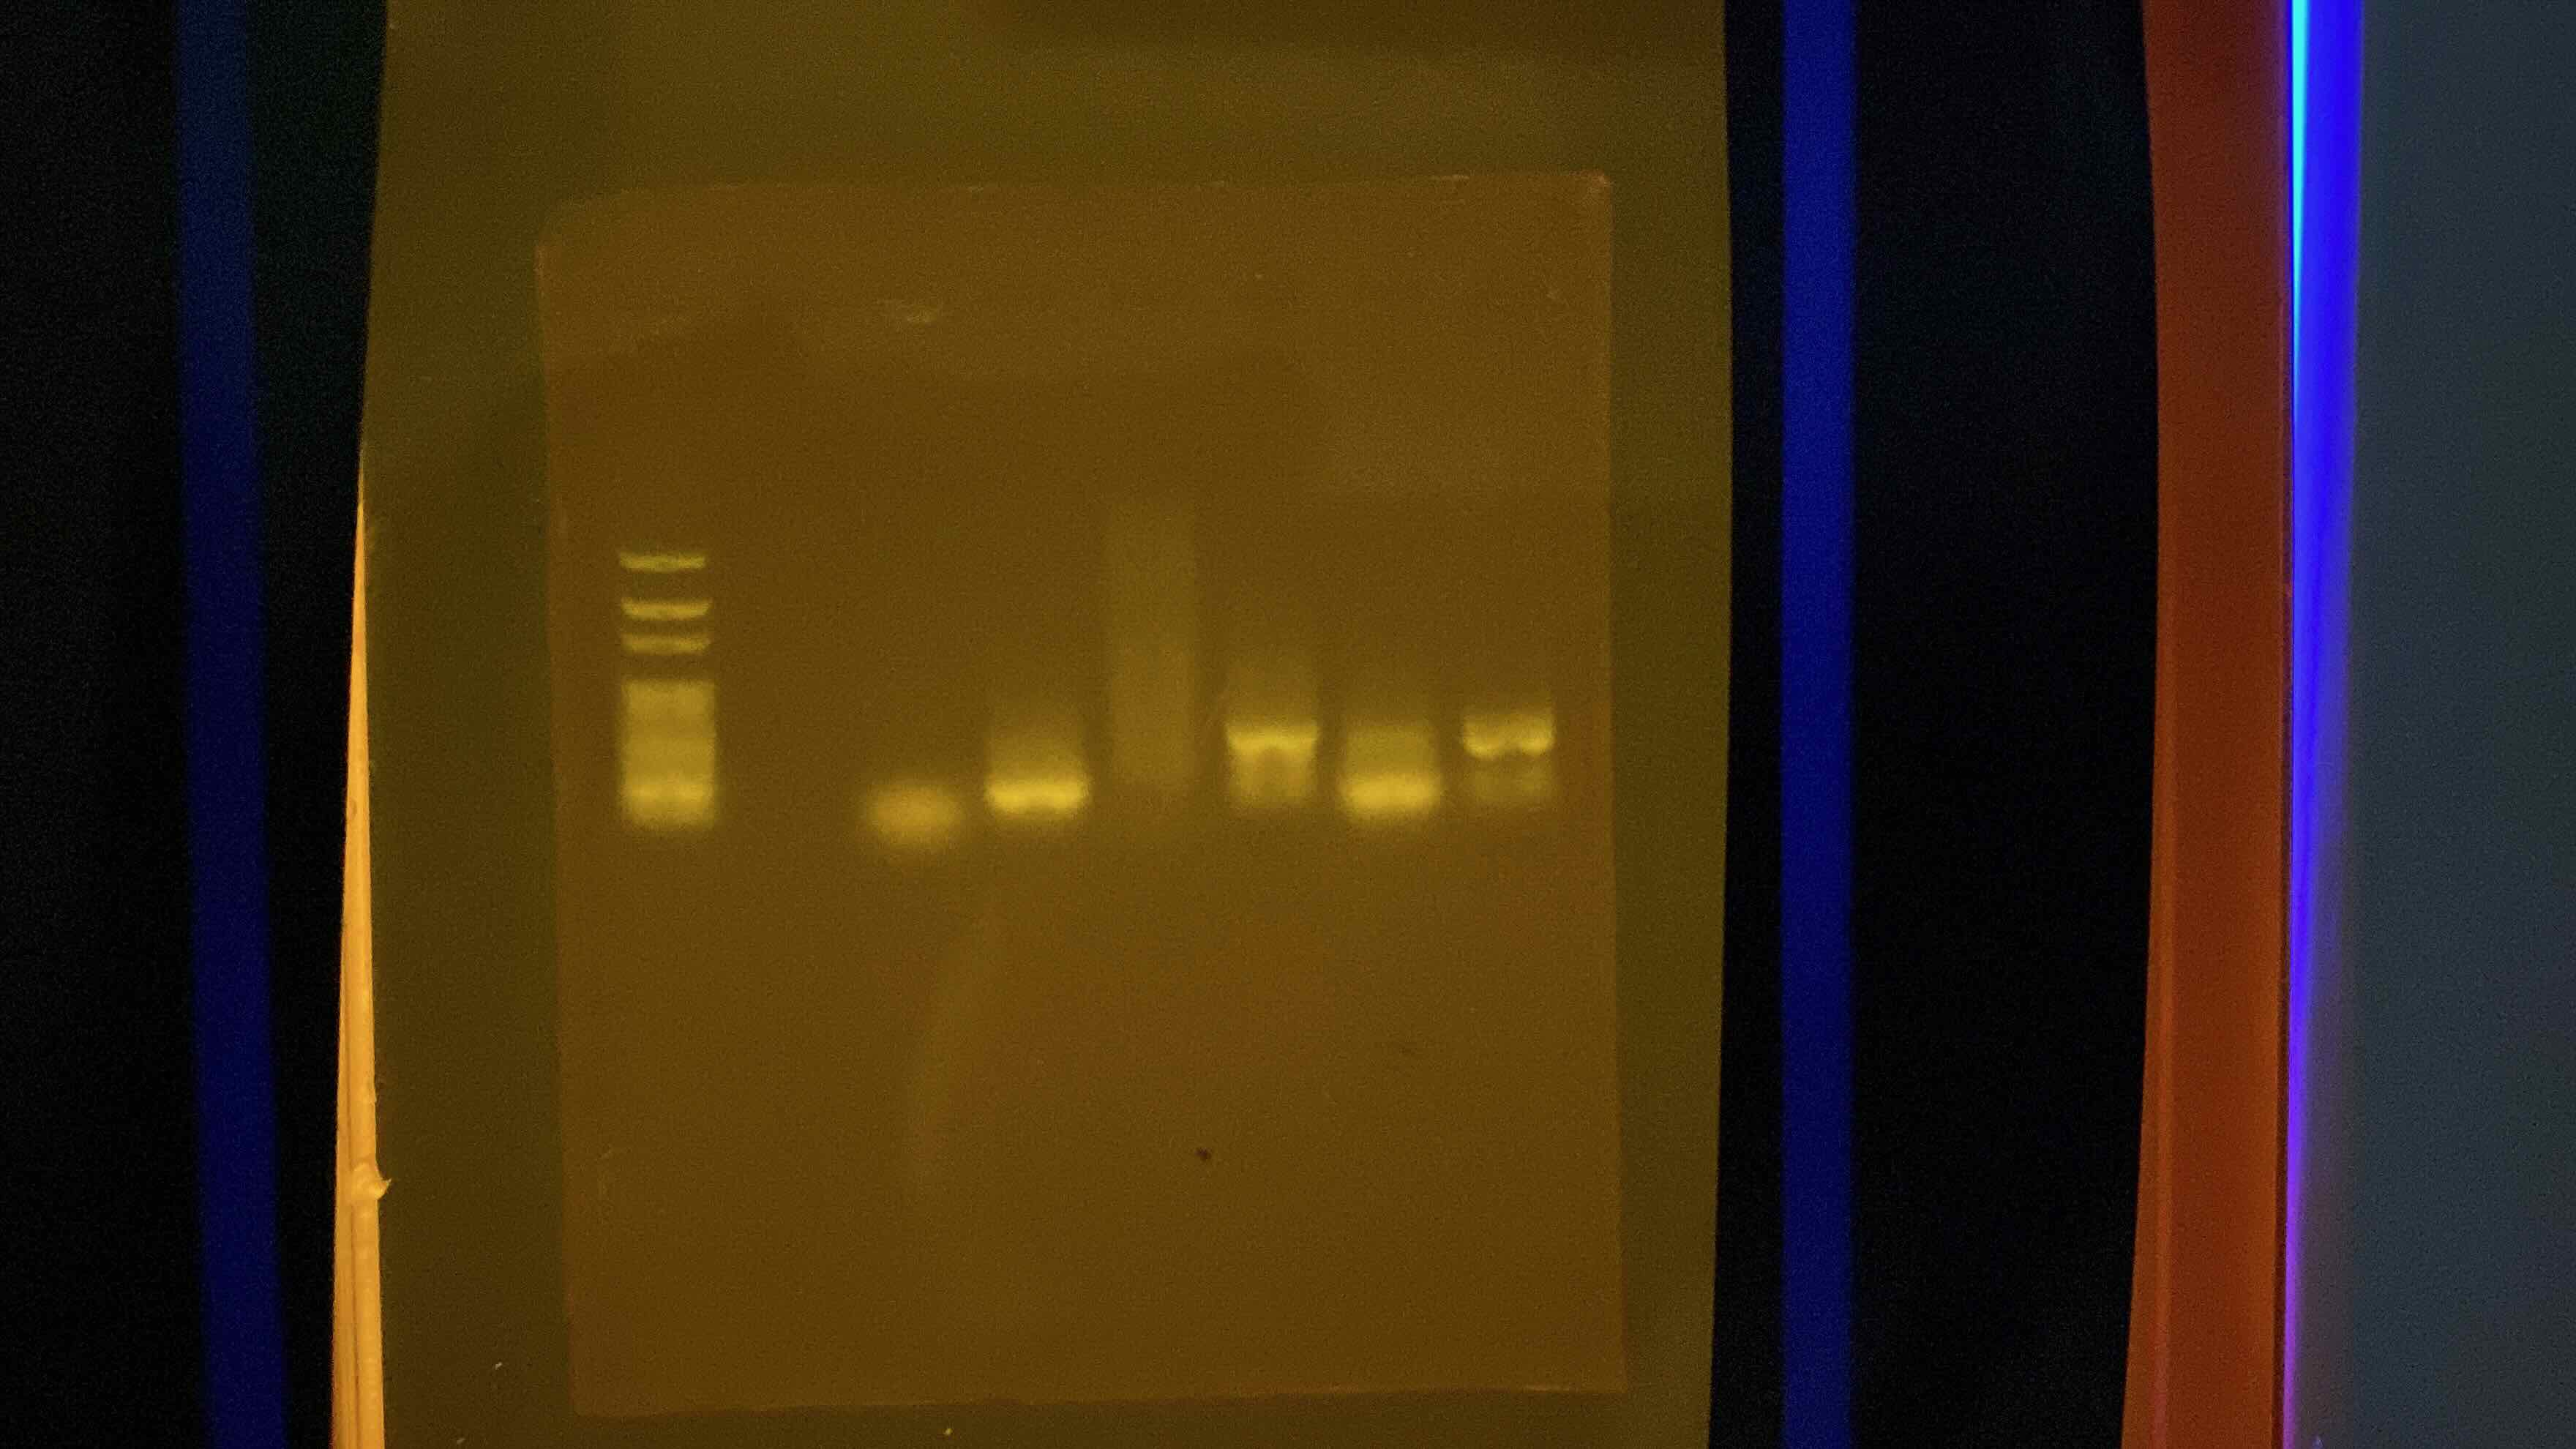
It seems that my DNA pattern is CC.
According to the protocol instructions of lactose intolerance, This result shows a person who has both copies of the C allele, so homozygous recessive. This person is likely to be lactose intolerant as an adult.